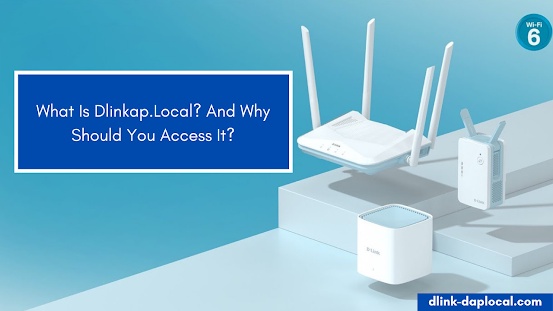
If you are using a DLink extender to boost your wifi signal, then you must have accessed dlinkap.local at some point. Accessing this domain and logging into it can be very important if you need to make some changes to your extender’s setup. When you log in to this address, your browser will automatically redirect the page to this address: ‘192.168.0.50’. If it does not, then maybe you have entered the wrong address and you should check again.
How to Manage DLink Extender Setup
When you purchase a new DLink extender or repeater, you need to perform a setup of the device. There are several ways you can achieve this. In this next section, we will share with you all the methods and guide you through them.
DLink Extender Setup Through Web Browser

This is a fairly easy method of handling your DLink extender setup. Here are the steps -
- Power on your DLink extender by connecting it to a power outlet
- Connect your PC with your wifi by locating the network name starting with D-*** 5GHZ
- You will not need to enter a password as it would be your first time connecting to this network
- Open your browser on the PC and go to the address dlinkap.local
- Once you are redirected to 192.168.0.50, you will see a login window asking for a username and password
- Enter the credentials and login
- Once you reach the configuration page, try and find the Setup option and click on it
- From the options, click on Extend an existing wireless network
- Choose your existing wifi network. You will see the SSID of your wifi router. Select it
- Now enter your wifi password and click on Next
- On the next screen, you will get to option to rename your SSID if you want to
- Then, set up a password for your extender’s network. It does not have to be the same as your router’s network
- In the next step, you will add a password for your dlinkap.local admin which can be used for DLink Extender Login
- Once you click on next, you will be able to verify the settings you just made, and then you can click on Finish
- Your DLink extender will take a few minutes to reboot and then it will be ready for use
DLink Extender Setup Through WPS
The following are some simple steps you can use to set up your extender using the WPS feature.
- Place the extender in close proximity to the router
- Make sure both devices are powered on
- First, on the extender, press the WPS button
- In two minutes, press the WPS button on the router
- Wait for the LED to turn green
- The LED becomes stable Green once a connection between both these devices is formed
- When all of this is accomplished, you can disconnect your extender and place it in any room where you want a better wifi signal
Facing Issues with Dlinkap.local Login
Sometimes users face issues when trying to login into dlinkap.local or trying to even reach the destination URL. In the below section, we will share some common reasons why you can face issues with dlinkap.local and how to resolve each issue.
Not Able to Connect With the Router
If you are not able to access the dlinkap.local, it can be because you are not able to connect with the router. In this situation, check and see if the distance between the router and the extender is not too much.
Try placing them a little closer and see if now they can connect. You can verify the connection between them based on the stable Green light on the device. Remember, there will always be an issue with internet speed when you are using a router and extender.
Forgot the Extender’s Password
This is another common issue that caused a problem with Dlinkap.local login. However, you need not fret if you forgot your extender’s password. Fixing this issue is easy. That is by resetting the extender.
There is a small pinhole at the back of your extender. You can use a paperclip to press the reset button for ten seconds. Once the lights start to blink, let go of the reset button. The extender will now restart. Wait for all of its required LEDs to light up. Then, you can configure it all over again as explained in the section above.
Dlinkap.local Required Firmware Upgrade
Just like printers and wifi routers, extenders also need to have their firmware regularly updated. Forgetting to do so will hurt the extender’s functioning. This includes issues with dlinkap.local login issues or DLink extender local setup issues.
Following are the steps to use to update your D-Link extender’s firmware:
- Make sure the extender is connected to a power outlet and is powered on
- Connect your computer to your wifi network
- Open your browser and launch dlinkap.local
- You will enter the credentials on the next screen
- Once you enter them and click on login, you will be able to access the extender’s user interface
- Go to Management Settings>Firmware option
- You will get the option for a manual update or an automatic update
- If your internet connection is strong, you can select the Automatic update option where it will find the most suitable version of the firmware for you and install it on your system
- If you choose manual, then you can download the firmware file, double-click on it, and follow the steps to install it
Final Thoughts
Accessing your D-Link extender via dlinkap.local is very important in managing your wireless connection. We hope that the above steps will help you with your DLink extender setup and troubleshooting. For any help regarding Dlink you can visit our website: https://dlink-daplocal.com/


No comments yet