Wood is one of the most versatile materials you can use for badges. It’s strong and durable, so it can easily handle the rigors of printing and embroidery. Plus, wood has a natural look that can really stand out. In this blog post, we will show you how to make wooden pins badges using a simple and easy method. And if you’re looking for a more creative way to decorate your badges, be sure to check out our roundup of 50 amazing wooden badge ideas!
What you need
Making wooden pins badges is a very simple and easy process. All you need are some wood boards, a drill, a saw and some craft paint. Here is how to do it:
First, cut the boards into desired shape using your drill and saw. Make sure the edges of the boards are smooth so that the badges will look nice and clean when finished. Next, paint each board with your favorite craft paint. Let the paints dry completely before proceeding to the next step.
Now it's time to add your pins! Simply use a Phillips head screwdriver to pop out the pins from the foam sheets that you previously attached to the back of each badge using hot glue. You can also add extra details (like fabric tabs) to make your badges even more special.
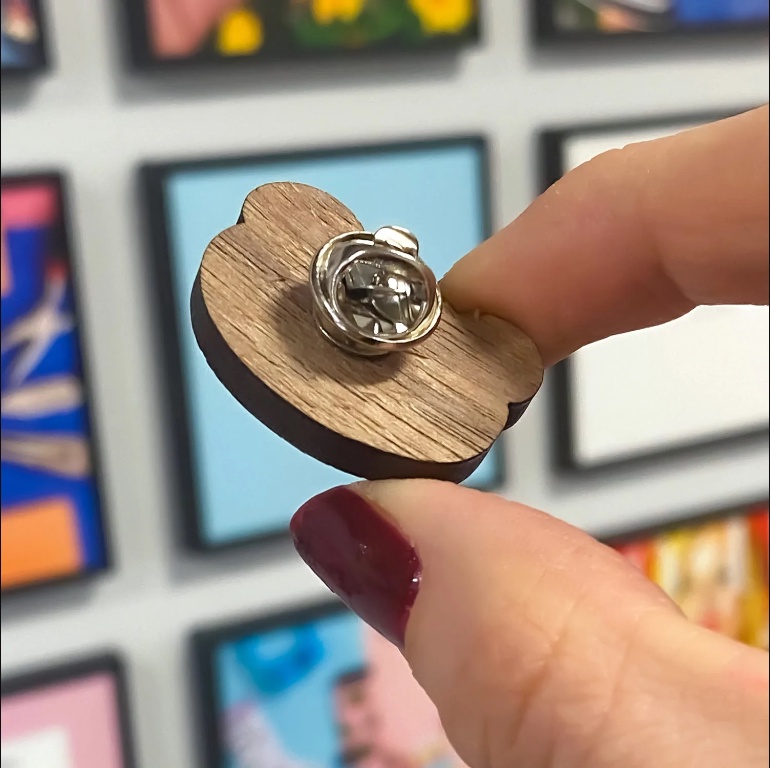
How to make your pins
Making wooden pins badges is a fun and easy way to create personalized gifts for friends and family. Follow these simple steps to make your own:
1. Gather your supplies. You'll need a piece of wood at least 2 inches wide by 4 inches long, dowel rod or a drill bit the same diameter as the pin's head, small nails, wood glue and pin heads (optional).
2. Drill a hole in the center of your wood board. Use the drill bit to enlarge the hole until it's about 1/4 inch deep. Fit the dowel rod into the hole and twist it until it's tight. Leave enough length on one end of the rod so you can screw on the pin head (if using).
3. Apply wood glue to both sides of your board and attach the rod with screws from the other end. When dry, carefully remove the screws. Your badge is ready to wear!
What to do with the wooden pins
If you want to make wooden pins badges, you will need:
-Wooden pins (about 1 inch long)
-Craft knife
-Paint or a marker
-Scissors
-Ruler or a straight edge
1. Start by cutting your wood pins into thin strips about 1 inch wide.
2. Use the craft knife to make small cuts perpendicular to the strip's length on one side.
3. Do the same thing on the other side of the strip.
4. Now, fold the strip in half so that each end has two folded edges. Make sure that both ends are now even with each other and close to the length of the pin's head).
5. Holding onto one end of the fold, use a pencil or a marker to draw an "x" on one side of the fold (see image). This will be where you cut later.
6. Repeat steps 2-5 with all of your strips, making sure that each pin has an "x" drawn on it somewhere (see image). You'll now have 16 pinned badges!
7. It's time to start cutting! Start by cutting along the line that was outlined in step 5 (see image), then flip it over so that you're cutting off the excess fabric (see image). You'll now have 8 cut badges out of your original 16!
8. To finish them off, use scissors to trim any extra
Tips for making badges
1. Decide the size and shape of your badge.
2. Draw or create a template for your badge.
3. Cut out the badge from a suitable piece of wood.
4. Sand the edges of the badge if required.
5. Stain or paint the badge as desired.
6. Glue the badge to a suitable backing material, such as card stock or foam board.

No comments yet