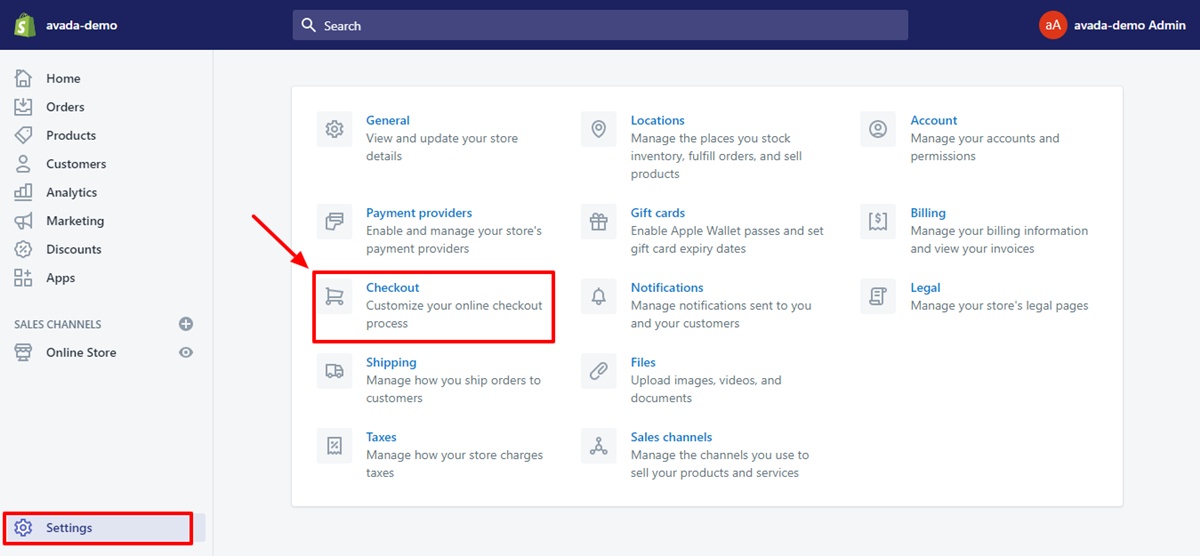
Online shoppers that visit any online stores will return for a variety of reasons. One of the most crucial functions in enhancing consumer happiness and encouraging them to return to online stores is the checkout page. The Checkout page will signal the conclusion of the purchasing process in the Shopify marketplace. Because of this, it's essential for every Shopify business owners to have a competent online checkout procedure. Step 1: Head to Checkout Upload a background image for the banner Open the theme editor areas in step two. Step 3: Add pictures Step Four: Select Save
To the checkout page, add a logo First, head to the checkout. Open the theme editor areas in step two. Third step: add a logo image Step 4: Decide where to place the LOGO. Step 5: LOGO size 6th step: press "Save"
The primary content area should have a backdrop image or color. First, head to the checkout. Open the theme editor areas in step two. Step 3: Include the image or background Step Four: Select Save
The form fields can be colored differently. First, head to the checkout. Open the theme editor areas in step two. Step 3: Decide on the form fields' color. Step Four: Select Save
Make the order summary's background a different color or image First, head to the checkout. Open the theme editor areas in step two. Step 3: Change the order summary's backdrop color or image. Step Four: Select Save
Modify or eliminate a picture from the checkout page First, head to the checkout. Open the theme editor areas in step two. Replace the picture in Step 3 and then click Save.
On the checkout page, change the typeface The checkout page's button and accent colors can be changed. Shopify Plus store's checkout page can be edited. Source: How to Edit Checkout Page in Shopify
Related post: get free traffic to your shopify store

No comments yet