Cutting a brick wall may seem daunting, but with the right tools and assistance of professionals, brick wall cutting can be easy. If you are considering removing a brick wall, you must know all the aspects related to the same. This blog post mentions all the essential elements and tips of Brick Wall Cutting. Read ahead to learn more!
How to Remove a Brick Wall?
1. Sketch and Design
The first step is to plan where and how you want the brick wall to be removed by designing or sketching a layout. Before you create and sketch the plan, you should have the answers to these few questions -
- Is the space intended to be a door or for windows?
- Are you planning to utilise the area for a different purpose?
- Do you want to install a new wall; if yes, what will be the precise size?
2. Mark the Location
Before choosing Wall Sawing, remember that you must make every effort to be as accurate and precise as possible, especially while taking measurements and noting where you will start cutting the brick wall.
You cannot afford a mistake because it cannot be undone once the wall has been cut. When it comes to this DIY endeavour, there's no room for error.
3. Set Cutting Depth
The third step of brick wall-cutting is to set the cutting depth and mark it with a stick or a ruler before cutting into the brick wall. Determine the depth you need based on the attached walls and floor dimensions.
Remember that you must first construct a lintel above the desired location of the hole before you can cut an aperture into the brick wall. A lintel is a horizontal piece of wood, stone, concrete, or steel that spans the top of a door or window to hold the wall properly and prevent it from collapsing under the weight of the door or window.
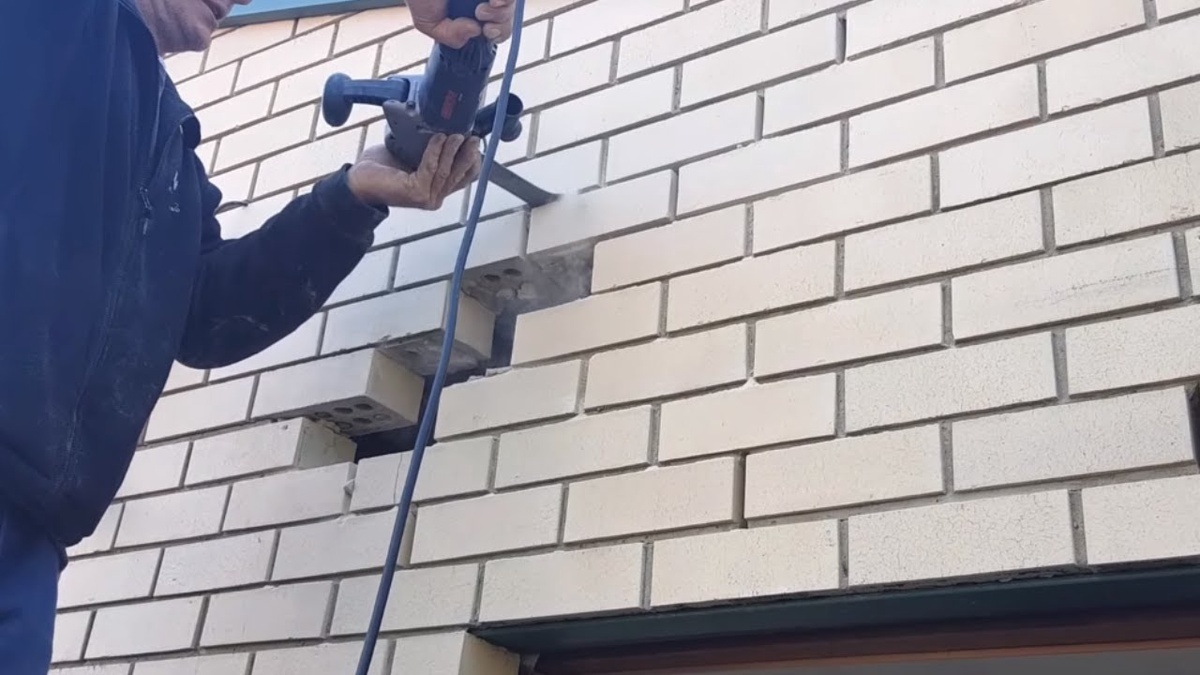
4. Cut the Opening
An angle grinder is the most effective instrument for cutting a brick wall. Get ready with a dust mask, safety glasses, and earplugs to protect yourself from noise and dust pollution. You must prepare to shield yourself from the brick dust released once you begin cutting into the wall.
Cutting vertical lines first, then continuing after that. Avoid using excessive force when using the angle grinder and let it carry out its function. You'll obtain a cleaner cut in this manner.
5. Remove Bricks
You must first remove the mortar holding the bricks together after cutting along the lines you drew. To accomplish this, drill holes in the mortar between the bricks you wish to remove using a hammer drill and masonry bit. Since mortar is considerably softer than brick, doing this is pretty simple. Instead of slamming the bricks out of the wall, knock them out.
Using a mash hammer and brick bolster to remove the bricks from the opening is the most effective approach to knock the bricks out of the wall. After that, gently strike the space's near edges to protect the bricks' straight edges. You don't want to alter the position of the lintel, so use additional care while removing the top bricks that are close to it.
6. Final Touches
The last step of brick wall-cutting is to sandpaper the edges to create clean incisions and dust off the opening. For a better finish, clean the area and fix the minor breakages of the ground on which the wall was standing.
This thought guide should have been straightforward and informative. View our helpful advice on restoring your wooden furniture for more suggestions and ideas.
Tips to Remember Before Removing Brick Wall
1. Security Permits
Check with the neighborhood council before starting the project to see if a permit for brick destruction is required. The requirements for acquiring permission may change depending on the local laws you must follow. The work necessary to comply with a permit would be well worth the potential consequences if you get discovered destroying bricks without following the proper legal procedure.
2. Inspection
Never demolish any load-bearing walls without first having them inspected by professionals. An engineer can evaluate the situation to determine whether it is safe to remove a load-bearing wall. A load-bearing wall bears the weight of anything placed on top of it.
It is necessary to maintain the structure above a load-bearing wall before removing bricks from it is required. Brick demolition must be done with an expert or engineer since safety is essential.
3. Warning Signs
Every demolition project's principal responsibility is safety, first and foremost. You must handle bricks while wearing protective equipment like goggles, a full respirator mask, and a pair of thick leather gloves to safeguard yourself from any potential asbestos that may be present in bricks and other dangers.
In addition, falling bricks pose a safety risk. Your family's safety will be in jeopardy if warning signs are not present around the brick demolition area. To stop people from going on the ground or floor where the bricks are getting pulled off, try roping off the area around the brick wall if there are no signs available. This method guarantees security.
4. Secure the Floors
Brick demolition may be a messy procedure. Bricks and other objects could fall from the ceiling and damage the floors below. Make sure to preserve the nearby floor when removing an internal wall if you don't want to do any floor repairs following the brick demolition. Cover the floor with thick tarps, canvas, or other protective material to avoid damage. To prevent bricks from collapsing, place plywood under the canvas at the base of the wall.
Contact a Professional Wall-Cutting Company
Hopefully, this blog post has given you some helpful tips for cutting a brick wall. If you have any questions and want to get this done perfectly, consider contacting professional wall-cutting experts who know about wall sawing perfectly.

No comments yet