Do you enjoy using Android apps and wish to access them on your Windows PC? While Android and Windows are different operating systems, there are several ways to run Android apps on your Windows PC. Whether you're a developer, a power user, or just looking for a way to use your favorite Android apps on your desktop, we've got you covered. In this guide, we'll explore some of the most popular and effective methods for running Android apps on Windows.
How to Run Android Apps on a PC?
Love using Android apps but wish you could access them on your computer? No problem! With the right tools and know-how, you can enjoy your favorite Android apps on a larger screen and with the convenience of a mouse and keyboard. In this guide, we'll explore some effective methods for running Android apps on a PC and learn how to run Android apps on Windows 11.
Android Debug Bridge (ADB)
The Android Debug Bridge (ADB) is an essential tool for developers who want to communicate with an Android device or emulator from their computer. It's a command-line tool that is included in the Android Software Development Kit (SDK). With ADB, you can install and run Android apps on an emulator for testing purposes.
Step 1: Acquire Android SDK.
Step 2: Create an emulator using AVD Manager or the "android" command.
Step 3: Start the emulator and wait for it to boot up.
Step 4: Navigate to the "platform-tools" directory in the Android SDK installation.
Step 5: Use ADB to link your PC and the emulator.
Step 6: Install the Android app on the emulator with "ADB install".
Step 7: Run the Android app on the emulator with "ADB shell am start".
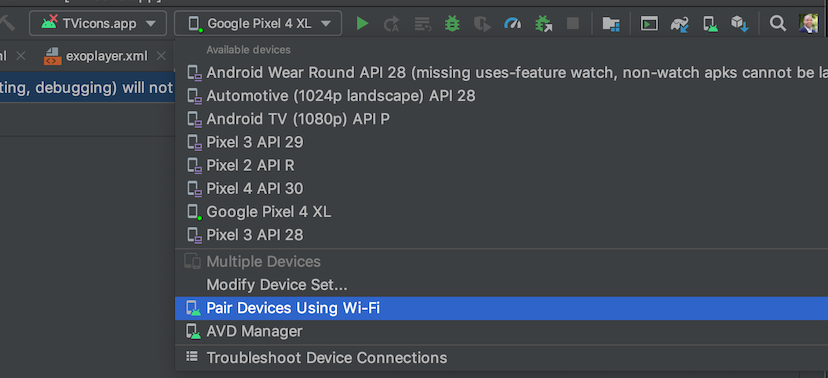
Android Virtual Device (AVD) Manager
The AVD Manager is a built-in feature of the Android Studio integrated development environment. It provides the ability to create and customize virtual Android devices on your computer. This tool is particularly useful for testing and debugging apps before deploying them to physical devices. You can then use these virtual devices to run Android apps. However, this method also requires some technical knowledge and may not be suitable for everyone.
Step 1: Obtain Android Studio for your PC.
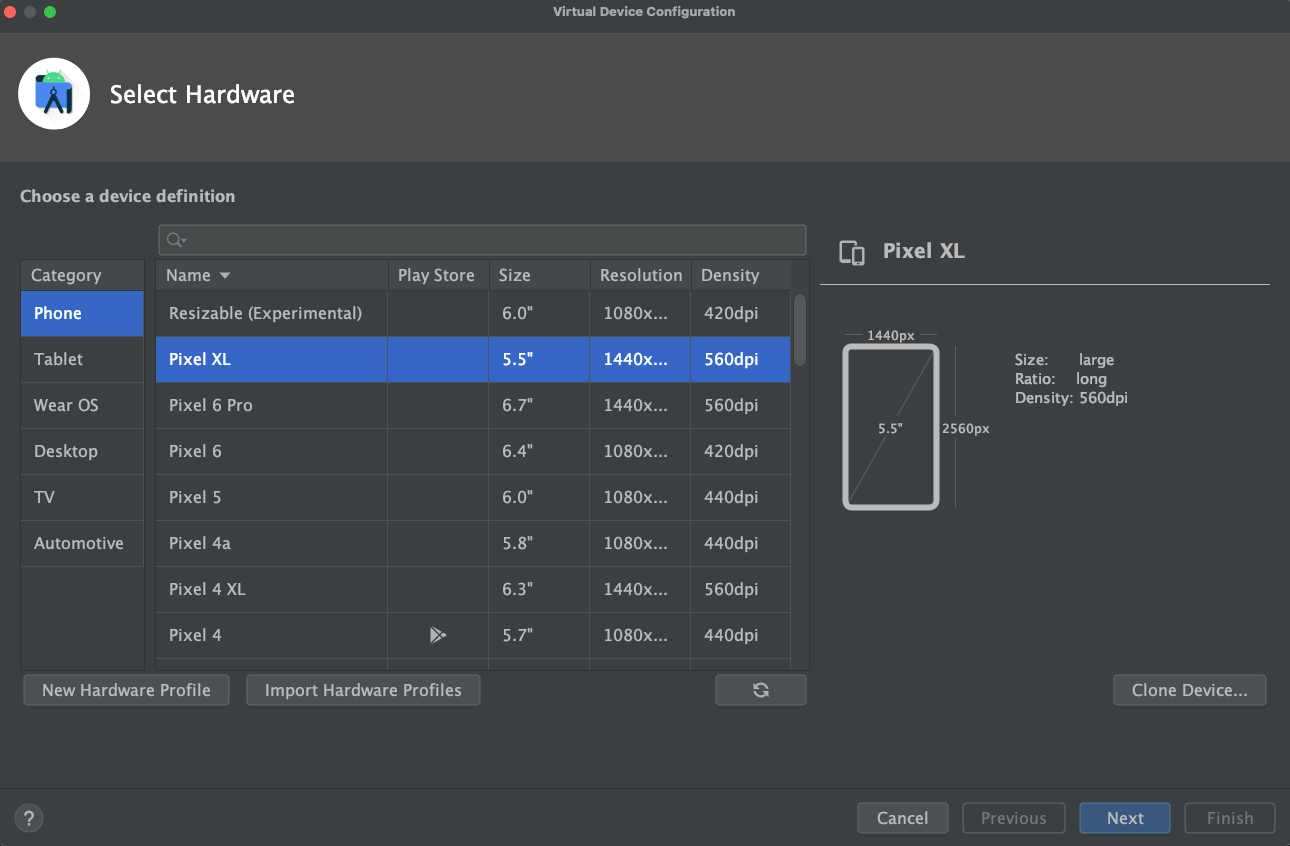
Step 2: Use the "AVD Manager" to create a virtual device by selecting a device definition and system image.
Step 3: Configure the virtual device's hardware profile and click "Finish."
Step 4: Start the virtual device by selecting it and clicking "Play."
Step 5: Install the Android app on the virtual device via Google Play Store or by dragging and dropping the APK file.
Step 6: Launch the Android app on the virtual device by clicking its icon in the app drawer.
Dual-boot
If you want to run Android apps natively on your Windows PC, you can consider dual-booting your computer with Android. In order to achieve this, you must partition your hard drive and install Android alongside Windows as a second operating system. This method is more complex and time-consuming than other methods, and it requires a compatible computer and some technical knowledge.
Step 1: Back up important files and data.
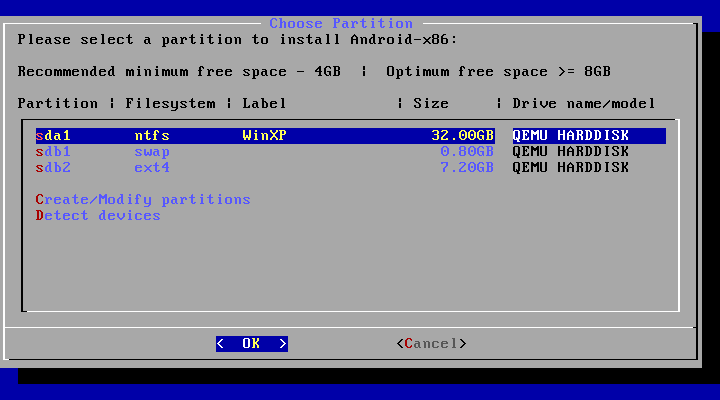
Step 2: Download Android x86 ISO and create bootable media.
Step 3: Install Android x86 to a separate partition.
Step 4: Set up Android X86 and download the necessary drivers.
Step 5: Install desired Android apps.
Step 6: Run Android apps on Android x86.
Overall, while manual methods offer more control, they also require more technical knowledge and time to set up. If you are not comfortable with technical tasks, it's best to stick with one of the easier-to-use Android emulators or other third-party software options.
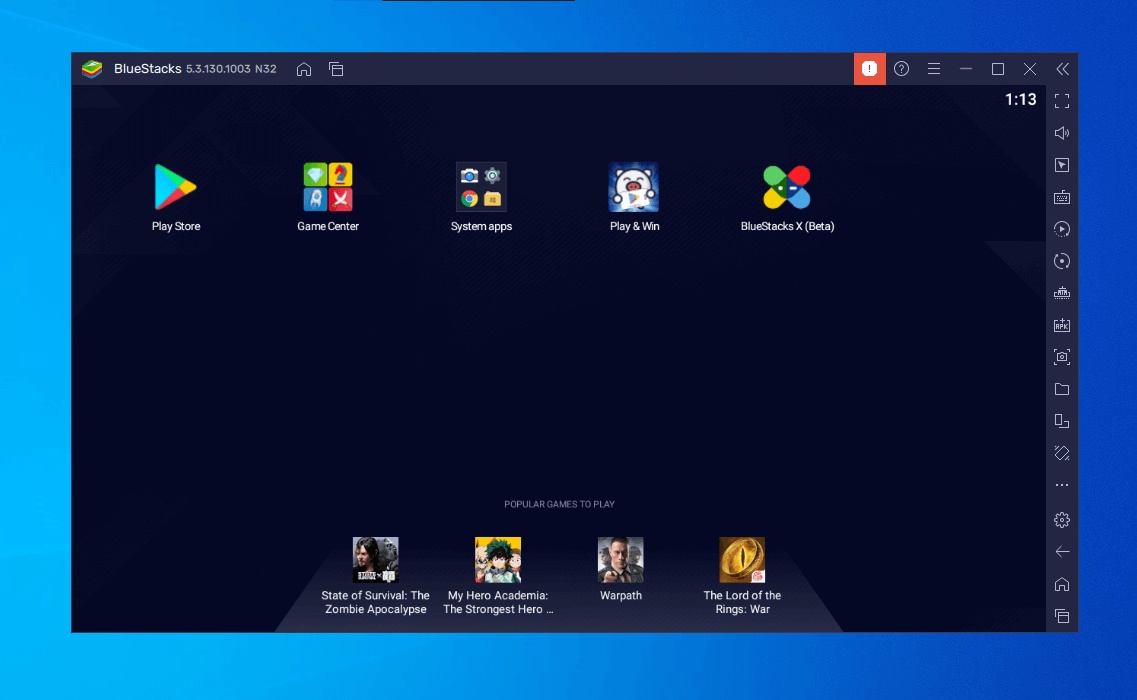
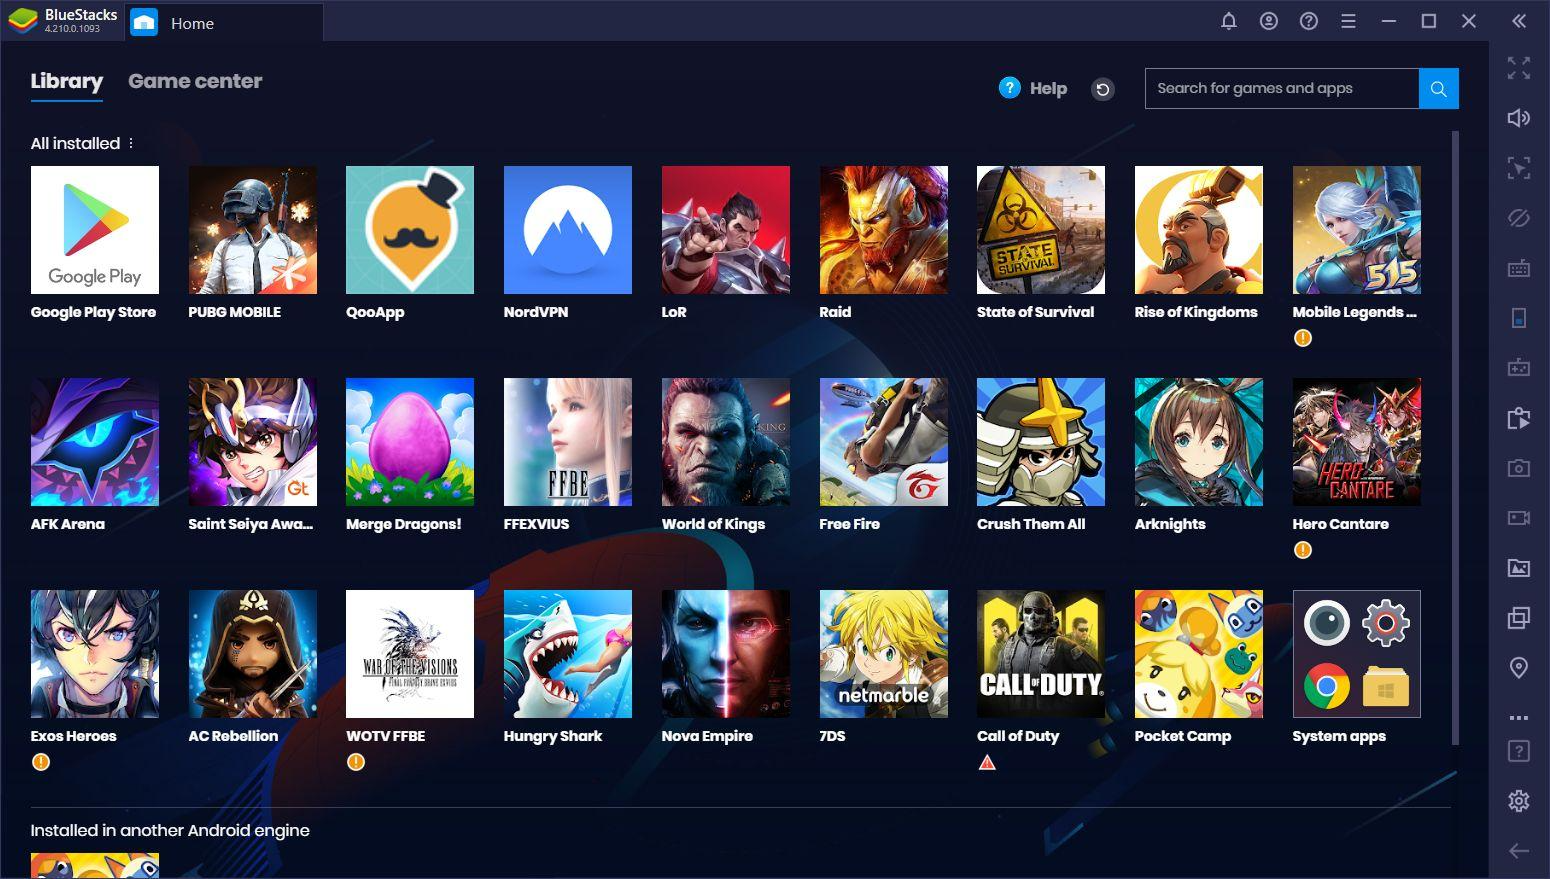
BlueStacks
BlueStacks apps allow you to run Android apps on your computer with a virtual Android device, bringing your favorite apps to your desktop. With access to the Play Store, multitasking capabilities, and customizable features, BlueStacks apps have been a popular choice for Windows and Mac users since 2011. Let us learn how to run Android apps on Windows 11. You can also try BlueStacks alternatives if you are not able to use your favorite app using BlueStacks.
Features
-
Supports a wide range of Android apps
-
Allows running multiple instances of Android apps
-
Comes with pre-installed Google Play Store
-
Offers customizable controls for each app
Pros
-
Provides high performance and smooth gameplay
-
Lets you set a virtual location for your virtual Android device
-
Allows saving game progress to the cloud
Cons
-
Resource-intensive
-
Requires virtualization support
-
Not all apps may work properly
Conclusion
In conclusion, whether you prefer manual methods or an Android emulator like BlueStacks, there are various ways to run your favorite Android apps on a Windows computer. So why limit yourself? Enjoy the convenience of a larger screen and the familiarity of a mouse and keyboard, all while staying true to your favorite Android apps.

No comments yet