How to Download OneDrive?
To download files from OneDrive, you can follow these steps:
Step 1: Sign in to OneDrive Open your web browser and visit the OneDrive website (onedrive.live.com). Sign in using your Microsoft account credentials. If you don't have an account, you can create one for free.
Step 2: Locate the File or Folder Navigate through your OneDrive storage to find the file or folder you want to download. You can use the search bar or browse through the folders to locate the specific file.
Step 3: Download a Single File If you want to download a single file, right-click on the file and select the "Download" option from the context menu. The file will begin to download to your default download location.
Step 4: Download Multiple Files or Folders To download multiple files or a folder, select the files or folder by clicking the checkboxes next to their names. You can select multiple files by holding down the Ctrl key (Command key on Mac) while clicking on the files. Once the files or folder are selected, click on the "Download" button in the top menu bar.
Step 5: Download a Folder as a Zip File If you want to download an entire folder, but prefer to download it as a compressed zip file, you can right-click on the folder and select the "Download" option. OneDrive will automatically compress the folder into a zip file and start the download.
Step 6: Manage Downloads Once the download process starts, the file(s) will be saved to your default download location on your computer. You can monitor the progress of the download in your browser's download manager.
Step 7: Access Downloaded Files After the download is complete, you can access the downloaded files in the designated download location on your computer. The default download location is usually the "Downloads" folder, but you can change it in your browser's settings if needed.
Step 8: Download OneDrive Desktop Application Alternatively, you can download the OneDrive desktop application to sync your files directly to your computer. This allows you to access your OneDrive files and folders directly from your file explorer or finder. Visit the OneDrive website and look for the "Downloads" section to find the appropriate version of the OneDrive desktop application for your operating system.
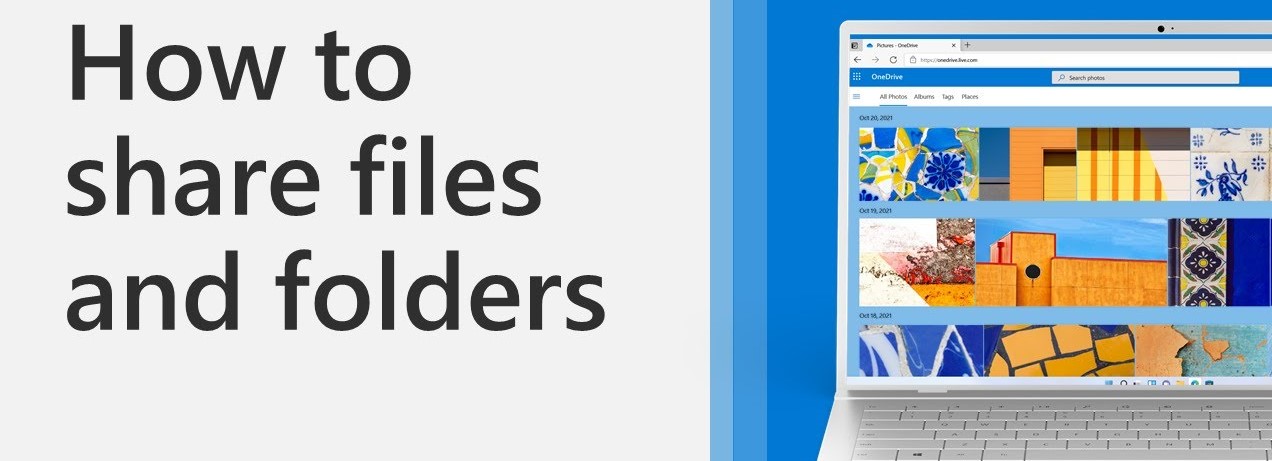
Method to Share Large Files with OneDrive
Sharing large files with OneDrive is a convenient way to collaborate and transfer data. In this guide, I will explain a method to share large files using OneDrive.
Step 1: Sign in to OneDrive Open your web browser and visit the OneDrive website (onedrive.live.com). Sign in using your Microsoft account credentials. If you don't have an account, you can create one for free.
Step 2: Upload the File Once you're signed in, click on the "Upload" button in the top menu bar. Choose the large file you want to share from your local storage and wait for it to finish uploading. OneDrive allows you to upload files up to 250 GB in size.
Step 3: Create a Sharing Link After the upload is complete, navigate to the file you just uploaded in your OneDrive storage. Right-click on the file and select the "Share" option from the context menu. A sharing pane will appear on the right side of the screen.
Step 4: Customize Sharing Settings In the sharing pane, you can customize various settings for your file. You can set the permission level for the recipients, allowing them to view or edit the file. You can also set an expiration date for the link if you want to restrict access after a certain time.
Step 5: Generate a Sharing Link Under the "Get a link" section in the sharing pane, you'll find different options for generating a sharing link. Choose the option that suits your needs. The available options include "View only," "Edit," and "Specific people." Click on the corresponding option to generate the link.
Step 6: Copy and Share the Link Once the link is generated, it will be automatically copied to your clipboard. You can now share the link with the intended recipients. You can send the link via email, messaging apps, or any other communication method. The recipients can simply click on the link to access the shared file.
Step 7: Manage Shared Links If you want to manage your shared links or change their settings later on, you can do so by returning to the OneDrive website. Go to the file you shared and right-click on it. Select the "Manage access" option from the context menu.
Step 8: Monitor and Revoke Access In the "Manage access" pane, you can see a list of people who have access to your file. You can change their permission levels or remove their access by clicking on the respective options. This allows you to maintain control over who can view or edit your shared file.
Step 9: Access Notifications and Collaboration OneDrive provides notification features that inform you when someone views or edits your shared file. You can enable or disable these notifications based on your preferences. Additionally, you can collaborate with others by allowing them to edit the file simultaneously, making it easy to work on large projects.
Step 10: Additional OneDrive Features OneDrive offers additional features to enhance your file-sharing experience. You can sync your files across devices, enabling offline access and automatic updates. You can also install the OneDrive desktop application, which integrates with your local file explorer for easy file management.
Source:
- https://cldrivemanager.com/how-to-share-large-files-with-onedrive/
- +1-800-385-7116.

No comments yet