Introduction
"The Da Vinci Code," penned by Dan Brown, is a gripping thriller that has captivated readers around the globe since its release. The novel weaves together elements of art, history, and religion, creating a tapestry of intrigue and mystery.
The Enigmatic Plot
In this literary masterpiece, the protagonist, Robert Langdon, finds himself entangled in a web of codes, symbols, and ancient secrets. As a symbologist, Langdon deciphers cryptic messages hidden in famous artworks, unlocking a trail that leads to shocking revelations about the foundations of Christianity.
Decoding Symbols and Secrets
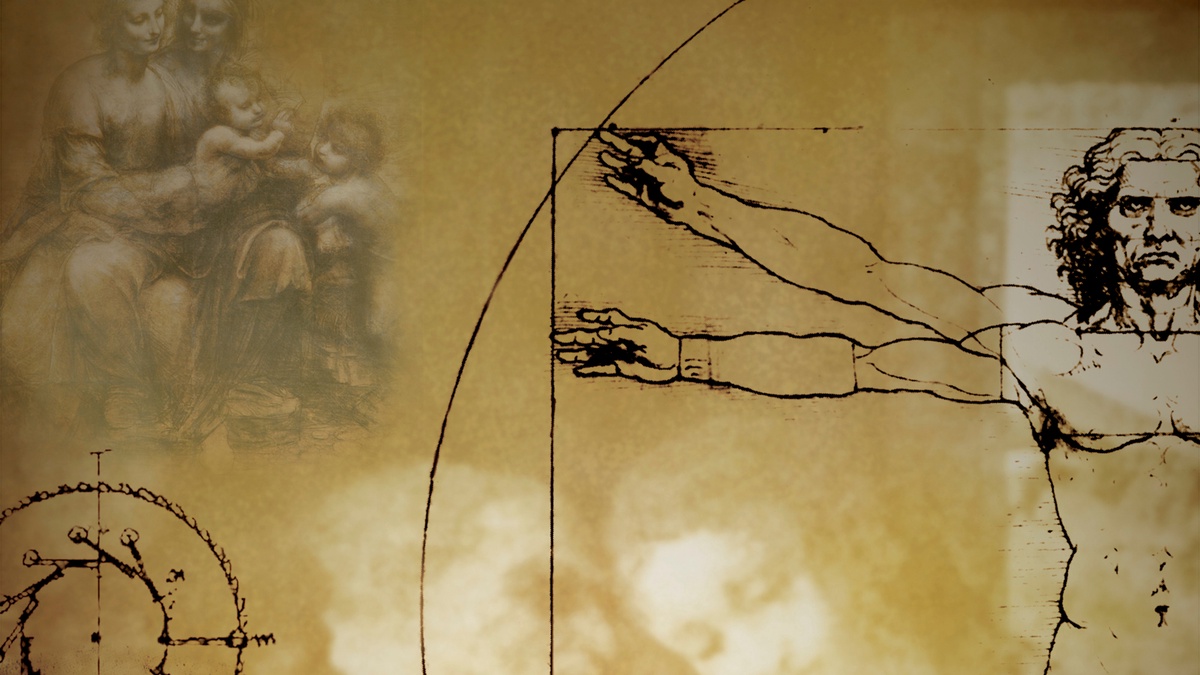
The Artistic Journey
One of the central themes in "The Gnostic code" is the exploration of famous artworks, particularly those of Leonardo da Vinci. Brown skillfully integrates art into the narrative, using paintings like the Mona Lisa and The Last Supper as keys to unraveling the novel's intricate puzzles.
Religious Intricacies
Delving into the mysterious world of religious history, the book challenges conventional beliefs and introduces alternative interpretations of major religious figures and events. This adds a layer of controversy and excitement, keeping readers on the edge of their seats.
The Impact on Popular Culture
"The Da Vinci Code" has transcended the literary realm, leaving an indelible mark on popular culture. The novel has inspired movies, documentaries, and numerous discussions about the blurred lines between fact and fiction.
Conclusion
In conclusion, "The Da Vinci Code" stands as a testament to the power of storytelling to captivate and challenge the minds of readers. Its clever integration of art, history, and religion makes it a thought-provoking journey that continues to resonate with audiences worldwide.
Whether you're a fan of mysteries, historical fiction, or art, "The Da Vinci Code" offers a thrilling exploration that leaves a lasting impression.

No comments yet