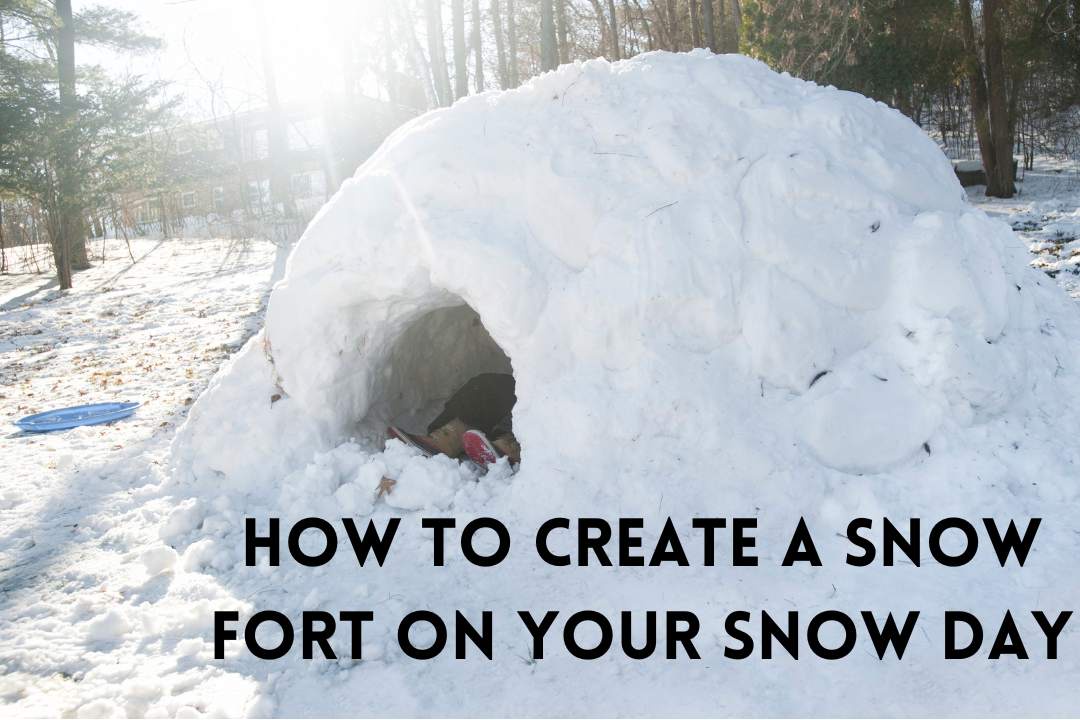
Winter is here, and with it comes the opportunity to have fun in the snow. Building a snow fort is one of the most exciting things to do on a snow day. A snow fort is a fun way to enjoy the snow and create memories with friends and family. This blog post will provide a step-by-step guide on creating a snow fort on your snow day.
Before we start, please remember that building a snow fort can be dangerous if not done correctly. Always be careful and take precautions to ensure your safety and the safety of those around you. Now, let's dive into how to create a snow fort on your snow day.
Find the Right Location
The first step in building a snow fort is finding the right location. Your location should have enough snow to build the fort and avoid hazards like rocks, trees, or roads. Look for a flat area with a good amount of space, and make sure it is not too close to any windows or doors in case the fort collapses. Once you have found the right location, it's time to move on to the next step.
Gather the Right Tools and Materials
Before you start building your snow fort, you will need to gather the right tools and materials. Here is what you will need:
- Shovels
- Buckets
- Spray bottles filled with water
- Snow
Ensure you have all the tools and materials you need before building.
Start Building the Base
The first thing you need to do is start building your snow fort's base. Use your shovels to pile up snow to create a base about two feet high and three feet wide. Make sure that the base is flat and level. Click here if you need more information about a snow day.
Create the Walls
Now that you have created the base, it's time to create the walls. Use your shovels to pile up snow on top of the base to create walls that are about three feet high.
Carve Out Windows
Now that you have created the walls, it's time to carve out windows. Use your shovel to cut out windows in the walls of your snow fort. Make sure that the windows are big enough to see out of but not too big that they weaken the fort's structure.
Create a Roof
Now that you have created the walls and windows, it's time to create a roof. Use your shovels to pile up snow on top of the walls to create a roof. Ensure the roof is sloped so that it doesn't collapse under the weight of the snow.
Add Finishing Touches
Now that you have created the basic structure of your snow fort, it's time to add some finishing touches. Use your spray bottles filled with water to spray the snow fort. This will help to harden the snow and make it more stable. You can add flags or banners to make your snow fort more festive.
Enjoy Your Snow Fort
Now that you have created your snow fort, it's time to enjoy it. Invite your friends and family to come and play in your snow fort. You can have snowball fights, play games, relax, and enjoy the winter wonderland.
Conclusion
Building a snow fort on your snow day is a fun and exciting activity that can create lasting memories. By following these steps, you can create a snow fort that is safe and stable. Remember to always be careful and take precautions to ensure your safety and the safety of those around you. Now, go out and enjoy the snow!

No comments yet