Creating an API with Ruby on Rails is simple and quick. The nature of Ruby allows it to use external services easily, which is why it is a great idea to develop an API using Ruby on Rails.
When a developer says that they are using Rails as the API, it indicates that they are using Ruby on Rails Development to build the backend, which is shared between the web application and native applications. Let’s see how you can develop an API using RoR.
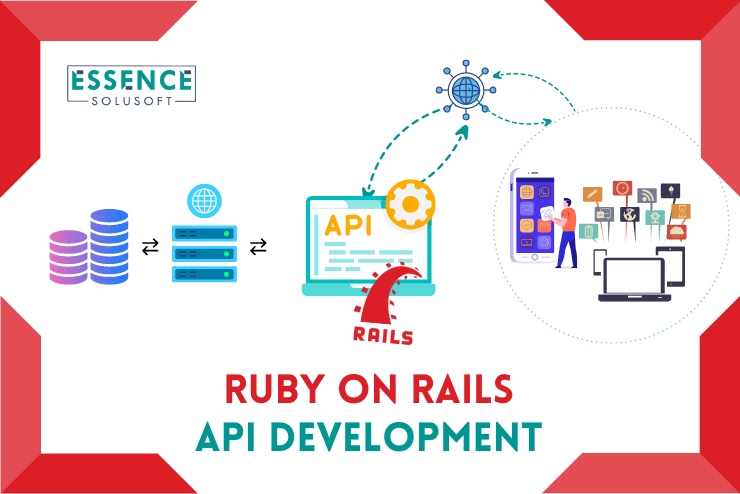
What is an API application?
Application Programming Interface, or API, allows complement to interact with one another. One can request from the Rails app to fetch information by providing URLs.
What is Ruby on Rails?
The best part about Ruby on Rails is that it is open-source software. Users can utilize Ruby on Rails to develop applications or collaborate to bring change to their code.
Ruby on Rails focuses on opting for convention rather than configurations and optimized systems for programmers. Ruby on Rails works excellently with other technologies like Java, CSS, and HTML.
Example: Ruby on Rails API Development Steps
Step 1: API creation using Rails
To initiate the creation of an API, one must first write the below-written code in the terminal of any chosen directory. Using the code written below will create an API named secret_menu_api
$ rails new secret_menu_api –-api --database=postgresql
You must type the below-written code in the terminal to open the API menu.
$ cd secret_menu_api code
Step 2: Enabling CORS (Cross-Origin Resource Sharing)
CORS enables other people to access the API. To prevent other people from accessing the API, one can disable the CORS. To open the cors.rb file, you need to open the file explorer where the Rails API created now is present.
config > initializers > cors.rb
You must uncomment the lines and change the code from origins ‘example.com’ to origins’*’.
Rails.application.config.middleware.insert_before 0, Rack::Cors do
allow do
origins '*'
resources '*',
headers: :any,
methods: [:get, :post, :put, :patch, :delete, :options, :head]
end
end
Open Gemfile by scrolling down from the explorer file. Uncomment gem ‘rack-cors’ in line number 26.
# in Gemfile
gem ‘rack-cors’
Open the terminal and run
$ bundle install
Step 3: Create a Controller, Model along with a table with
$ rails g resource Post title description
After using the command, it will then generate the below-mentioned files.
Model [Post]:
app > models > post.rb
Controller:
app > controllers > posts_controller.rb
Route:
config > routes.rb
Database Migration Table:
db > migrate > 20230127064441_create_posts.rb
Step 4: Attributes of Post Model
- Title of the post
- Description of the post
Specifying attributes
Add the following Code into db > migrate > 20230127064441_create_posts.rb:
class CreatePosts < ActiveRecord::Migration[6.0]
def change
create_table :posts do |t|
t.string :title
t.text :description
end
end
end
Migrating the table
$ rails db:migrate
If the data has been migrated successfully, then you will be able to see the following:
== 20230127064441 CreatePosts: migrating =============================
-- create_table(:posts)
-> 0.0022s
== 20230127064441 CreatePosts: migrated (0.0014s) ====================
Step 5: Defining display, index, destroy, update, and create actions.
Here are the implications of the actions:
- Index: It will display all the posts present in the database.
- Show: It will display the specific(given as an id) post.
- Create: It will make the post’s instance.
- Update: It will update the post-item instance.
- Delete: It will delete specific post items.
Now copy and then paste the below code in secret_menu_intems_controller.rb.
Now let’s write API magic over here.
app > controllers > posts_controller.rb
class PostsController < ApplicationController
def index
posts = Post.all
render json: posts, status: 200
end
def show
post = post.find_by(id: params[:id])
if post
render json: post, status: 200
else
render json: { error: “Post Not Found” }
end
end

def create
post = Post.new(
title: params[:title],
description: params[:description]
)
if post.save
render json: post
else
render json: { error: “Error on creating a record” }
end
end
def update
post = Post.find_by(id: params[:id])
post.update(
title: params[:title],
description: params[:description]
)
render json: {message: “#{post.title} has been updated!”, status: 200}
end
def destroy
post = Post.find_by(id: params[:id])
if post
post.destroy
render json: “#{post.title} has been deleted!”
else
render json: { error: “Post Not Found” }
end
end
end
Step 6: Creating routes for index, create, show, delete, and update actions.
Routes receive HTTP requests that come from the client side. We have to forward it using the correct actions. To configure the route, copy the following code and paste it into the route.rb.
# config > routes.rb
Rails.application.routes.draw do
resources :posts, only: [:index, :show, :create, :update, :destroy]
end
Step 7: Seeding the data
Now in the database, create secret menu item instances.
# db > seed.rb
post1 = Post.create(title: "Better way to improve Ruby on Rails coding", description:"Lorem Ipsum is simply dummy text of the printing and typesetting industry.")
post2 = Post.create(title: "perfect Combination of Angular + Ruby on Rails", menu_description:"Lorem Ipsum is simply dummy text of the printing and typesetting industry.")
Seeding the data
$ rails db:seed
Verify if seeding was correctly done:
$ rails c
# It will now show a console
2.6.1 :002 >
Now you can extract all the instances of secret menu items by typing SecretMenuItem.all
2.6.1 :002 > Post.all
Post Load (0.1ms) SELECT "secret_menu_items".* FROM "posts"
=> #<ActiveRecord::Relation [#<Post id: 1, title: "Better way to improve Ruby on Rails coding", description:"Lorem Ipsum is simply dummy text of the printing and typesetting industry.">, #< Post id: 2, title: "perfect Combination of Angular + Ruby on Rails", menu_description:"Lorem Ipsum is simply dummy text of the printing and typesetting industry.">]>
If all the instances are visible, then the seeding was done correctly.
Check Your Magic
- Start rails server.
- Go to your preferred browser(Or you can check into POSTMAN also).
- Pass the following line into the browser URL
Conclusion
The digital world is becoming more and more API-driven, and API development is the prime need for effective and faster digitization. Developing APIs in Ruby on Rails is the first choice for businesses as it not just creates faster APIs but also in a secure and scalable way.
Being one of the top Ruby on Rails development company, our RoR developers develops APIs for our customers from various industry segments.
Feel free to get in touch with us to explore new ways and possibilities with API and RoR Development.
Note: This Post Was First Published on https://essencesolusoft.com/blog/ruby-on-rails-ror-api-development

No comments yet