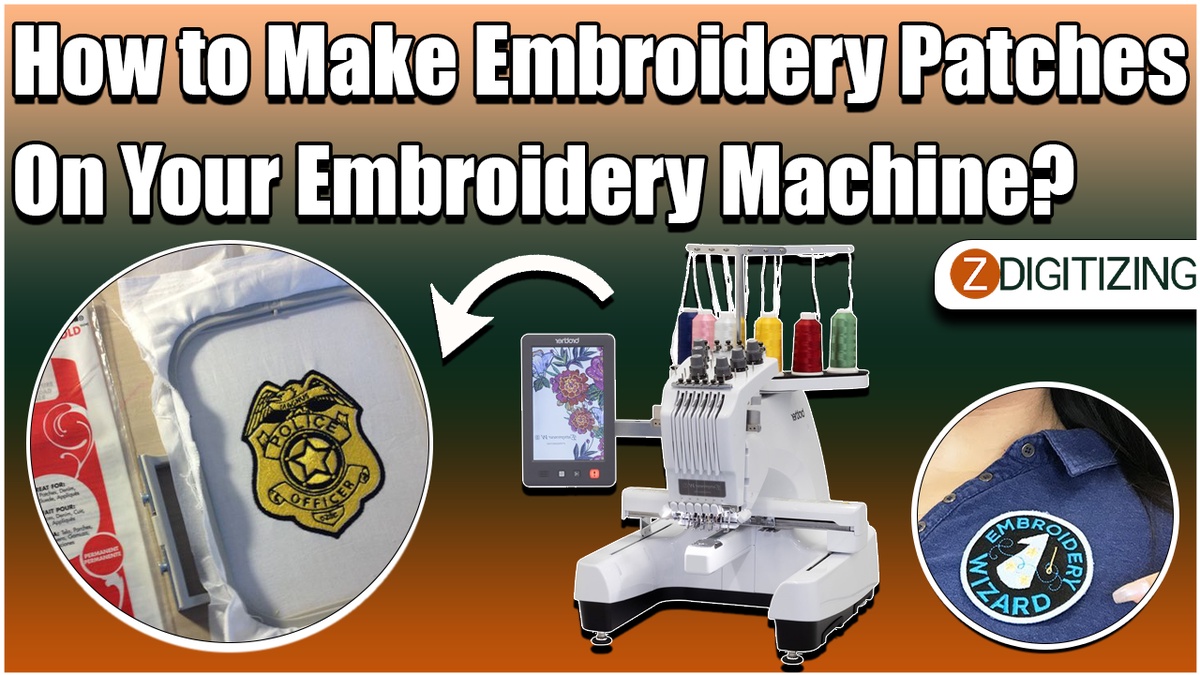
Embroidery machines, coupled with advanced embroidery digitizing services, have made it easier than ever to create custom embroidery patches. Whether you're a hobbyist or running a business, making your own patches adds a personal touch to garments, accessories, or promotional items. In this guide, we'll walk you through the steps to make embroidery patches using your embroidery machine and machine embroidery designs.
I. Understanding Embroidery Digitizing Services
A. The role of embroidery digitizing in creating machine-readable designs B. Overview of services like ZDigitizing for quality digitized files C. Importance of choosing the right digitizing service for accurate designs
II. Selecting the Right Design for Patches
A. Choosing machine embroidery designs suitable for patches B. Considering factors like design complexity and stitch density C. Adapting designs to fit the patch size and shape requirements
III. Selecting the Right Fabric and Stabilizer
A. Choosing a sturdy fabric for the patch base B. Matching stabilizer to the fabric for added support C. Ensuring the combination provides a stable embroidery surface
IV. Hoop Placement and Stabilizing the Fabric
A. Properly placing the fabric in the embroidery hoop B. Ensuring the fabric is taut and secure for accurate stitching C. Using adhesive stabilizers for added support during embroidery
V. Loading the Design into the Embroidery Machine
A. Transferring the digitized design file to the embroidery machine B. Aligning the design within the hoop boundaries C. Checking machine settings for thread colors and stitch order
VI. Embroidering the Patch
A. Starting the embroidery process with a test run B. Monitoring the machine for any thread breaks or issues C. Allowing the machine to complete the embroidery process
VII. Trimming and Finishing the Patch
A. Carefully removing the fabric from the hoop B. Trimming excess threads and stabilizer from the patch C. Inspecting the patch for quality and making any necessary adjustments
VIII. Adding Backing Material
A. Choosing the appropriate backing material for the patch B. Applying heat-activated backing for adhesive patches C. Ensuring a secure bond between the patch and backing material
IX. Optional: Edge Treatment for a Professional Finish
A. Exploring edge treatment options, such as satin stitches or merrowed edges B. Adding a border to enhance the durability and aesthetics C. Customizing the edge treatment based on the intended use of the patch
X. Quality Control and Inspection
A. Inspecting the final patch for any imperfections B. Checking for loose threads, alignment issues, or missing details C. Making adjustments as needed to achieve a high-quality result
XI. Conclusion: Personalized Patches with Precision
A. Celebrating the achievement of creating custom embroidery patches B. Reflecting on the role of embroidery digitizing services in the process C. Encouraging experimentation and creativity in future embroidery projects
Embarking on the journey of making your own embroidery patches is a rewarding experience, amplified by the precision and versatility provided by embroidery digitizing services like ZDigitizing. As you master the art of creating patches with your embroidery machine, the possibilities for personalization and customization become limitless.

No comments yet