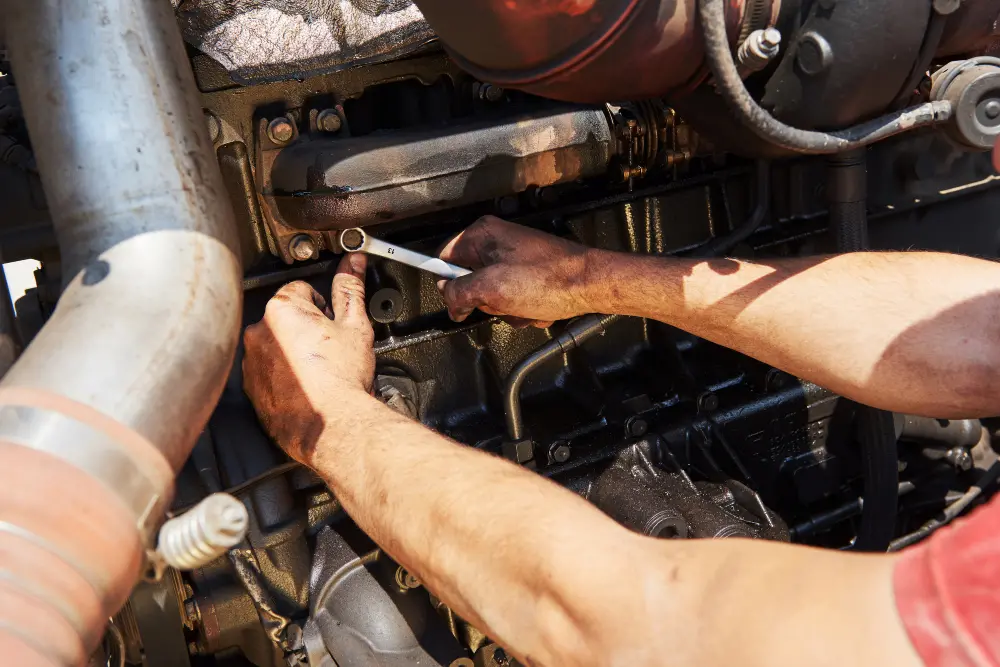
The heart of any small engine is its carburetor. It's that essential component that mixes air and fuel to create the combustible charge that brings the engine to life. But like any hard-working component in a machine, the carburetor can become clogged or dirty over time. When this happens, your once trusty equipment might refuse to start, sputter, or run inefficiently. The solution? A thorough cleaning of the carburetor. Welcome to your guide on how to repair small engines by cleaning the carburetor. In this mechanics workshop of words, you'll gain the knowledge and confidence to tackle this task on your own.
Understanding the Importance of a Clean Carburetor
Before diving deep into the process, it's pivotal to appreciate the role of a clean carburetor. The smoother the mixture of air and fuel, the more efficiently an engine runs. When your carburetor is clean, it delivers optimal performance, increased fuel efficiency, and a longer engine life. However, if left neglected, residues from old fuel or dirt can accumulate, causing your engine to underperform. Hence, it's a skill often highlighted in every mechanic’s workshop.
Identifying When Your Carburetor Needs Cleaning
While attending a mechanics workshop, one of the first things you'll be taught is to recognize the signs of a dirty carburetor. They include:
- Difficulty in starting the engine.
- The engine dies shortly after starting.
- Irregular idle or a surge in RPM.
- Decreased engine power.
- Excessive fuel consumption.
If your small engine exhibits any of these symptoms, it's time to roll up your sleeves and get to work.
Gathering Necessary Tools and Supplies
Before commencing, make sure you have the following items:
- A carburetor cleaner spray.
- A set of screwdrivers.
- A container to collect old fuel.
- Compressed air.
- Protective gloves.
- Safety glasses.
You might find many of these tools in a well-equipped mechanics workshop.
The Step-by-Step Process
Safety First
The foundation of any repair job is ensuring your personal safety and the safety of your surroundings. Before diving into the cleaning process, ensure that your workspace is conducive to handling flammable and potentially hazardous materials. If you're working indoors, it's of paramount importance to open all windows or doors, promoting proper air circulation. This not only helps to disperse any potentially harmful fumes but also provides you with a fresh atmosphere to work in. Additionally, always prioritize personal protective equipment. Use your safety glasses to protect your eyes from any accidental splashes of cleaner or debris. Slip on those gloves to shield your hands from any chemicals and provide a better grip on your tools.
Disconnect the Fuel
Engines and fuel go hand in hand. But when working on carburetor cleaning, it's best to separate the two. Before you even think about touching the carburetor, locate and disconnect the fuel line. As a precautionary measure, have a container nearby, preferably one with a spout, to collect any fuel that might decide to make an untimely exit. This not only prevents wastage but also ensures a mess-free workspace.
Remove the Carburetor
Armed with your trusty screwdriver, it’s time to detach the carburetor from its home in the engine. Depending on the design and model of your engine, this could involve removing several screws or bolts. Take your time and ensure you keep track of all the parts and screws; losing them can be a real headache. If at any point you feel uncertain or think you might be missing a step, don't hesitate to consult a mechanics workshop manual or seek advice from reliable online sources.
Spray the Cleaner
With the carburetor free from the engine, it's time to address the main culprit - the accumulated gunk. Using a carburetor cleaner spray, be liberal in your application. Aim to reach every nook, cranny, hole, nozzle, and pathway. Once you've ensured comprehensive coverage, give it a few minutes. This waiting period allows the cleaner to penetrate and dissolve the stubborn build-up effectively.
Use Compressed Air
Think of this step as the rejuvenation phase. After the cleaner has done its job, it's time to ensure that all the dissolved debris and residues are thoroughly expelled. Using compressed air serves this purpose beautifully. By directing bursts of air through the carburetor, you ensure that it's as clean as the day it was made, ready to function at its best.
Inspect for Wear
While cleaning is a significant part of this process, maintenance isn't just about cleanliness. Taking the carburetor apart presents a prime opportunity to inspect it for any signs of wear, tear, or damage. This proactive step, commonly emphasized in a mechanics workshop, could save you future troubles. Whether it's eroded sections, damaged components, or signs of impending failure, catching these early means you can either replace the problematic components or, in extreme cases, the entire carburetor.
Reassemble and Reconnect
With the carburetor sparkling clean and inspected, the reconstruction phase begins. Carefully piece it back together, ensuring every part returns to its rightful place. Once reassembled, reattach it to the engine, making certain that every connection, bolt, and screw is tight and secure. A well-fitted carburetor ensures optimal engine performance. For more details visit us at https://www.tmchiptuning.com/.
Test Your Engine
The culmination of your efforts boils down to this final step. With everything back in place, it's time to bring the engine back to life. Upon starting, if your cleaning process is thorough, you should witness a palpable difference in its performance. A smoother start, steadier idling, and enhanced efficiency are the rewards of your diligent work.
Regular Maintenance: The Key to Longevity
While cleaning the carburetor is essential, remember that prevention is always better than cure. Regular maintenance is the mantra in every mechanic's workshop. By ensuring that you use fresh fuel, clean air filters, and store equipment properly, you can greatly reduce the frequency with which you'll need to clean the carburetor.
Conclusion
In every mechanic's workshop, the carburetor stands as a testament to the beauty of engineering in small engines. Ensuring it's clean and functioning optimally not only guarantees optimal engine performance but also extends the life of your machine. While the task might seem daunting initially, with the right tools and a step-by-step approach, cleaning a carburetor can become a routine activity that ensures your equipment runs smoothly for years. So the next time your engine starts acting up, before rushing to a mechanics workshop, remember this guide and give your carburetor the care it deserves.
Read More:
Ultimate Guide to Building a Stellar Car Repair Website

No comments yet