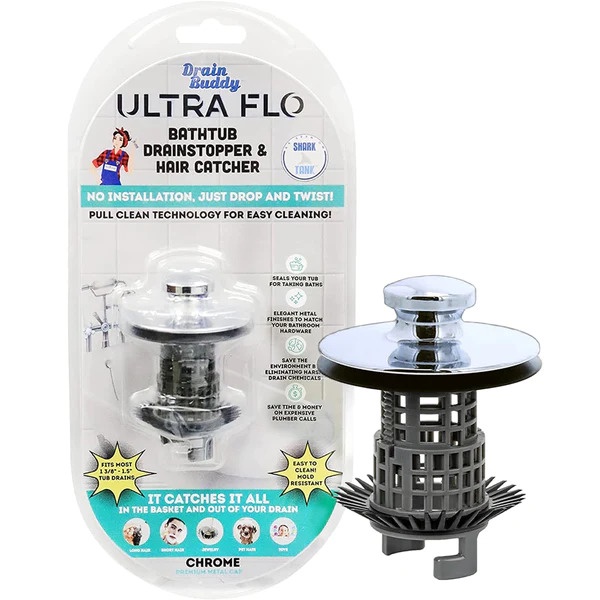
Introduction:
Bathtub maintenance is an essential aspect of ensuring a clean and functional bathroom. One common task that may arise is removing the strainer from your bathtub. Whether you're dealing with a clogged drain or simply want to clean the strainer, it's a straightforward process that you can easily accomplish with a few simple tools. In this guide, we'll walk you through the steps on how to remove a bathtub strainer without mentioning any brand names.
Step 1: Gather Your Tools
Before you start, gather the necessary tools for the job. You'll typically need a screwdriver (Phillips or flat-head, depending on the strainer), a pair of pliers, and a bucket or towel to catch any water that may drip during the process.
Step 2: Identify the Type of Strainer
Bathtub strainers come in different designs, but they usually fall into two categories: those held in place by screws and those with a simple snap-on design. Examine your strainer to determine which type you have before proceeding.
Step 3: Remove the Screws
If your bathtub strainer is secured with screws, use the appropriate screwdriver to carefully remove them. Turn the screws counterclockwise until they are completely loosened. Keep the screws in a safe place for reinstallation later.
Step 4: Loosen a Snap-On Strainer
For snap-on strainers, use a flat-head screwdriver or a pair of pliers to gently pry it away from the drain. Work your way around the edges, applying even pressure until the strainer pops off. Be cautious not to force it, as this could damage the strainer or the bathtub.
Step 5: Clean the Strainer and Drain
Once the strainer is removed, take the opportunity to clean it thoroughly. Remove any hair, soap scum, or debris that may have accumulated. You can also use a brush or an old toothbrush to scrub away stubborn residue. Additionally, check the drain for any clogs or buildup.
Step 6: Reinstall the Strainer
After cleaning, place the strainer back into position. For screw-on types, reattach the screws and tighten them securely. If you have a snap-on strainer, press it firmly into place until you hear or feel it click.
Step 7: Test the Drain
Finally, turn on the water to test the drain. Ensure that the strainer is properly secured and that water flows freely through the drain without any leaks.
Conclusion:
Removing a strainer from your bathtub is a simple DIY task that can contribute to the overall cleanliness and functionality of your bathroom. By following these steps, you can efficiently remove, clean, and reinstall the strainer without the need for professional assistance, saving you both time and money.


No comments yet