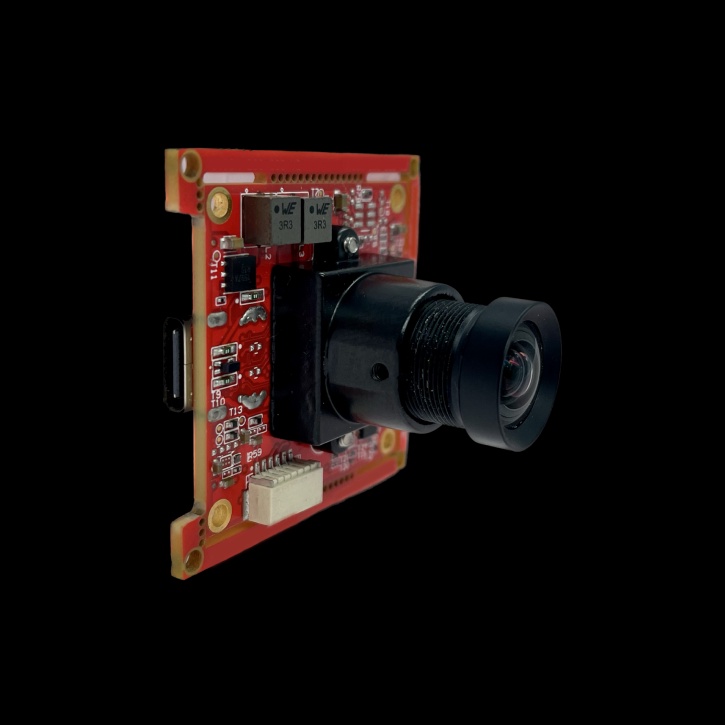
USB cameras are now indispensable instruments in the world of digital communication, used for live streaming, video conferencing, content creation, and other purposes. Using the power of visual communication is simple when you know how to set up a USB camera on a Windows computer. We'll take you step-by-step through the setup of a USB camera on your Windows computer in this extensive guide, making the procedure easy and hassle-free.
Step 1: Connect the USB Camera
Start by connecting your USB camera to an available USB port on your Windows PC. Ensure that the camera's USB cable is securely plugged into the port to establish a stable connection.
Step 2: Allow Access to Camera (if prompted)
In some cases, Windows may prompt you to allow access to the camera for certain applications. If prompted, click "Allow" to grant permission for the camera to be used by the system and applications.
Step 3: Install Device Drivers (if necessary)
Windows typically detects and installs drivers for USB cameras automatically. However, if your camera requires specific drivers for full functionality, you may need to install them manually. Visit the manufacturer's website and download the appropriate drivers for your camera model. Follow the on-screen instructions to install the drivers on your Windows PC.
Step 4: Verify Camera Installation
Once the drivers are installed, verify that the USB camera is recognized by your Windows system. By performing a context menu right-click on the Start button and choosing "Device Manager," you can launch the "Device Manager".
Look for the camera under the "Imaging devices" or "Cameras" category. If the camera is listed without any error indicators, it has been successfully installed.
Step 5: Test the Camera
To ensure that the USB camera is functioning correctly, open a camera application or video conferencing software on your Windows PC. Popular options include the built-in Camera app in Windows 10 or third-party applications like Zoom, Skype, or Microsoft Teams. Launch the application and select the USB camera as the video input device. Verify that the camera's feed is displayed correctly and that audio is captured if the camera has a microphone.
Step 6: Adjust Camera Settings (optional)
Depending on your preferences and requirements, you may want to adjust various camera settings such as resolution, frame rate, exposure, white balance, and autofocus. Most camera applications and software provide options to customize these settings to optimize the camera's performance for your specific use case.
Step 7: Enjoy Using Your USB Camera
With the USB camera successfully set up on your Windows PC, you're ready to enjoy the benefits of visual communication, whether it's for video calls, live streaming, recording content, or capturing memories. Experiment with different applications and scenarios to explore the full potential of your USB camera and unlock new possibilities in digital communication and content creation.
In conclusion, setting up a USB camera on a Windows PC is a simple and straightforward process that enables you to harness the power of visual communication with ease. By following this step-by-step guide, you can quickly connect and configure your USB camera, ensuring seamless integration with your Windows system and empowering you to engage with others through high-quality video and audio experiences. Whether you're connecting with colleagues, friends, or family members, a USB camera opens up a world of possibilities for communication, collaboration, and creativity in the digital age.


No comments yet