Compact and maneuverable, AR pistols remain popular. If you’re making your own build, you’re going to need to know how to assemble it.
This short guide should help with that - at least putting together the AR15 pistol upper.
Install Barrel and Gas System
The first step in assembly is attaching the barrel to the stripped AR15 pistol upper. Apply an anti-seizure lubricant to the upper and barrel threads, preferably one that contains aluminum or copper (and is free of graphite to prevent galvanic corrosion) then screw on the barrel.
Once the barrel is attached, tighten the barrel nut. The best tool to use for this is an armorer’s wrench.
With the barrel installed, connect the gas block and tube via an appropriate roll pin (unnecessary if they are already joined) and then slip it over the barrel and into the upper receiver. It should go without saying, but be sure that your gas system is appropriate for your barrel length.
There are two screws on the gas block that tighten to the barrel, creating a seal. Apply a drop of Loctite to each screw, then ratchet it down.
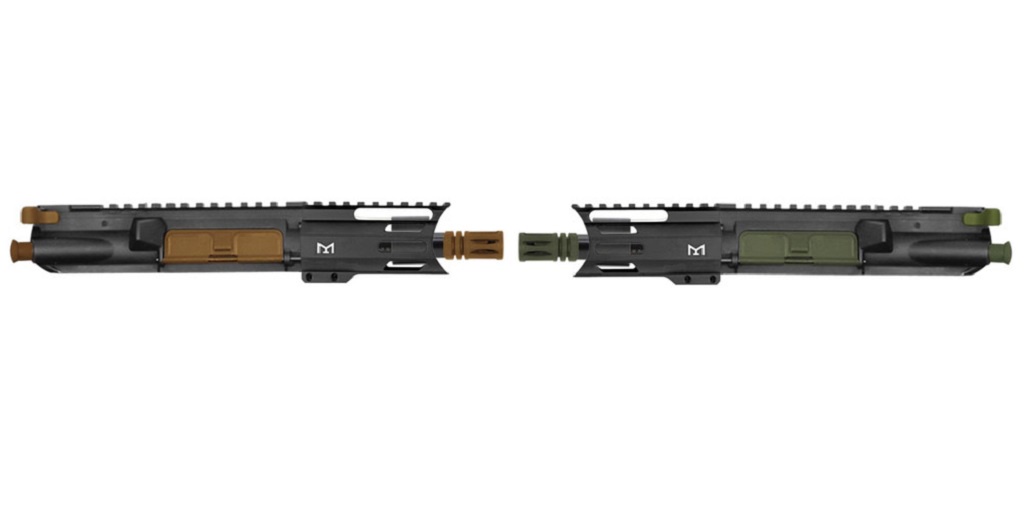
Handguard and Muzzle Device
Installing the handguard should be fairly easy. Simply slide it over the barrel and screw it into place. Depending on your AR15 pistol upper there will probably be somewhere between 3 and 8 screws that secure the handguard.
Next, install your muzzle device; thread it onto the barrel and make sure that it is oriented properly once you have it in place. As a result, you should be cognizant of where you start threading it onto the muzzle so it ends up in the right place. If it doesn’t, take it off, reorient, and start again.
If you do not have a muzzle device but your barrel is threaded, install a thread protector to protect the threads while you’re using the rifle.
Dust Cover, AR15 Charging Handle and BCG, and Stock
The most complicated part of AR15 pistol upper assembly is already in the rearview. Now you just need to add on a few parts.
If your AR upper does not have a pre-installed dust cover, you will need that, plus a C-clamp, bar and retaining spring. Push the bar through the upper receiver’s holes and once you have it halfway in, rotate the spring downwards, push the bar all the way to the next hole, then use the C-clamp to secure it, and the dust cover, in place.
Turn the AR15 pistol upper over and you will see the channel where the charging handle is supposed to fit into place. Before inserting the charging handle into this channel, insert the bolt carrier group you’ve selected for the build, gas key side forward, then slide the charging handle in after it
The last step of AR15 pistol upper assembly is attaching the butt stock. First, thread on the buffer tube, then attach the stock to the tube. Attachment depends on manufacturer, but many producers use a series of locking levers and pins to attach to the buffer tube system.
Looking for AR15 Pistol Upper Parts?
Looking for an AR15 pistol upper for your next build, or for parts for AR builds? Visit MCS Gearup online at the previous link to see what they carry. They carry a wide range of AR pistol parts, as well as assembled uppers, lower parts kits, and builds for carbines and full-sized rifles.
Also, MCS Gearup carries a variety of sundry parts for making builds piecemeal from the ground up including AR15 charging handles, bolt carrier groups, stripped uppers, handguards, and much more. Get in touch with them through their website or at Sales@MCSGearup.com if you have any questions.
For more information about skeletonized ar 15 and Buffer Tube Kits Please visit: MCS Gearup.

No comments yet