Introduction
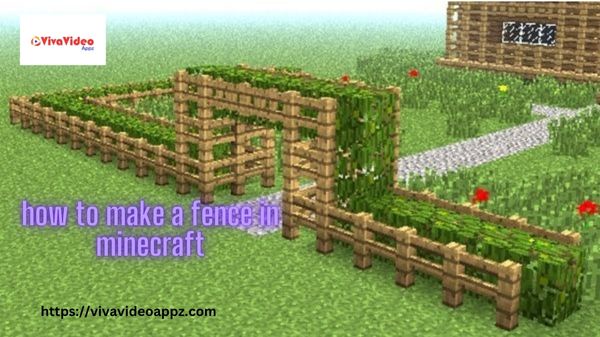
In the vast, pixelated world of Minecraft, creating boundaries and securing your territory is crucial for survival and aesthetics alike. One fundamental way to do this is by building fences. Whether you're protecting your livestock, marking property lines, or simply enhancing the landscape, mastering the art of fence-building is essential. In this step-by-step guide, we'll walk you through the process of crafting and erecting how to make a fence in minecraft.
Materials Needed
Before diving into construction, gather the necessary materials:
- Wood Planks (Oak, Spruce, Birch, Jungle, Acacia, or Dark Oak)
- Sticks
- Crafting Table
- Optionally, you may want to use different types of wood for aesthetic variation.
- Crafting the Fence
Open Your Crafting Table: Begin by opening your crafting table interface.
Arrange Materials: Place your wood planks in the left and right columns of the crafting grid, leaving the middle column empty. Each plank will yield four sticks.
Craft Sticks: Once arranged, you'll find sticks in the middle column of the crafting grid.
Create the Fence: Place the sticks vertically in the middle column of the crafting grid. You'll need six sticks to craft two fence sections.
Retrieve Fences: After crafting, retrieve your fences from the crafting output box.
Placing the Fence
Select Your Fences: Ensure your newly crafted fences are in your inventory.
Choose a Location: Decide where you want to place your fence. Consider terrain, boundaries, and aesthetic preferences.
Begin Placement: Stand in the location where you want to start your fence. Right-click or tap the ground to place the first fence post.
Continue Placement: Move to the next location where you want a fence post and repeat the process. Each post will connect to the last, allowing you to create a continuous barrier.
Customize: Experiment with fence placement to create corners, enclosures, or decorative patterns.
Tips for Effective Fence-Building
Planning: Before crafting fences, plan out your design and measure the area you want to enclose. This prevents wastage of materials and ensures a coherent layout.
Consistency: For a uniform look, use the same type of wood for all components of your fence – posts, rails, and gates.
Gates: Integrate gates into your fence design for easy access. Craft gates using a similar process to fences, but with a full row of sticks instead of two.
Height Variation: Experiment with different fence heights to suit your needs. Taller fences provide better security, while shorter ones may be more aesthetically pleasing for certain builds.
Decoration: Enhance your fence with decorations like lanterns, vines, or flowers to add personality to your Minecraft world.
Conclusion
Building fences in Minecraft serves practical and aesthetic purposes, from securing livestock to enhancing the visual appeal of your landscape. By following this step-by-step guide, you can master the art of fence-building and create boundaries that are both functional and stylish. So, grab your materials, fire up your crafting table, and start building your perfect perimeter in the boundless world of Minecraft.

No comments yet