In today's interconnected world, a reliable and seamless internet connection is a necessity. Whether you're streaming your favorite shows, working from home, or staying in touch with loved ones, a strong Wi-Fi signal is crucial. This is where the My Netgear Extender setup comes into play, offering an efficient solution to enhance and extend your network coverage. In this article, we will walk you through the process of setting up your network using the My Netgear Extender Setup, ensuring that you enjoy a seamless online experience.
Understanding the My Netgear Extender:
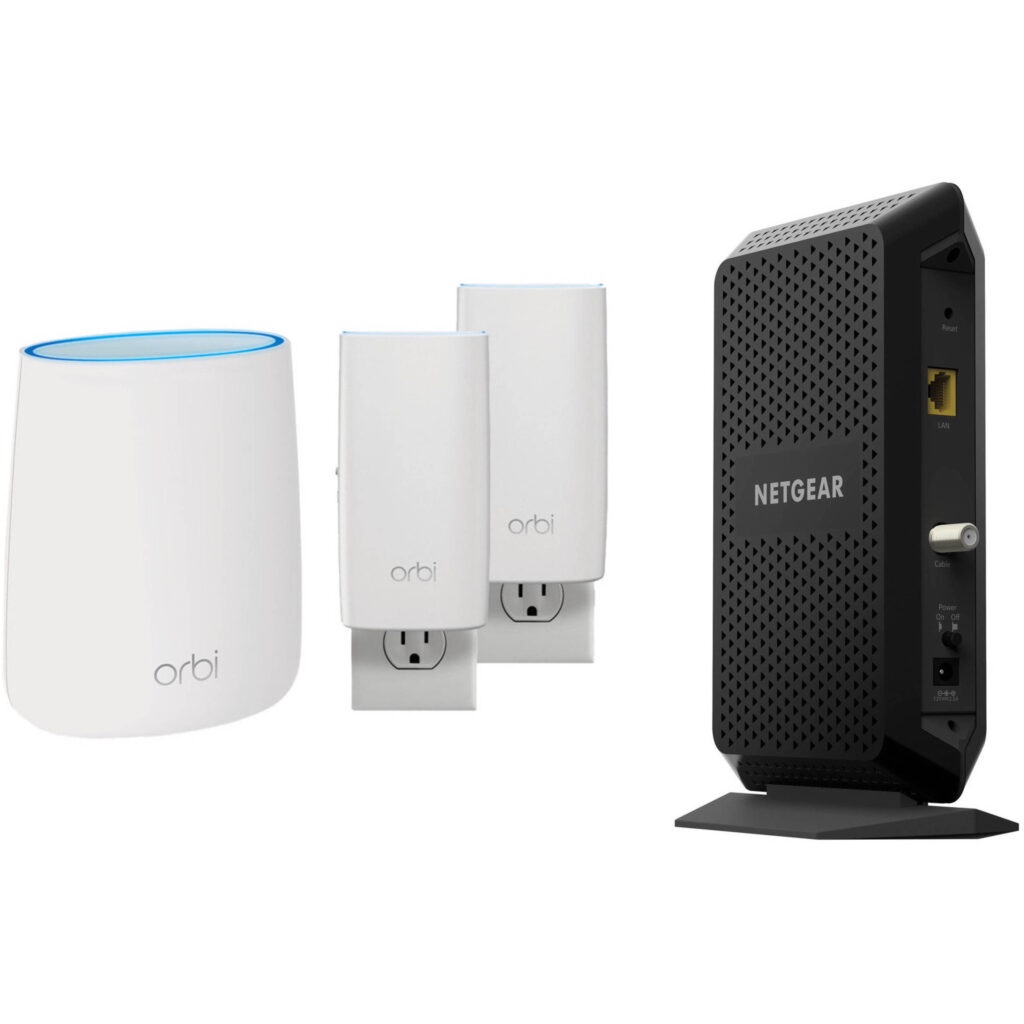
The My Netgear Extender is a powerful device designed to expand the range of your existing Wi-Fi network. It works by capturing the existing wireless signal from your router and then amplifying and rebroadcasting it, effectively eliminating dead zones and ensuring a strong connection throughout your home or office. This can be particularly beneficial in larger spaces or areas with obstructions that weaken the Wi-Fi signal.
Step-by-Step Setup Guide:
-
Placement: Choose a strategic location for your My Netgear Extender. It should be positioned within the range of your existing Wi-Fi router but close enough to areas where you need better coverage. Avoid placing it in spots with thick walls, metal objects, or electronic interference.
-
Power Up: Plug in your extender and ensure that it is receiving power. The indicator lights will help you determine if it's properly connected.
-
Connect to Extender: On your computer or mobile device, search for available Wi-Fi networks. You'll find a new network name that includes "My Netgear Extender." Connect to this network.
-
Launch Web Browser: Once connected, open a web browser. You will be automatically redirected to the My Netgear Extender setup page. If not, in the address bar and hit Enter.
-
Create an Account: If you're setting up your extender for the first time, you'll need to create a My Netgear account. This account will allow you to manage and configure your extender settings.
-
Follow Setup Wizard: The setup wizard will guide you through the process. You'll likely need to select your existing Wi-Fi network from the list and enter the password. The extender will then establish a connection to your router.
-
Network Name and Password: You can choose to keep the same network name and password as your router, or you can create a new one for the extended network.
-
Placement Optimization: After setup is complete, ensure that your extender is positioned optimally. You can move it around to find the best location where it enhances the signal strength in previously weak areas.
Managing Your Extended Network:
Once your My Netgear Extender setup is complete, you can manage your extended network through the My Netgear account. This allows you to change settings, monitor device connections, and perform firmware updates for optimal performance.
Conclusion:
In a world where connectivity plays a pivotal role, a robust Wi-Fi signal is indispensable. The My Netgear Extender setup offers a user-friendly and effective solution to extend your network's reach, banishing dead zones and ensuring seamless connectivity. By following the step-by-step guide provided in this article, you can set up your extender effortlessly and enjoy the benefits of an expanded network coverage. Stay connected, stream without interruptions, and work without limitations with the power of My Netgear Extender.

No comments yet