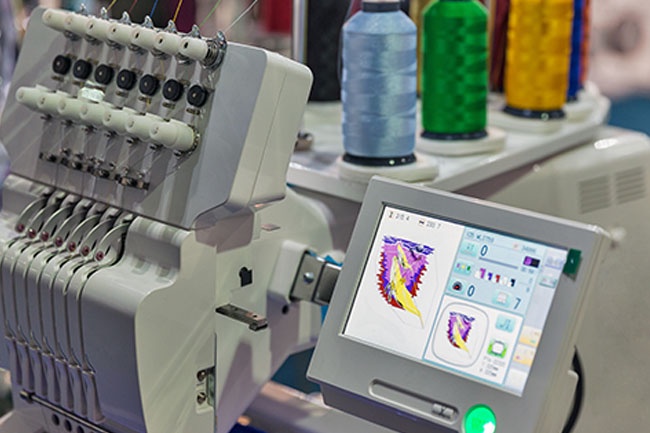
Custom Embroidery Digitizing is a fantastic way to add a personal touch to your clothing, accessories, and home decor. Whether you want to create custom patches, monograms, or intricate designs, digitizing your embroidery patterns allows you to bring your creative visions to life. In this guide, we will walk you through the process of custom embroidery digitizing, from understanding the basics to choosing the right software and digitizing your designs step-by-step.
Understanding the Basics of Embroidery Digitizing
Embroidery digitizing transforms your artwork into a format that embroidery machines can interpret, directing them on the stitching path, color sequence, and specific stitch types to use. Key elements to grasp include the variety of stitch types like satin, fill, and running stitches, each serving different design aspects. Stitch density, which refers to how close the stitches are to each other, and underlay stitching, a foundational layer that stabilizes the fabric, are also pivotal for ensuring the final embroidered piece looks polished and professional. Understanding these fundamentals is critical for creating designs that not only look good on screen but also translate beautifully to fabric when embroidered.
Preparing Your Artwork for Digitizing
To prepare your artwork for digitizing, begin by refining your image. Ensure all unnecessary elements are eliminated, and optimize the clarity and contrast to enhance stitch definition. If your design includes text or fine details, consider their scalability and how they will translate into stitches. Converting your image into a vector format can be beneficial for maintaining quality as you adjust sizes. Additionally, color optimization is crucial; while digitizing software can match most colors, simplifying your palette to the essential shades that represent your design accurately will streamline the embroidery process. Remember, the cleaner and more defined your initial artwork, the smoother the digitization will be, paving the way for a more successful embroidery outcome.
Choosing the Right Embroidery Digitizing Software
Selecting the optimal software is a critical step in your custom embroidery digitizing journey. Key considerations should include the software’s user-friendliness, its compatibility with your embroidery machine, and the variety and sophistication of editing features it offers. For those just starting, a program with an intuitive interface and comprehensive tutorials can significantly ease the learning curve. Experienced users might prioritize advanced editing capabilities and customization options. Popular choices among enthusiasts and professionals alike are Wilcom Embroidery Studio for its extensive feature set, Hatch Embroidery for user-friendly design adjustments, and Brilliance for its versatility across different machine types. Ensuring the software meets your specific needs will facilitate a smoother digitizing process and enhance your overall creative experience.
Step-by-Step Guide to Digitizing Your Design
Launch your selected embroidery digitizing software and upload the design you've prepared.
Utilize the program's digitizing functions to outline and fill the various elements of your design, paying special attention to areas that require detailing.
Carefully assign specific stitch types and colors, considering the direction of each stitch to ensure accuracy and visual appeal.
Fine-tune the stitch density and incorporate underlay stitching as needed, to guarantee the embroidered output matches your expectations.
Conduct a thorough preview of your digitized design, adjusting any aspects that don't meet your standards.
Finally, save your meticulously crafted design in the file format compatible with your embroidery machine, ready for the next step of bringing your vision to tangible reality.
Testing Your Digitized Design
To ensure the success of your digitized design, conducting a trial run on a piece of scrap fabric is crucial. This preliminary test serves as a practical assessment of how your design translates from screen to stitch, enabling you to evaluate the fidelity of stitch patterns, color accuracy, and overall aesthetic appeal. It's an opportunity to identify any issues with thread tension or fabric compatibility that could affect the final product. Adjustments may be required to refine stitch density, correct color placements, or tweak the design's dimensions based on this test embroidery. This step is indispensable as it helps preempt potential problems, ensuring that the final embroidery on your chosen project material will meet your quality expectations.
Tips and Tricks for Successful Embroidery Digitizing
Maximizing the quality of your digitized embroidery designs requires attention to detail and a bit of creativity. Consider the composition of your design carefully; simpler designs often translate better into stitches and allow for clearer, more recognizable outcomes. Choosing the appropriate stabilizer is critical; it not only supports the fabric during the embroidery process but also affects the end result's quality and durability. Additionally, the type of thread you select plays a significant role in how your design materializes. Experimenting with different fabrics and design scales can significantly enhance your digitizing skills, providing valuable insights into how various materials react to embroidery. Diverse projects offer unique challenges and learning opportunities, pushing your capabilities and encouraging innovation. Embrace the experimentation process with different stitch types, directions, and effects to discover new and exciting design possibilities. Through practice and exploration, you'll find your niche and develop a keen eye for creating captivating, high-quality embroidered pieces.
Conclusion
Embarking on the journey of custom embroidery digitizing allows you to unleash your creativity and imprint a unique stamp on your personal items. With the comprehensive guide provided, from the initial steps of preparing your artwork to the final act of testing your digitized design, you're now equipped to turn your digital art into stunning embroidered pieces. The process, while intricate, is immensely rewarding, offering endless opportunities for customization and personalization. Remember, mastering the art of digitization takes time and patience; every project brings with it new learning curves and chances to refine your skills. As you continue to explore different designs, fabrics, and stitches, you'll discover more about your creative preferences and capabilities. Encouraged by the tips and tricks shared, let each project be a stepping stone towards achieving embroidery perfection. Now is the time to let your designs come to life, making each embroidery piece a testament to your artistic vision and digitizing prowess.


No comments yet