Introduction:
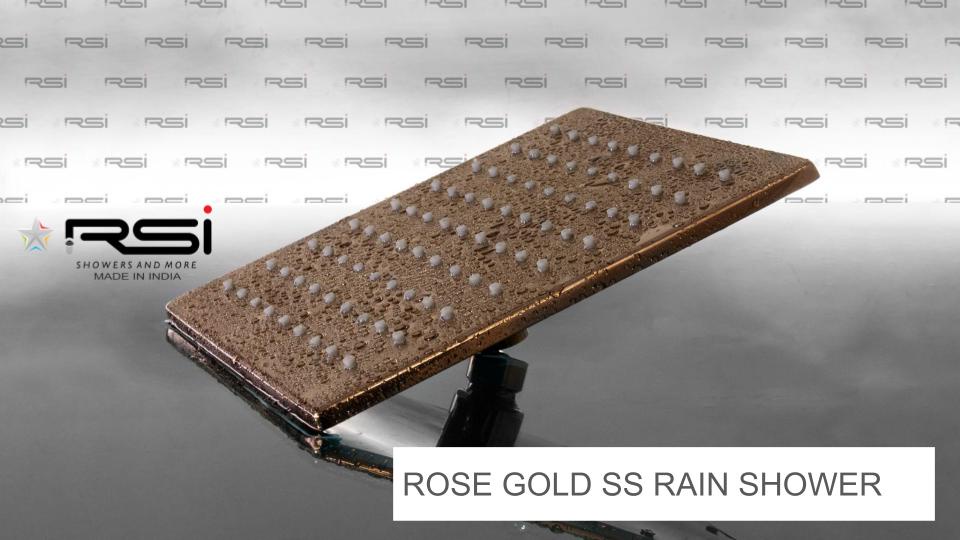
A ceiling-mounted shower head can transform your daily shower routine into a luxurious and rejuvenating experience. The gentle cascade of water mimicking a natural rainfall provides a spa-like atmosphere in your own bathroom. Installing a ceiling-mounted rain shower head may seem like a daunting task, but with the right tools and guidance, you can turn this into a rewarding DIY project.
Tools and Materials:
Before you start the installation process, gather the necessary tools and materials:
Ceiling-mount rain shower head kit
Adjustable wrench
Plumber's tape
Teflon tape
Drill and drill bits
Stud finder
Screwdriver
Pipe wrench
Plumber's putty
Step 1: Choose the Right Location:
Determine the ideal location for your rain shower head. Ensure it is centrally located in the shower space for even water distribution. Use a stud finder to locate ceiling joists, as this is where you'll anchor the shower head.
Step 2: Prepare the Ceiling:
Mark the chosen location on the ceiling. Use a drill to create a small hole and check for any obstructions or electrical wiring using a flashlight. Adjust the location if necessary, and then drill a larger hole for the shower arm.
Step 3: Install the Shower Arm:
Apply plumber's tape to the threads of the shower arm to create a watertight seal. Thread the arm into the ceiling, ensuring it is securely tightened. If you're installing an extension arm, use a pipe wrench to tighten it further.
Step 4: Apply Teflon Tape:
Wrap the threads of the shower arm with Teflon tape to prevent leaks. This creates a secure seal and ensures a smooth connection between the arm and the rain shower head.
Step 5: Attach the Rain Shower Head:
Most ceiling-mounted rain shower heads have a swivel joint that allows you to adjust the angle. Connect the rain shower head to the shower arm, making sure it is tightened securely but without over-tightening, which could damage the threads.
Step 6: Seal with Plumber's Putty:
If your rain shower head requires a flange to cover the gap between the ceiling and the head, apply plumber's putty to create a watertight seal. Press the flange against the ceiling, ensuring it is flush and secure.
Step 7: Test for Leaks:
Turn on the water supply and check for any leaks. If you notice any, use an adjustable wrench to tighten the connections further. Ensure the rain shower head provides a uniform and satisfying flow of water.
Step 8: Enjoy Your Luxurious Shower:
With the installation complete and any leaks addressed, it's time to step back and enjoy the luxurious experience of your new ceiling-mounted rain shower head. Adjust the angle and flow to your preference, and relish in the spa-like ambiance it brings to your bathroom.
Conclusion:
Installing a ceiling-mounted rain shower head can be a rewarding and relatively straightforward DIY project with the right tools and careful attention to detail. Elevate your daily shower routine by creating a serene and luxurious atmosphere right in your own bathroom. With the soothing sensation of rainfall, your newly installed rain shower head is sure to become a focal point of relaxation in your home.
Looking Ahead:
As RSI Bath commemorates its journey since 2014, the company stands at the threshold of even greater accomplishments. The vision that guided its inception continues to drive RSI Bath towards new horizons of innovation and customer satisfaction. With an unwavering commitment to excellence, RSI Bath is poised to shape the future of shower design, shower-arms and manufacturing.
In conclusion, the story of RSI Bath is a tale of passion, innovation, and a relentless pursuit of perfection. Since its establishment in 2014, RSI Bath has not only transformed bathrooms but has also left an indelible mark on the industry, setting standards for elegance, functionality, and sustainability. As RSI Bath continues to evolve, one can only anticipate the remarkable chapters that lie ahead in this journey of crafting showers that are a true embodiment of luxury and sophistication.


No comments yet