When it comes to enhancing the aesthetics and security of your property, few investments offer the timeless appeal and practicality of a well-built wood fence. Whether you're looking to create a safe enclosure for children and pets, increase privacy, or simply elevate your property's curb appeal, a carefully planned and expertly installed wood fence can make all the difference. In this guide, we'll walk you through everything you need to know about wood fence installation, from planning and preparation to maintenance tips for long-lasting beauty.
Planning Your Wood Fence Installation
Before diving into the installation process, it's essential to start with a clear plan. Consider the following factors:
1. Purpose and Functionality
What are your primary reasons for installing a wood fence? Are you aiming to enhance privacy, add security, or simply define your property boundaries? Understanding your goals will help you choose the right fence style and design.
2. Property Line and Regulations
Determine your property boundaries and check local regulations and homeowners' association guidelines regarding fence height, materials, and placement. Failure to comply with these regulations could result in costly fines or the need to remove and reinstall your fence.
3. Style and Design
Wood fences come in various styles, from classic picket fences to modern horizontal slat designs. Consider the architectural style of your home and surrounding landscape when selecting a fence design that complements your property.
4. Materials and Budget
While wood is a popular choice for its natural beauty and versatility, there are several wood species to choose from, each with its unique characteristics and price points. Cedar and redwood are prized for their durability and resistance to rot and decay, while pressure-treated pine offers an affordable option with proper maintenance.
Wood Fence Installation Process
Once you've finalized your plans and gathered the necessary permits, it's time to begin the installation process. Here's a step-by-step guide to help you navigate through the process:
1. Gather Supplies and Tools
Before you start digging post holes, make sure you have all the necessary supplies and tools on hand. These may include:
- Wood fence panels or pickets
- Wooden posts
- Concrete mix
- Gravel
- Nails or screws
- Level
- Post hole digger
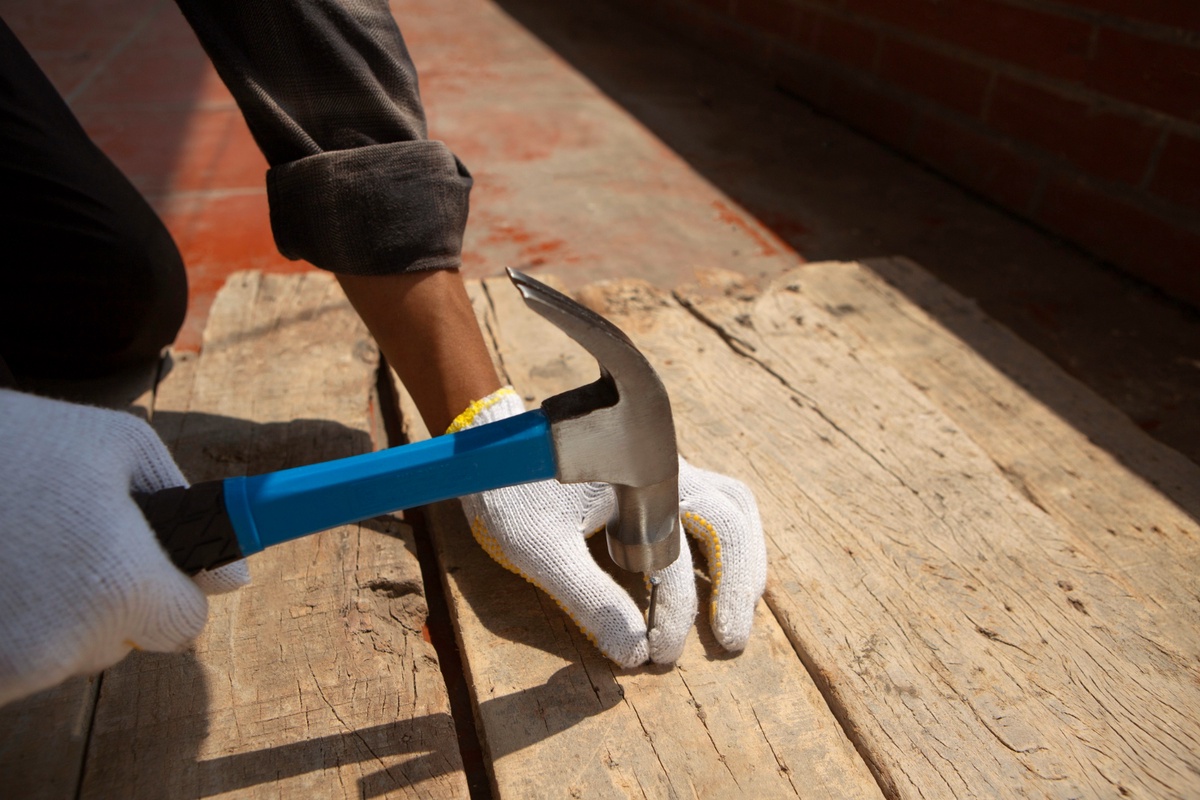
- Hammer or screwdriver
2. Mark Fence Line and Post Locations
Use stakes and string to mark the perimeter of your fence and the locations for your fence posts. Ensure that the corners are square and that the fence line follows your property boundaries.
3. Dig Post Holes
Dig holes for your fence posts using a post hole digger, making sure they are deep enough to provide stability and support for your fence. The depth of the holes will depend on the frost line and the height of your fence.
4. Set Posts and Install Rails
Place your wooden posts in the holes and secure them with concrete mix, ensuring they are plumb and level. Once the posts are set, attach horizontal rails to support the fence panels or pickets.
5. Attach Fence Panels or Pickets
With the framework in place, attach the wood fence panels or pickets to the rails using nails or screws. Make sure each panel is level and evenly spaced for a professional finish.
6. Finish and Seal
Once the fence is installed, apply a quality wood sealer or stain to protect it from the elements and enhance its natural beauty. Regular maintenance, including cleaning and resealing, will help prolong the life of your wood fence.
Maintenance Tips for Longevity
To ensure your wood fence stands the test of time, follow these maintenance tips:
1. Regular Inspection
Periodically inspect your fence for signs of damage, such as rot, warping, or loose boards. Address any issues promptly to prevent further damage.
2. Cleaning
Remove dirt, debris, and mildew buildup from your fence using a mild detergent and water solution. Avoid using harsh chemicals or pressure washers, as they can damage the wood.
3. Repairs
Replace any damaged or rotted boards promptly to maintain the structural integrity of your fence. Secure loose nails or screws and reinforce weak spots as needed.
4. Sealing
Reapply a wood sealer or stain every few years to protect your fence from moisture, UV rays, and other environmental factors. This will help prevent fading, warping, and rotting.
Wood fence installation is a rewarding project that can enhance the beauty, privacy, and security of your property for years to come. By following these tips and guidelines, you can ensure a successful installation process and enjoy the timeless appeal of your wood fence for generations. If you're ready to transform your outdoor space, contact AAA Fence and Deck Company for expert advice and professional installation services.

No comments yet