Preserving cherished memories captured on old films is a crucial endeavor in today's digital age. Converting old films to a digital format not only ensures their longevity but also makes them easily accessible and shareable. In this guide, we explore the top methods for efficiently converting old films to digital format, providing you with detailed steps and expert tips for achieving high-quality digital conversions.
Understanding the Importance of Film Preservation
Before delving into the conversion process, it's essential to understand why preserving old films is crucial. Old films, whether they are home movies or historical footage, are vulnerable to degradation over time. Factors such as temperature, humidity, and exposure to light can lead to the deterioration of film quality. By converting old films to a digital format, you can protect them from further degradation and ensure that they remain intact for future generations to enjoy.
Selecting the Right Conversion Method
When it comes to convert films to digital format, there are several methods available. The right method for you will depend on factors such as the type of film you have, your budget, and your technical expertise. Below, we outline some of the most popular conversion methods:
1. DIY Film Scanning
DIY film scanning involves using a film scanner or a flatbed scanner equipped with a film scanning attachment to digitize old films. This method requires a moderate level of technical skill but can yield high-quality results when done correctly.
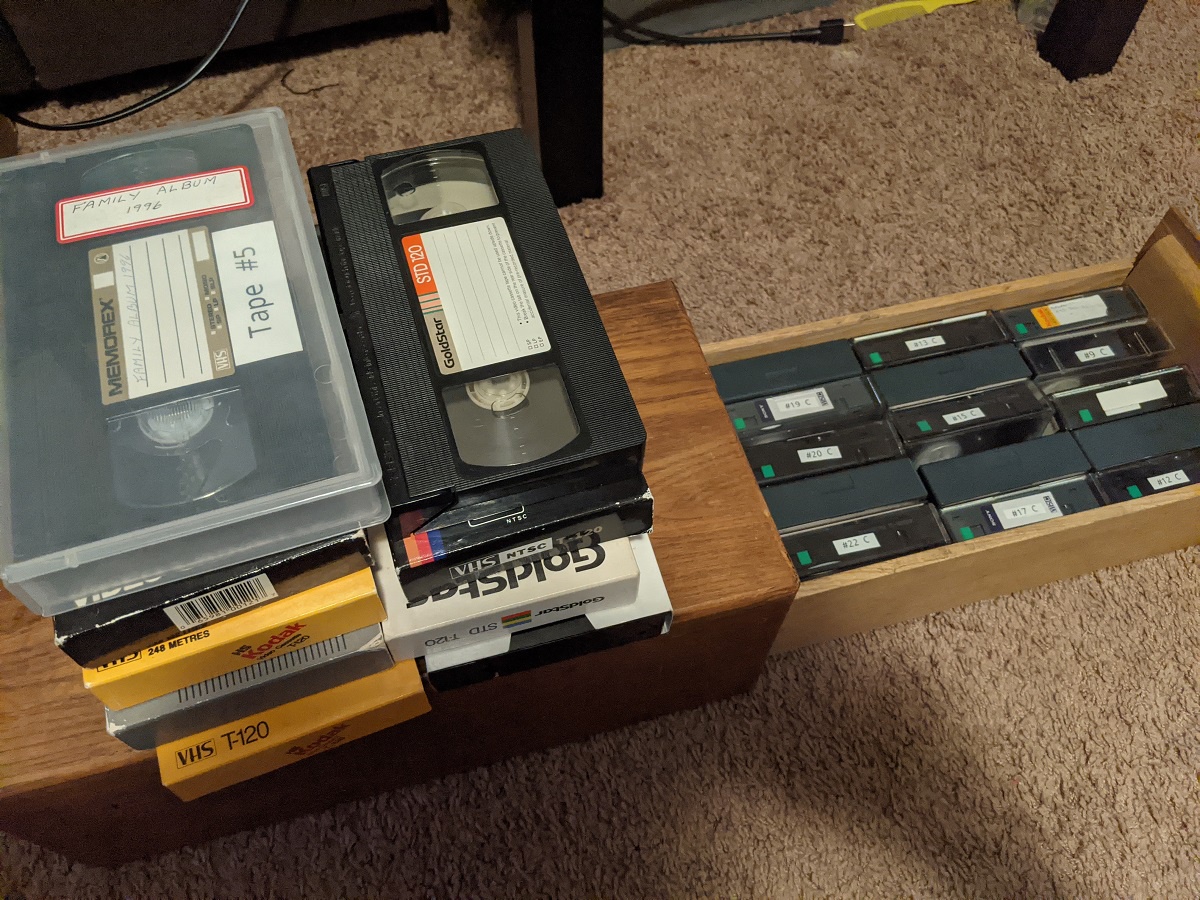
2. Professional Film Transfer Services
Professional film transfer services specialize in converting old films to digital format. These services use specialized equipment and techniques to ensure optimal results. While more expensive than DIY methods, professional services are suitable for those seeking the highest quality conversions without the hassle of doing it themselves.
3. Hybrid Approach
A hybrid approach involves combining DIY scanning with professional editing services. In this approach, you scan the films yourself using a film scanner and then enlist the help of professional editors to enhance and optimize the digital files for quality and clarity.
Step-by-Step Guide to DIY Film Scanning
For those interested in the DIY approach, here's a step-by-step guide to scanning old films at home:
Step 1: Gather Your Equipment
- Film scanner or flatbed scanner with a film scanning attachment
- Clean microfiber cloth
- Film cleaning solution (optional)
- Computer with scanning software
Step 2: Prepare Your Films
Before scanning, ensure that your films are clean and free of dust and debris. Use a clean microfiber cloth to gently wipe the surface of the film. If necessary, use a film cleaning solution to remove stubborn dirt or residue.
Step 3: Set Up Your Scanner
Set up your film scanner or flatbed scanner with the film scanning attachment according to the manufacturer's instructions. Connect the scanner to your computer and install the scanning software.
Step 4: Scan Your Films
Place the film strips or reels into the scanner's film holder or tray. Adjust the settings in the scanning software to match the specifications of your films, including resolution, color depth, and file format. Start the scanning process and wait for it to complete.
Step 5: Edit and Save Your Digital Files
Once the scanning is complete, use photo editing software to adjust the brightness, contrast, and color balance of the digital files as needed. Save the edited files in a digital format such as JPEG or TIFF, and store them on your computer or external hard drive.
Expert Tips for High-Quality Conversions
- Handle Films with Care: When handling old films, be gentle to avoid causing damage or scratches.
- Use High-Quality Equipment: Invest in a high-quality film scanner or professional film transfer service to ensure the best results.
- Clean Films Before Scanning: Clean your films thoroughly before scanning to remove dust and debris that could affect the quality of the digital files.
- Adjust Scanner Settings: Experiment with different scanner settings to find the optimal configuration for your films.
- Back Up Your Digital Files: Once you've digitized your films, be sure to create backups and store them in multiple locations to prevent loss or damage.
Conclusion
Converting old films to digital format is a valuable way to preserve and protect cherished memories for years to come. Whether you choose to take the DIY route or enlist the help of professional services, following the methods outlined in this guide will ensure that your digital conversions are of the highest quality. By preserving old films in a digital format, you can ensure that they remain accessible and enjoyable for future generations to come.

No comments yet