Introduction:
Silicone edge graphics (SEG) have become a go-to solution for creating visually stunning and seamless displays. The process of installing silicone edge graphics is a skill that ensures a polished and professional appearance. In this comprehensive guide, we will delve into the intricacies of learning how to install silicone edge graphics, providing a step by step walk through for achieving flawless results.
Understanding Silicone Edge Graphics (SEG):
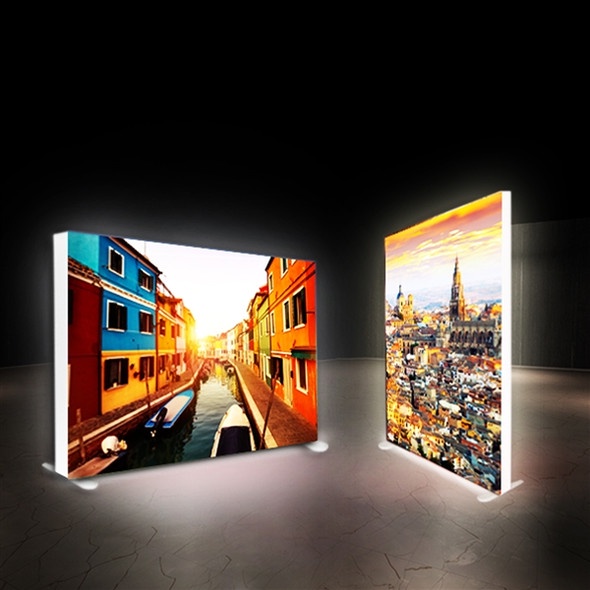
Before delving into the installation process, it's essential to grasp the fundamentals of silicone edge graphics. SEG involves incorporating a silicone strip along the edges of a fabric graphic, allowing for a smooth and wrinkle-free presentation when inserted into a frame. This modern display technique has gained popularity for its sleek aesthetics and versatility.
Step-by-Step Guide to Silicone Edge Graphics Installation:
1. Prepare the Workspace:
Before starting the installation, ensure the workspace is clean, well-lit, and free from any potential obstructions.
2. Inspect the Frame:
Examine the frame to ensure it is in optimal condition and has a groove that matches the size of the silicone strip on the graphic.
3. Align the Silicone Edge:
Position the silicone edge of the fabric graphic along one side of the frame, aligning it with the groove.
4. Begin Insertion:
Gently start inserting the silicone edge into the frame groove, starting from one corner. Take care to avoid any abrupt movements that could cause wrinkles.
5. Even Tensioning:
As you insert the silicone edge, the fabric graphic should start to stretch taut. Work your way around the frame, ensuring even tension for a smooth appearance.
6. Secure Edges:
Once the silicone edge is fully inserted, check that all edges of the graphic are securely positioned within the frame groove
7. Inspect for Wrinkles:
Thoroughly inspect the entire display for any wrinkles or imperfections. If any are found, make adjustments by carefully adjusting the silicone edge.
8. Final Checks:
Step back and take a final look at the installed silicone edge graphics to ensure a flawless and polished presentation.
Why Silicone Edge Graphics (SEG)?
Silicone edge graphics advantages making them a preferred choice for many applications:
Sleek Aesthetics: SEG provides a sleek and modern appearance, enhancing the overall visual appeal of the display.
Versatility: SEG graphics can be easily updated or replaced, allowing for flexibility in changing promotional or informational content.
Easy Transportation: Fabric graphics with silicone edges can be folded or rolled, making them easy to transport without the risk of creasing.
Tips for Successful Silicone Edge Graphics Installation:
Precision Cutting:
Ensure the silicone strip is precisely cut to match the dimensions of the fabric graphic for a seamless fit.
High-Quality Frame:
Invest in a high-quality frame with a well-matched groove to ensure a smooth and secure fit.
Careful Insertion:
Take your time during the insertion process, avoiding haste to prevent potential wrinkles or misalignments.
Optimal Tension
Achieve even tension across the graphic to eliminate wrinkles and create a professional appearance.
Regular Maintenance:
Periodically check the display for any signs of wear or loose edges, ensuring the longevity of the silicone edge graphics.
Conclusion:
Learning how to install silicone edge graphics is a valuable skill that can elevate the impact of visual displays in various settings. Whether used for retail signage, trade shows, or interior decor, Silicone Edge Graphics offer a contemporary and polished solution. By following a systematic installation process and incorporating tips for success, individuals and businesses can master the art of SEG installation, ensuring each display exudes professionalism and visual sophistication. Embrace the versatility and aesthetic appeal of Silicone Edge Graphics to create impactful and seamless presentations in your next display project.

No comments yet