Your roof is not a functional component of your home. It is also an important aesthetic element that enhances your property's curb appeal. Over time, exposure to harsh weather conditions can cause your roof to fade, lose its luster, or develop stains. Painting your roof can revitalize its appearance, protect it from damage, and add value to your home.
2. Assessing Your Roof
Before you embark on the painting journey, it is crucial to assess the condition of your roof. Check for any signs of structural damage, leaks, or weak spots. Ensure that your roof is in good condition to withstand the painting process. If you notice any significant issues, it's recommended to consult a professional Roof painter. They can provide guidance and expertise before proceeding.
3. Preparing for the Painting Process
Proper preparation is key to achieving a flawless and long-lasting paint job. Start by removing any debris, such as leaves or branches, from your roof. Trim nearby trees or bushes to prevent them from interfering with the painting process. Additionally, cover any delicate plants or objects around your house to protect them from paint splatters.
4. Choosing the Right Paint
Selecting the right paint is crucial for the success of your Roof painter project. Opt for a high-quality roof paint that is formulated for your roof material, such as asphalt shingles, metal, or tiles. Consider factors such as durability, UV resistance, and color options. Consult with a local paint supplier or a professional to ensure you make an informed decision.
5. Gathering the Necessary Tools and Materials
To paint your roof , you'll need the following tools and materials:
- Safety equipment (gloves, safety goggles, and a mask)
- Ladder or scaffolding
- Paintbrushes and rollers
- Extension poles
- Painter's tape
- Primer
- Roof paint
- Cleaning solution
- Pressure washer or hose
- Scrapers and brushes for surface preparation
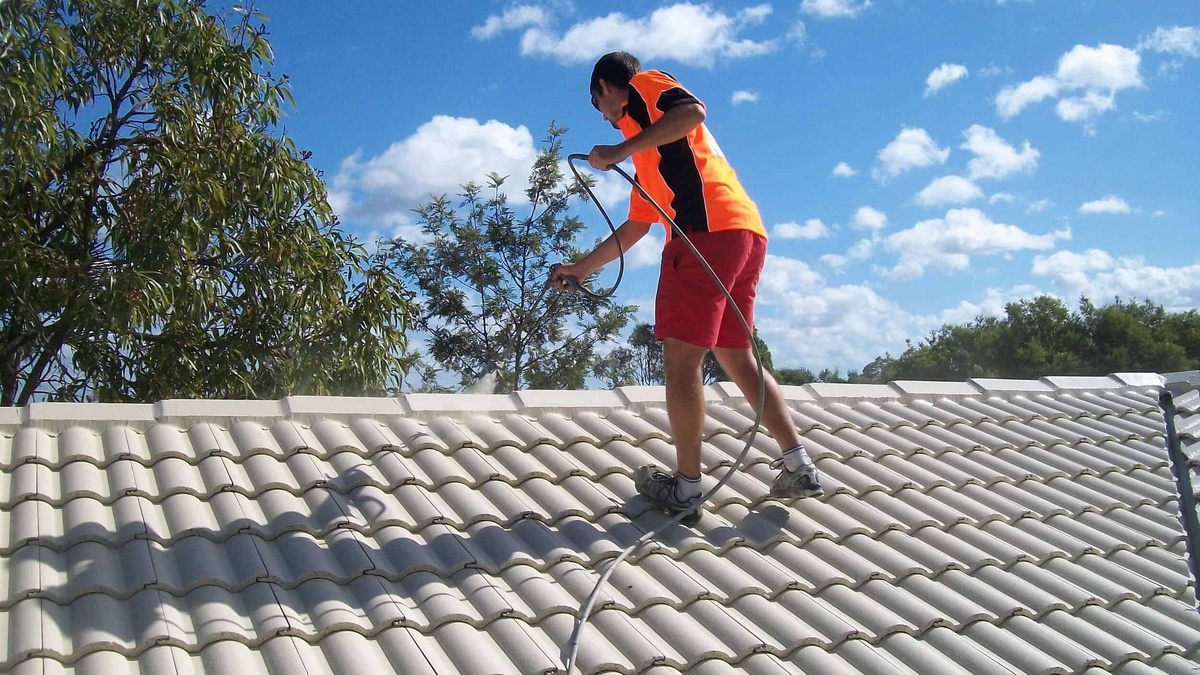
6. Cleaning the Roof Surface
Before applying any paint, it is crucial to clean the roof surface to ensure proper adhesion. Use a pressure washer or a hose with a cleaning solution to remove dirt, grime, and moss. Be cautious not to use excessive pressure that could damage the roof material. Allow the surface to dry completely before proceeding to the next step.
7. Repairing Damaged Areas
Inspect your roof for any cracked or damaged areas. Repair them using appropriate sealants, fillers, or roofing cement. Ensure that all repairs are dry and cured before moving on to the painting process.
8. Applying Primer
Priming your roof is essential for enhancing paint adhesion and providing a uniform surface. Apply a layer of primer suitable for your roof material, following the manufacturer's instructions. Use a brush or a roller to coat the surface. Allow the primer to dry completely before proceeding.
9. Painting Techniques
When it comes to painting your roof, there are two primary techniques: brush painting and spray painting. Brush painting is suitable for smaller areas or roofs with intricate designs, while spray painting is ideal for larger, more straightforward surfaces. Choose the technique that suits your roof and personal preference.
10. Painting the Roof
Begin painting your roof using long and even strokes. Start from the top and work your way down, ensuring complete coverage. Be mindful of any overlapping sections to maintain a consistent appearance. Take breaks as needed and avoid painting in extreme weather conditions, such as high humidity or direct sunlight.
11. Curing and Drying
Allow the paint to cure and dry as per the manufacturer's instructions. This process may take a few days, so be patient and avoid stepping on the freshly painted surface. Protect the area from foot traffic and adverse weather conditions during this period.
12. Final Touches and Cleanup
Inspect your painted roof for any touch-ups or areas that require additional coats. Once you are satisfied with the results, remove any protective coverings and clean up the surrounding area. Dispose of any paint cans or materials , following local regulations.
13. Maintenance Tips
To prolong the lifespan of your freshly painted roof, consider implementing these maintenance tips:
- Regularly inspect your roof for any signs of damage or wear.
- Remove debris and clean the roof surface as needed.
- Address any issues promptly to prevent further damage.
- Consider applying a clear topcoat or sealer to protect the paint and enhance its longevity.
- Consult with a professional for periodic roof inspections and maintenance.
15. Conclusion
Transforming your drab roof into a fab focal point can significantly enhance the overall aesthetics of your home. By following the steps outlined in this ultimate roof painting guide, you can achieve remarkable results and give your roof a new lease on life. Remember to prioritize safety, choose the right materials, and invest time in thorough preparation. With a little effort and creativity, you can enjoy a stunning and long-lasting roof that adds value to your property.

No comments yet