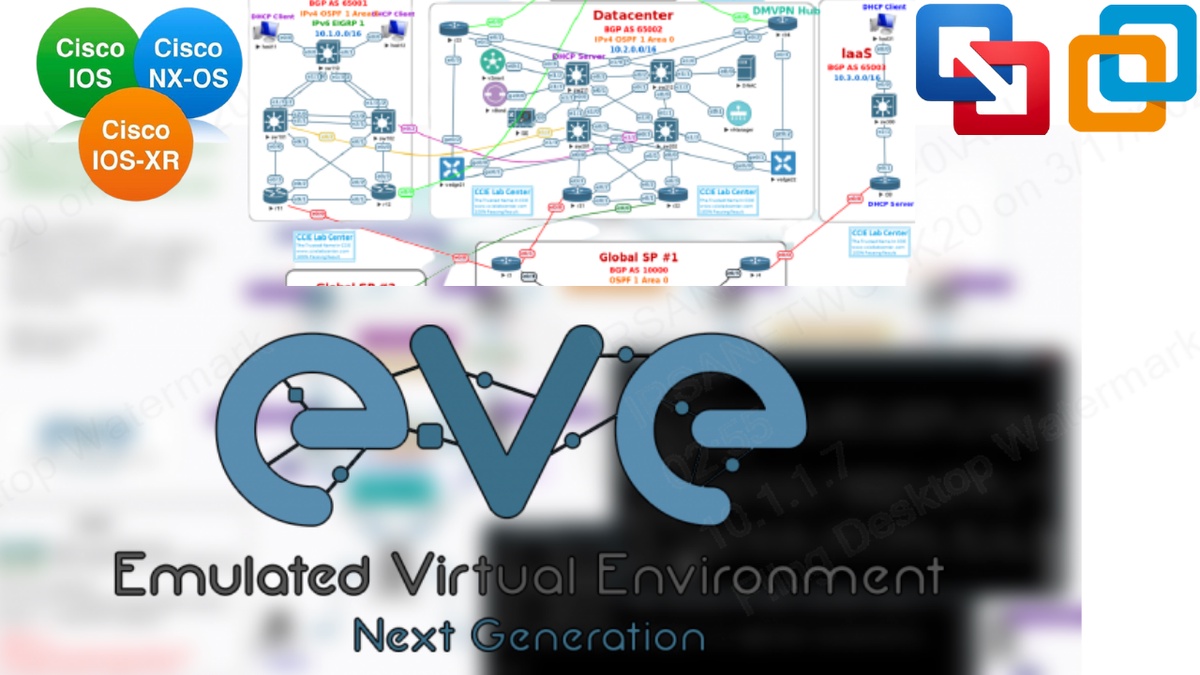
If you are looking for a powerful and flexible network emulation platform, EVE-NG (Emulated Virtual Environment - Next Generation) is a great choice. EVE-NG allows you to create complex network topologies and configurations using virtual machines, containers, and network appliances. With EVE-NG, you can simulate various network scenarios, test new technologies, and even prepare for network certification exams.
We will go through the steps of configuring your network on EVE-NG to get you up and running.
Step 1: Install EVE-NG The first step is to install EVE-NG on your computer. You can download the installation files from the EVE-NG website, and follow the installation guide to set up the software. Once you have installed EVE-NG, you can access it through your web browser.
Step 2: Add Nodes to the Network Topology Once you have access to EVE-NG, you can add nodes to your network topology. EVE-NG supports a variety of virtual machines, containers, and network appliances, including popular vendors like Cisco, Juniper, and Fortinet. You can download and import pre-built images from the EVE-NG marketplace, or create your own custom images.
To add a node, click on the "Add Node" button in the EVE-NG interface, and select the type of node you want to add. Then, configure the node properties, such as the hostname, IP address, and credentials.
Step 3: Configure the Network Topology After adding nodes to your topology, you can start configuring the network connections. EVE-NG provides a graphical interface to create and manage network connections between nodes. You can drag and drop cables between nodes, and specify the type of connection, such as Ethernet, Serial, or VLAN.
To configure a network connection, click on the "Connect" button in the EVE-NG interface, and select the nodes you want to connect. Then, choose the type of connection, and specify the configuration parameters, such as the IP address and subnet mask.
Step 4: Test the Network Topology Once you have configured the network topology, you can test it by pinging between nodes, running network diagnostics, or using other network tools. EVE-NG provides a console interface to access the nodes, and you can also use third-party tools, such as PuTTY or SecureCRT, to connect to the nodes remotely.
EVE-NG is a powerful network emulation platform that can help you learn, test, and experiment with various network scenarios. By following the steps outlined in this article, you can easily configure your network on EVE-NG, and start exploring the possibilities of virtual networking.

No comments yet