Extending your Wi-Fi network using a 192.168.188.1 Wi-Fi extender can significantly enhance your wireless coverage. Whether you’re facing Wi-Fi dead zones or want to improve connectivity in distant areas of your home or office, setting up a Wi-Fi extender is a valuable solution. In this article, we’ll guide you through three methods to connect your Wi-Fi extender to 192.168.188.1 and improve your network coverage.
Method 1: Using the WPS Button
The Wi-Fi Protected Setup (WPS) button method is one of the easiest ways to connect your Wi-Fi extender to your network.
- Plug in the extender: First, plug in your Wi-Fi extender into a power outlet in the range of your existing Wi-Fi network.
- Press the WPS button: On your extender, locate the WPS button, usually labeled as “WPS” or with an icon. Press and hold the WPS button for a few seconds.
- Activate WPS on your router: Within two minutes, press the WPS button on your router. The two devices will establish a connection. Wait for the Wi-Fi extender’s LED indicators to confirm a successful connection.
- Connect to the extended network: Once the connection is established, you can connect your devices to the extended Wi-Fi network with the SSID (network name) and password provided on your extender.
Method 2: Using a Web Browser
This method involves connecting to the extender’s web interface and configuring it to connect to your existing network.
- Plug in the extender: As before, plug in your extender and ensure it’s powered on.
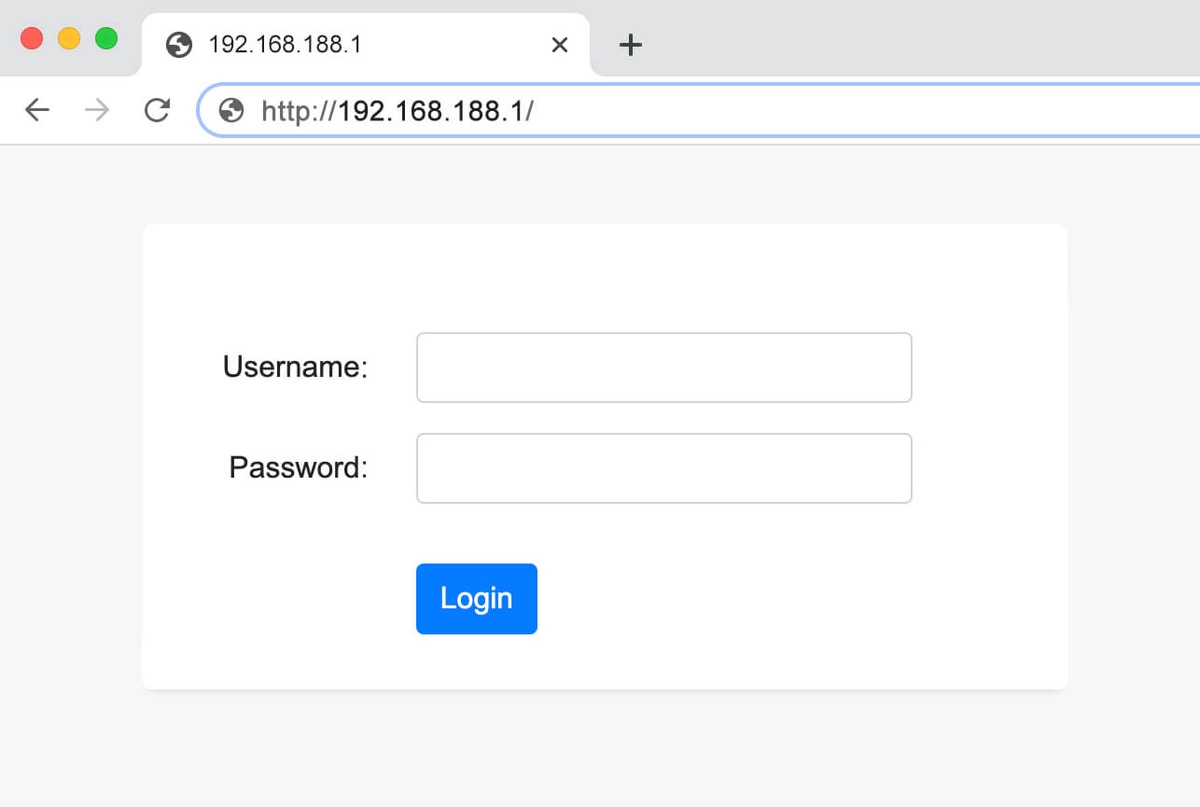
- Connect to the extender: Use a device with a web browser to connect to the extender’s default IP address, which is often 192.168.188.1. You can usually do this by connecting to the extender’s default Wi-Fi network and opening a web browser.
- Log in: You’ll be prompted for a username and password. These credentials are usually found on a sticker on the extender or in the user manual.
- Configure the extender: Within the extender’s web interface, you’ll find an option to connect to an existing Wi-Fi network. Enter the SSID and password of your existing network, and follow the on-screen instructions to complete the setup.
- Reconnect to your network: Once configured, your extender should be connected to your existing network. Reconnect your devices to the extended network for improved coverage.
Method 3: Manual Setup via Ethernet Cable
This method is useful when you want to set up your extender using an Ethernet cable.
- Plug in the extender: Plug your extender into a power outlet and ensure it’s powered on.
- Connect the extender to your computer: Use an Ethernet cable to connect the extender to your computer.
- Open a web browser: Open a web browser on your computer and enter the default IP address of the extender, which is typically 192.168.188.1.
- Log in: Enter the username and password for the extender, which can usually be found on a sticker on the device or in the user manual.
- Configure the extender: Access the extender’s web interface, select the manual setup option, and provide the SSID and password of your existing Wi-Fi network.
- Complete the setup: Follow the on-screen instructions to complete the setup, ensuring that the extender connects to your existing network.
Conclusion
Extending your Wi-Fi network using a 192.168.188.1 Wi-Fi extender can be a game-changer for improving connectivity in your home or office. By following these three methods, you can easily connect your Wi-Fi extender to your network and enjoy enhanced coverage and improved wireless performance. Whether you choose the WPS button, web browser setup, or manual configuration, you’ll have your extender up and running in no time.
Source Link: https://networktechblog.com/192-168-188-1/

No comments yet