Building a DIY carport doesn't have to be difficult or expensive. Here, we'll show you how:
Step 1: Calculate and Mark the Location of Your DIY Carport
The first step to building your own carport is to calculate the size of your DIY carport. To do this, measure the width of your vehicle and add 10% to that measurement. Then, measure the length of your vehicle, also adding 10% to it so that there will be enough room for extra storage under or behind your carport if needed. Finally, mark out where you'd like each corner of your DIY carport with stakes or flags before digging holes for them (more on this later).
Step 2: Lay Out a Concrete Footer
You're going to need a concrete footing that's strong enough to support the weight of your carport. This can be difficult, since there are no guidelines when it comes to footings. You'll need to do some research and ask experienced builders for advice on how deep their footings go in order to get an idea of what you need.
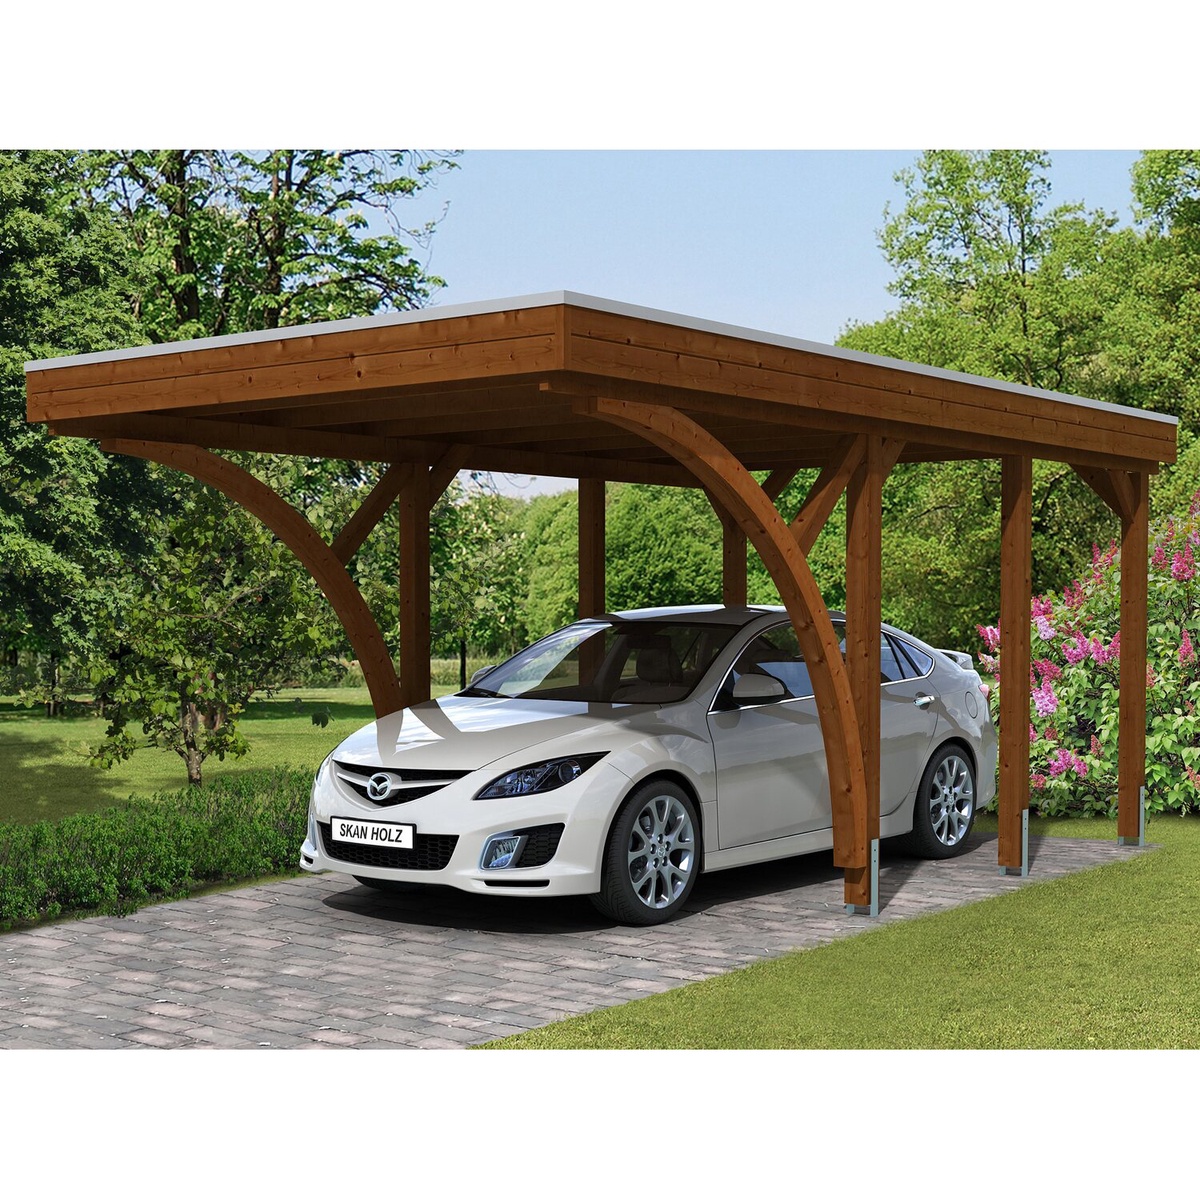
Step 3: Build the Frame of Your DIY Carport
- The frame of your Carport DIY Kit should be made of 2x4 lumber and at least 4 feet high. This will give you enough room to stand under the carport without having to duck or crouch down.
- The length of your DIY carport is up to you, but it should be at least 10 feet long so that it can cover all four sides of your vehicle(s). If possible, try to make them as long as possible--the longer the better!
- The width of each side should also depend on how many cars need sheltering from rain and snow: 6 feet wide is ideal for single vehicles; 8 feet for two cars; 10 feet for three cars; 12 feet for four cars...and so forth!

Step 4: Install the Wall Panels for Your DIY Carport
- Install the wall panels for your DIY carport. The wall panels are made of 2x4s and will span from one side of your carport to the other. You'll want to overlap each panel by 6 inches, so that there are no gaps or holes in your walls when you're finished installing them.
- Use a nail gun to secure them in place, making sure they're straight and level with each other as well as with any existing structure (like a house).
Step 5: Install the Roof System for Your DIY Carport
Now that you've got your walls up, it's time to install the roof system.
In this step, we'll be installing the roof panels and trusses. The panels should be installed first so that they can provide some protection from weather conditions while you work on installing the trusses.
Next comes installing your roofing material--this can be done with either metal or wood shingles depending on what type of look you're going for and how much money you want to spend on materials (metal roofing is generally cheaper). Finally, attach your new shingles or tiles to each truss by drilling screws through them into each beam so everything stays secure during strong winds or storms!
Conclusion
Hopefully, this guide has helped you to feel confident about building your own DIY carport easily. It's not as hard as it might seem, and if you follow these steps, you'll have a great new place to store your vehicle in no time!
Source:- https://onlinepatios.home.blog/2023/05/01/how-to-build-a-diy-carport-a-step-by-step-guide/

No comments yet