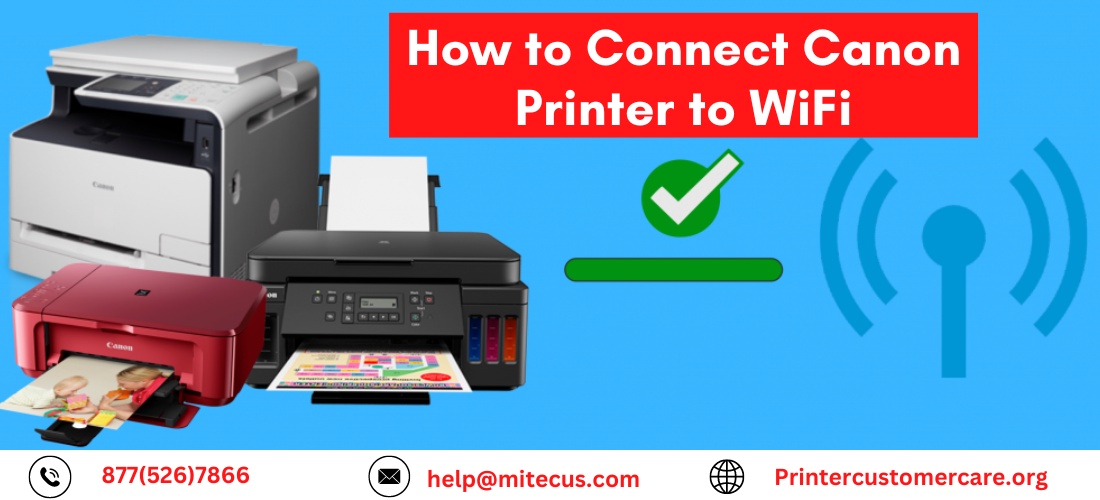
In today's digital age, wireless connectivity has become a standard feature in most devices, including printers. Connecting your Canon printer to WiFi offers the convenience of printing wirelessly from multiple devices without the hassle of tangled cables. In this guide, we will walk you through the simple steps for how to connect Canon printer to wifi
Step 1: Prepare your Canon Printer: Ensure that your Canon printer is turned on and in a ready state. Make sure it is placed within the range of your Wi-Fi network.
Step 2: Access Printer Settings: Using the control panel of your Canon printer, navigate to the settings menu. The location of the settings menu may vary depending on your printer model.
Step 3: Select WiFi Setup: In the settings menu, look for the WiFi setup option. Once found, select it to proceed with the wireless setup process.
Step 4: Choose WiFi Connection: In the Wi-Fi setup menu, select the option for a wireless connection. This will enable your printer to search for available Wi-Fi networks.
Step 5: Select your WiFi Network: Once the available WiFi networks are displayed, choose your network from the list. If your network name (SSID) is hidden, select the option to manually enter the network name.
Step 6: Enter Wi-Fi Password: If your Wi-Fi network is secured with a password, a prompt will appear to enter the password. Carefully enter the Wi-Fi password using the printer's control panel, ensuring correct capitalization and characters.
Step 7: Confirm Connection: After entering the Wi-Fi password, double-check for accuracy. Once confirmed, proceed to connect your Canon printer to the Wi-Fi network.
Step 8: Install Printer Drivers: To ensure seamless communication between your computer and the Canon printer, it's crucial to have the latest printer drivers installed. Visit the official Canon website and download the appropriate drivers for your printer model and operating system.
Step 9: Test Print: Once the installation of printer drivers is complete, perform a test print to verify the successful connection. Send a print job from your computer or mobile device, and if everything is set up correctly, your Canon printer should start printing wirelessly.
Setting up a Canon printer on both Mac and Windows computers for WiFi connectivity is a straightforward process. Let's go through the steps for each operating system:
Canon Printer WiFi Setup on Mac:
Step 1: Power on your Canon printer and ensure it is in a ready state.
Step 2: On your Mac computer, click on the Apple menu in the top-left corner and select "System Preferences."
Step 3: In the System Preferences window, locate and click on the "Printers & Scanners" or "Print & Fax" icon.
Step 4: Click on the "+" (plus) button to add a new printer.
Step 5: Your Mac will search for available printers. Select your Canon printer from the list of discovered printers and click on the "Add" button.
Step 6: If prompted, install the necessary printer drivers by following the on-screen instructions. You can usually select the driver based on your printer model.
Step 7: Once the installation is complete, your Canon printer is now connected to your Mac via Wi-Fi. You can proceed with printing wirelessly from your Mac.
Canon Printer WiFi Setup on Windows:
Step 1: Ensure your Canon printer is turned on and ready for setup.
Step 2: On your Windows computer, click on the Start button and go to "Settings."
Step 3: In the Settings window, select "Devices" or "Printers & Scanners."
Step 4: Click on the "Add a printer or scanner" option.
Step 5: Windows will search for available printers. Select your Canon printer from the list and click on the "Add device" button.
Step 6: If prompted, Windows may install the necessary printer drivers automatically. If not, you can download and install the drivers from the Canon website, following the specific instructions for your printer model and Windows version.
Step 7: Once the driver installation is complete, your Canon printer is now connected to your Windows computer wirelessly. You can start printing from your Windows applications.
Conclusion: Connecting your Canon printer to WiFi opens up a world of wireless printing possibilities. By following these step-by-step instructions, you can easily establish a wireless connection between your Canon printer and your Wi-Fi network. Enjoy the convenience of printing from various devices without the limitations of cables. Embrace the power of wireless technology and streamline your printing experience with a connected Canon printer.
Note: The specific steps and options may vary depending on your Canon printer model. Please refer to your printer's user manual or visit the printercustomercare.org website for model-specific instructions.

No comments yet