Ceramic wall tiles are a popular choice for bathrooms and kitchens due to their durability, easy maintenance, and aesthetic appeal. Installing ceramic wall tiles can be a great DIY project that can transform the look of any space. In this guide, we will take you through the step-by-step process of installing ceramic wall tiles, ensuring a successful and professional-looking installation.
Materials Needed
Before you begin, gather the following materials:
- Ceramic wall tiles
- Tile adhesive
- Tile spacers
- Notched trowel
- Tile cutter or wet saw
- Grout
- Grout float
- Sponge
- Tile sealer (optional)
Step 1: Prepare the Surface
Start by preparing the surface where you will be installing the ceramic wall tiles. Ensure that the wall is clean, dry, and free of any dirt, grease, or loose paint. If necessary, repair any cracks or imperfections and allow the wall to dry completely.
Step 2: Plan the Layout
Plan the layout of your ceramic wall tiles before you start installing them. Start from the centre of the wall and work your way outwards. Use a level and a chalk line to mark a straight, horizontal guideline. This will ensure that your tiles are installed evenly and aligned correctly.
Step 3: Apply the Tile Adhesive
Using a notched trowel, apply tile adhesive to a small area of the wall, following the manufacturer's instructions. Hold the trowel at a 45-degree angle and spread the adhesive evenly, creating ridges. This will help the tiles adhere to the wall securely.
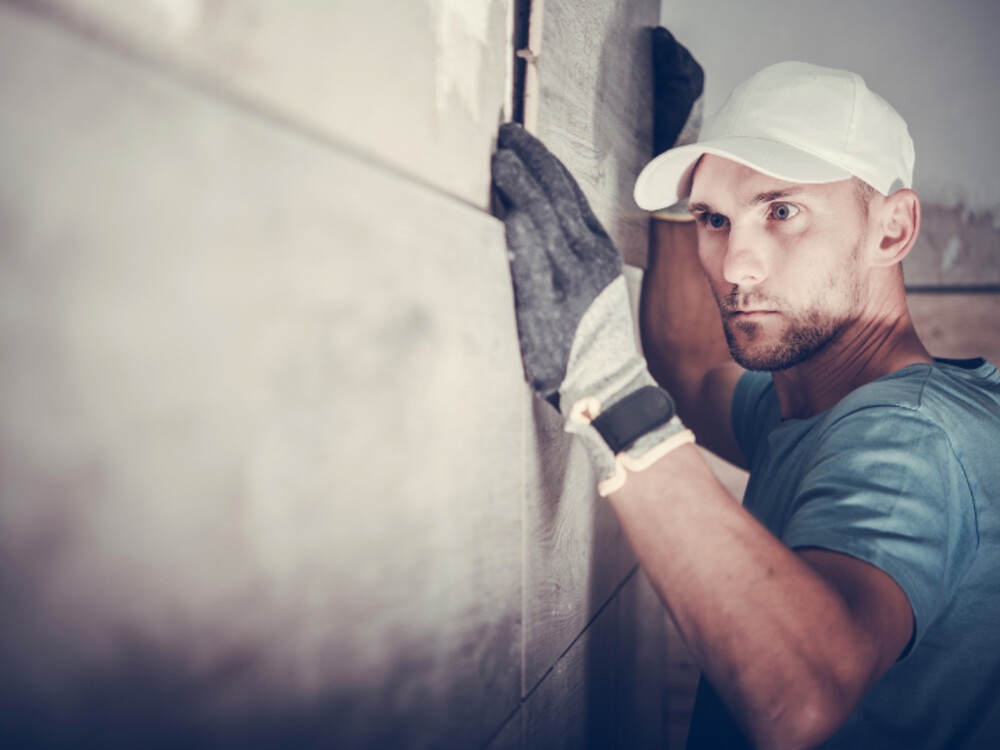
Step 4: Install the Ceramic Wall Tiles
Begin placing the ceramic wall tiles along the guideline, pressing them firmly into the adhesive. Use tile spacers to maintain consistent gaps between tiles for grouting later. Continue this process, working in small sections until all the tiles are installed.
Step 5: Cut Tiles if Needed
When you reach the edges or corners of the wall, you may need to cut tiles to fit. Measure the space carefully and use a tile cutter or wet saw to make accurate cuts. Always wear safety goggles when cutting tiles to protect your eyes from flying debris.
Step 6: Allow the Tiles to Set
Allow the adhesive to dry according to the manufacturer's instructions. This typically takes 24 to 48 hours. Avoid touching or disturbing the tiles during this time.
Step 7: Grout the Tiles
Once the adhesive has dried, remove the tile spacers and prepare the grout according to the manufacturer's instructions. Use a grout float to apply the grout diagonally, pressing it firmly into the gaps between the tiles. Remove any excess grout with the float, and then wipe the tiles with a damp sponge to remove the grout haze.
Step 8: Seal the Grout (Optional)
If desired, apply a grout sealer to protect the grout from stains and moisture. Follow the manufacturer's instructions for application and drying times.
Installing ceramic wall tiles can be a rewarding and cost-effective way to enhance the beauty of your home. By following these step-by-step instructions, you can achieve a professional-looking installation. Remember to plan your layout carefully, prepare the surface adequately, and take your time during each step for the best results. Whether you're renovating a bathroom or kitchen, ceramic wall tiles can add style and functionality to your space. Enjoy your newly tiled walls!
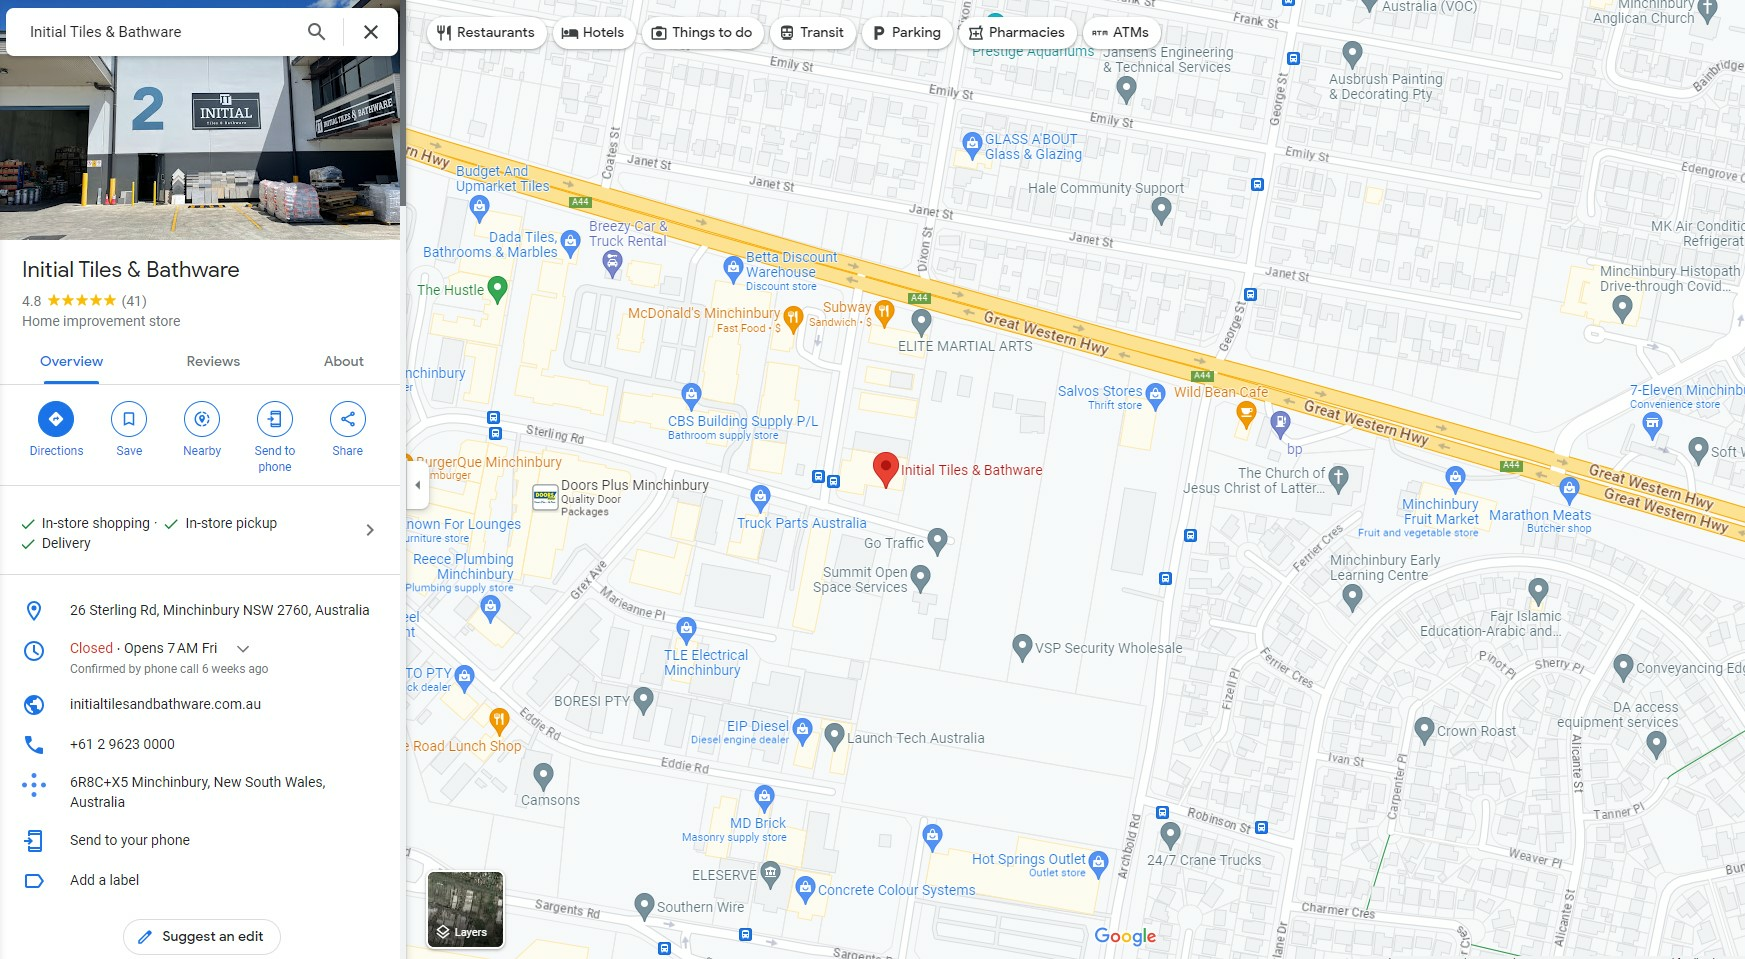
If you're searching for large tiles near me location, be sure to check with local tile suppliers or home improvement stores. They typically have a wide range of tile options, including large-format tiles, that can suit your needs and preferences.
Initial Tiles & Bathware
26 Sterling Rd, Minchinbury NSW 2760, Australia
https://initialtilesandbathware.com.au/
+61 (02) 9623 0000

No comments yet