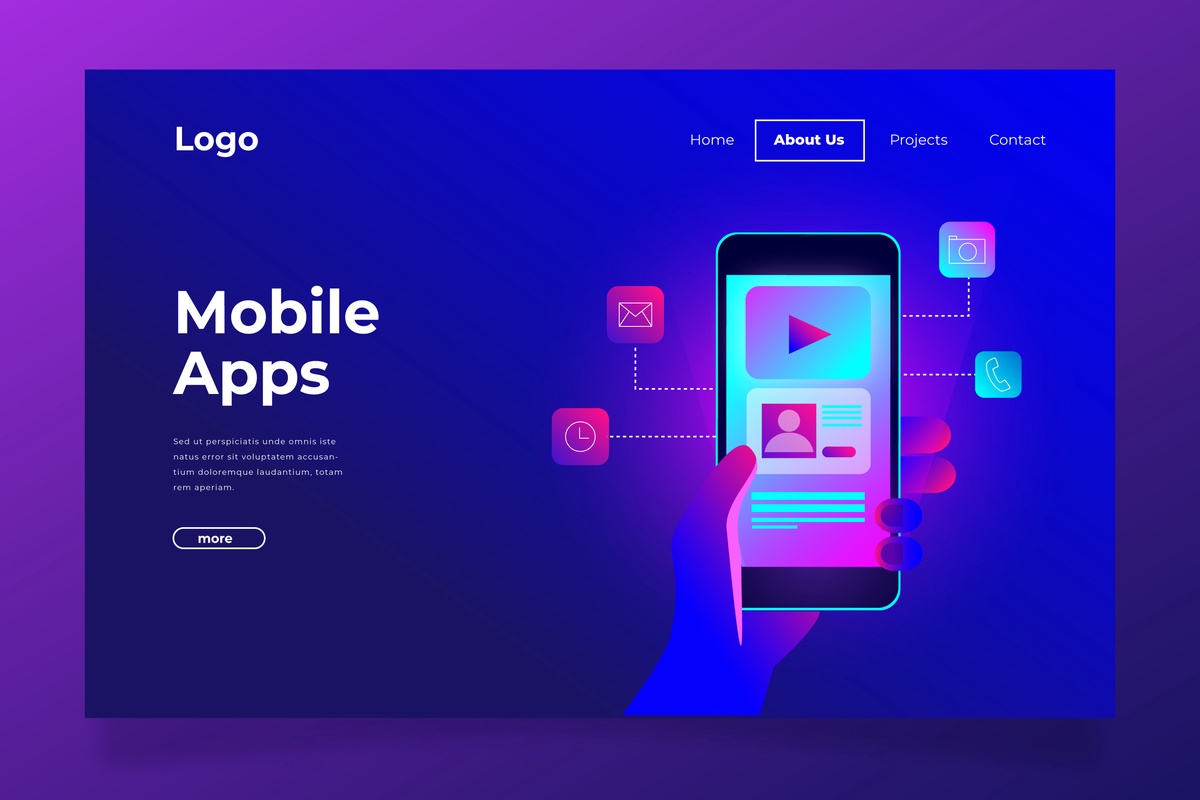
Begin by setting up your development environment using Android Studio, the official IDE for Android. Design your app's layout with XML, code its logic in Java or Kotlin, and test it on either the built-in emulator or a physical device with USB debugging.
Debugging tools in Android Studio can help identify and fix issues. Once your app is ready, publish it on the Google Play Store after creating a developer account, preparing the app for release, and uploading it to the Play Console. Regular maintenance, updates, and community engagement are essential for ongoing success.
If you require professional support, consider collaborating with an Android Mobile App Development Company to streamline your development process and ensure a high-quality final product.
Here's a step-by-step guide to help you get started:
Set Up Your Development Environment:
This involves configuring the necessary tools and software to create, test, and deploy your application effectively. The preferred environment for Android development is Android Studio, the official Integrated Development Environment (IDE) provided by Google.
To initiate the setup, you first need to download Android Studio. Once installed, launch Android Studio, where you'll be guided through the initial configuration process. This includes setting up the Software Development Kit (SDK) Manager, which allows you to download the essential components of the Android SDK needed for your project.
After configuring the SDK Manager, create a new project in Android Studio, specifying details such as the project name, package name, and programming language (Java or Kotlin). Upon project creation, it's crucial to verify that the environment is correctly configured by ensuring the project builds without errors.
Create a New Project:
Start by choosing "Start a new Android Studio project" from the welcome screen when Android Studio first launches on your computer. The project creation wizard that appears next will walk you through the necessary setups.
To get your project started, choose an activity or template, like a "Basic Activity" or "Empty Activity," then provide parameters like the project name and save location. Create a custom layout name and title for the activity, and choose between Java and Kotlin as your preferred programming language. After setting up, press "Finish" to finish the project setup.
Make sure the new project that Android Studio creates is error-free and serves as the starting point for your app development project. Once the project is set up, you can create the user interface, put code logic into place, and methodically test and improve your Android application.
Design Your App:
An important step in developing an Android app is designing it, which entails making an aesthetically pleasing and easy-to-use interface. XML is used in Android Studio to specify how the screens and other elements of your app will be laid out.
To access resources, such as layouts, strings, and images, navigate to the "res" directory. Placing widgets and other design elements is made simpler with Android Studio's user-friendly drag-and-drop interface found under the "Design" menu.
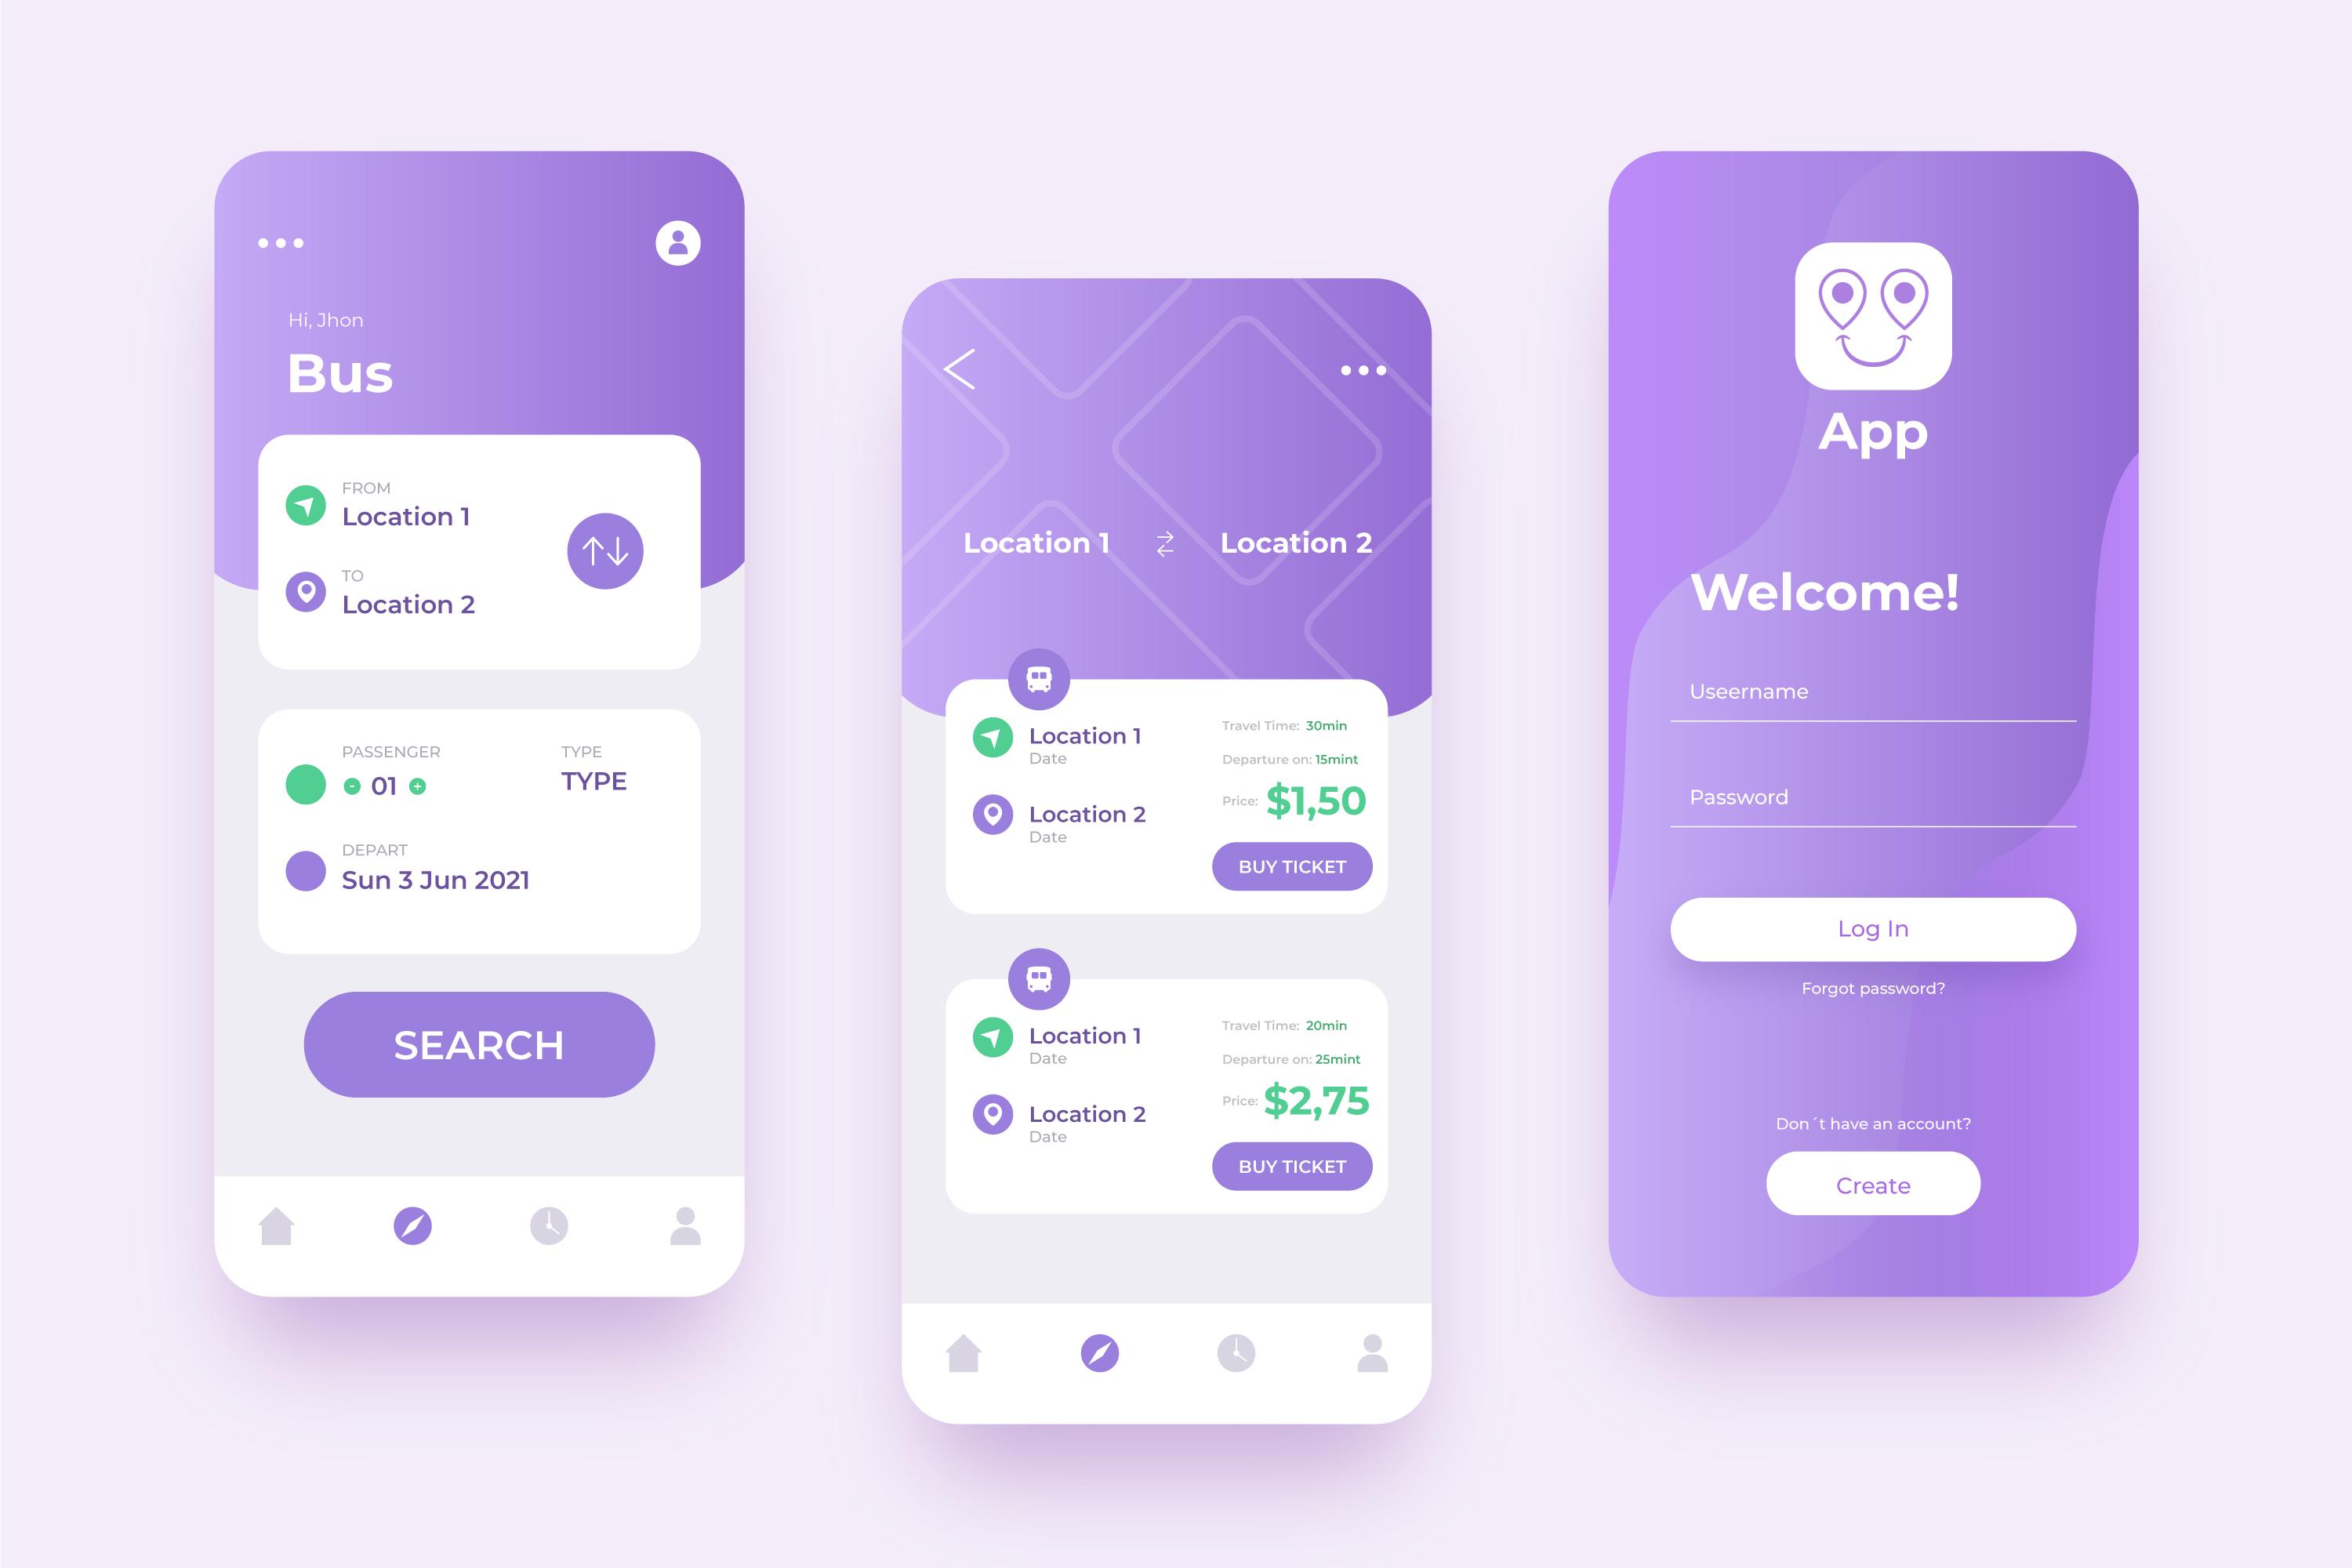
When designing the layout of your app, take into account elements like responsiveness, consistency, and user experience. Make use of Android's comprehensive documentation and design guidelines to make sure your app complies with industry standards.
The design process is essential to developing a fun and useful Android app, which will boost user satisfaction and project success in general.
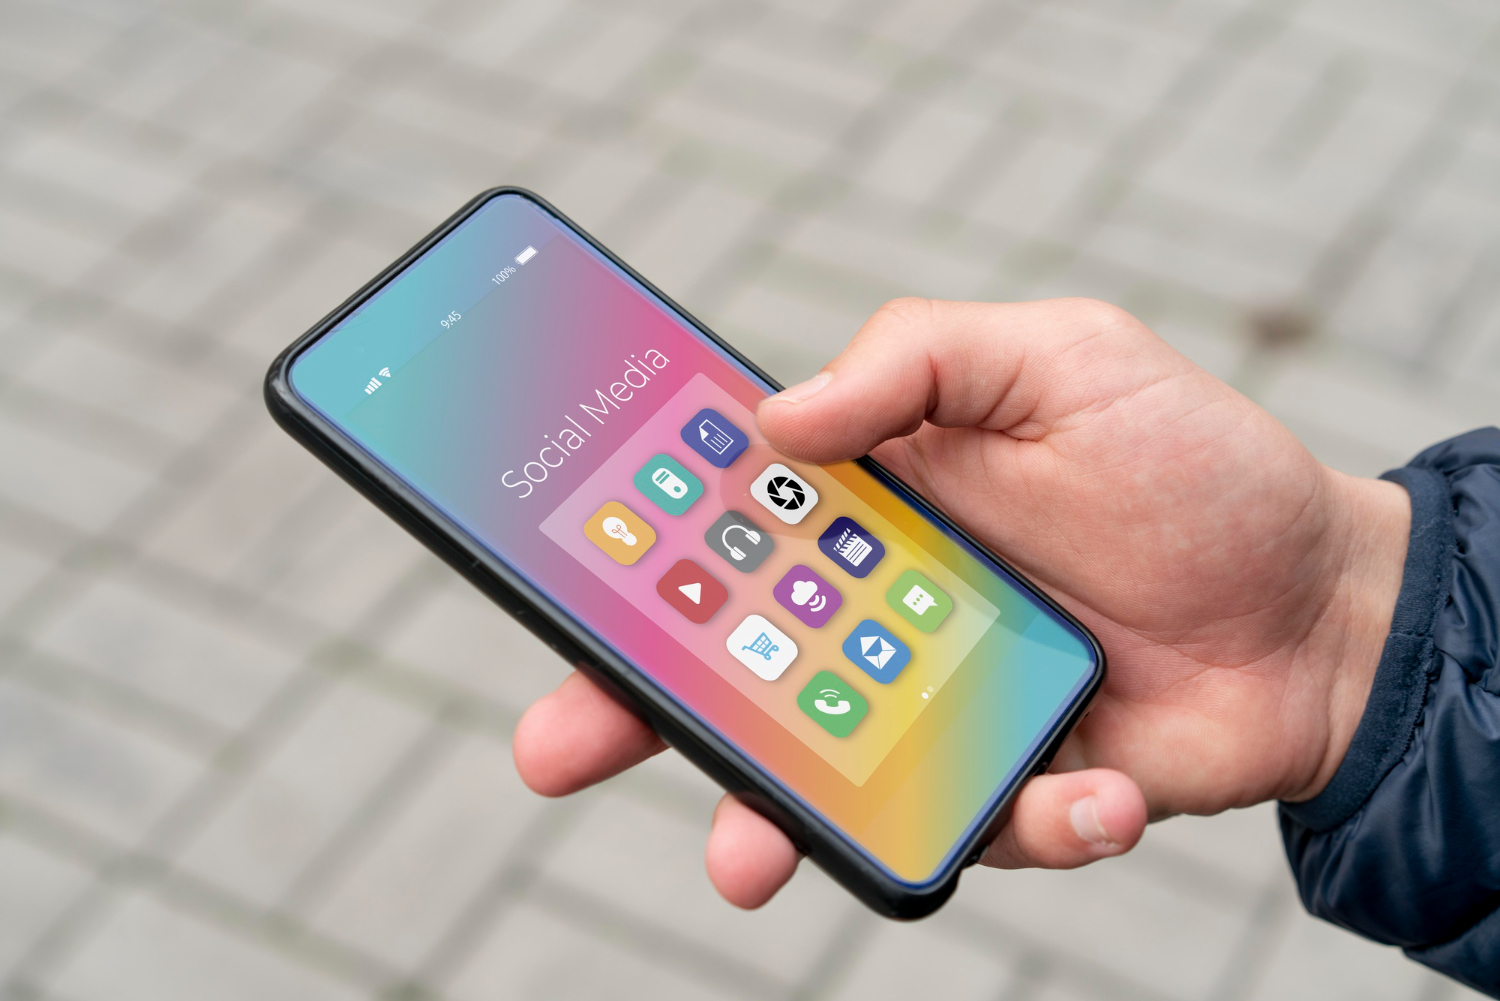
Code Your App:
One of the most important stages of Android development is coding, which is the process of turning your ideas and reasoning into usable software. The two main programming languages in Android Studio are Kotlin and Java. The source code files for your app's functionality are located in the "src" directory.
To control the app's behavior, handle user interactions, and process data, you'll create code. Observe recommended practices for coding, including resource efficiency, readability, and modularity of the code.
To make coding easier, Android Studio offers a powerful Integrated Development Environment (IDE) with capabilities for debugging, version control integration, and code completion.
To guarantee that the code in your app is dependable and performant, regular testing and debugging are crucial. As you get more proficient in coding, consult the Android Developer Documentation and look for community assistance for efficient optimization and troubleshooting.
Test Your App:
To guarantee your app's functionality, usability, and general performance, testing is an essential step in the Android development process. Numerous tools are available in Android Studio to test your application's functionality and appearance.
Emulator Testing:
Utilize the built-in emulator in Android Studio to simulate different Android devices and screen sizes. This allows you to check the app's responsiveness and compatibility with various configurations.
Physical Device Testing:
Connect a physical Android device to your development machine and enable USB debugging. This enables you to run and test your app on a real device, providing insights into real-world performance and user experience.
UI Testing:
Create automated UI tests using frameworks like Espresso or UI Automator. These tests help ensure that the user interface elements function as intended, providing a seamless and intuitive experience.
Unit Testing:
Write unit tests to validate individual units or components of your code. This helps catch bugs early in the development process and ensures the reliability of your app's logic.
User Feedback:
Collect feedback from real users, either through beta testing or early releases. This feedback can be invaluable for identifying issues, understanding user preferences, and making necessary improvements.
Performance Testing:
Use profiling tools in Android Studio to analyze your app's performance, identify bottlenecks, and optimize resource usage for a smoother user experience.
Regular and thorough testing is essential to delivering a high-quality Android app. By addressing issues and refining your app based on testing results, you enhance its overall stability and user satisfaction.
Debugging:
A key component of developing Android apps is debugging, which is essential for finding and fixing mistakes in the codebase. To make this process easier, the official Integrated Development Environment (IDE), Android Studio, offers developers a comprehensive collection of debugging tools. Developers can gain a detailed understanding of the behavior of their code by carefully examining variables, analyzing expressions, and stepping through the code by strategically inserting breakpoints.
Developers can explore the runtime environment with the debugger window in Android Studio, which provides a thorough view of the app's state, including variable values and the call stack.
Another crucial aspect is exception tracking, which highlights runtime mistakes automatically and offers insights into them. Memory-related problems can be found and fixed with the help of the Memory Profiler, which also helps to prevent leaks and improves overall program stability.
Through a methodical and iterative process, debugging enables developers to find and fix problems, improve the quality of their code, and produce an Android app that is polished. Developers can more effectively negotiate the difficulties of app development by using these potent debugging tools, which will result in a more dependable and user-friendly final product.
Publish on the Google Play Store:
The last and most important step in releasing your Android app onto the Google Play Store is to make it available to a worldwide user base. You must first pay a one-time registration fee on the Google Play Console website in order to begin the process of creating a Google Play Developer account.
Make sure your software has been thoroughly tested, is free of serious defects, and is ready for release with an updated version code and name before submitting it.
Create a signed Android program Bundle (AAB) or APK for your program in Android Studio; the submission process requires this signed file. After this is finished, use your developer account credentials to access the Google Play Console.
Enter the application's name, description, screenshots, category, and intended user base when creating a new one. Upload the signed APK or AAB file together with details about the release, such as updates and release notes.
customize pricing and distribution options based on whether your app will be free or paid, and specify the countries where it will be available. Complete the content rating questionnaire to provide information about your app's content. Review all entered information for accuracy and completeness before submitting your app for review by clicking on "Review" and then "Start rollout to production."
Maintenance:
Maintenance is an ongoing process essential for the sustained success of your Android app. After its initial launch on the Google Play Store, regular updates and improvements are necessary to address user feedback, enhance features, and ensure compatibility with evolving technologies.
By prioritizing maintenance tasks, you ensure that your Android app remains reliable, secure, and aligned with user expectations over time. Regular updates not only enhance the app's functionality but also contribute to user satisfaction and the long-term success of your application.

No comments yet