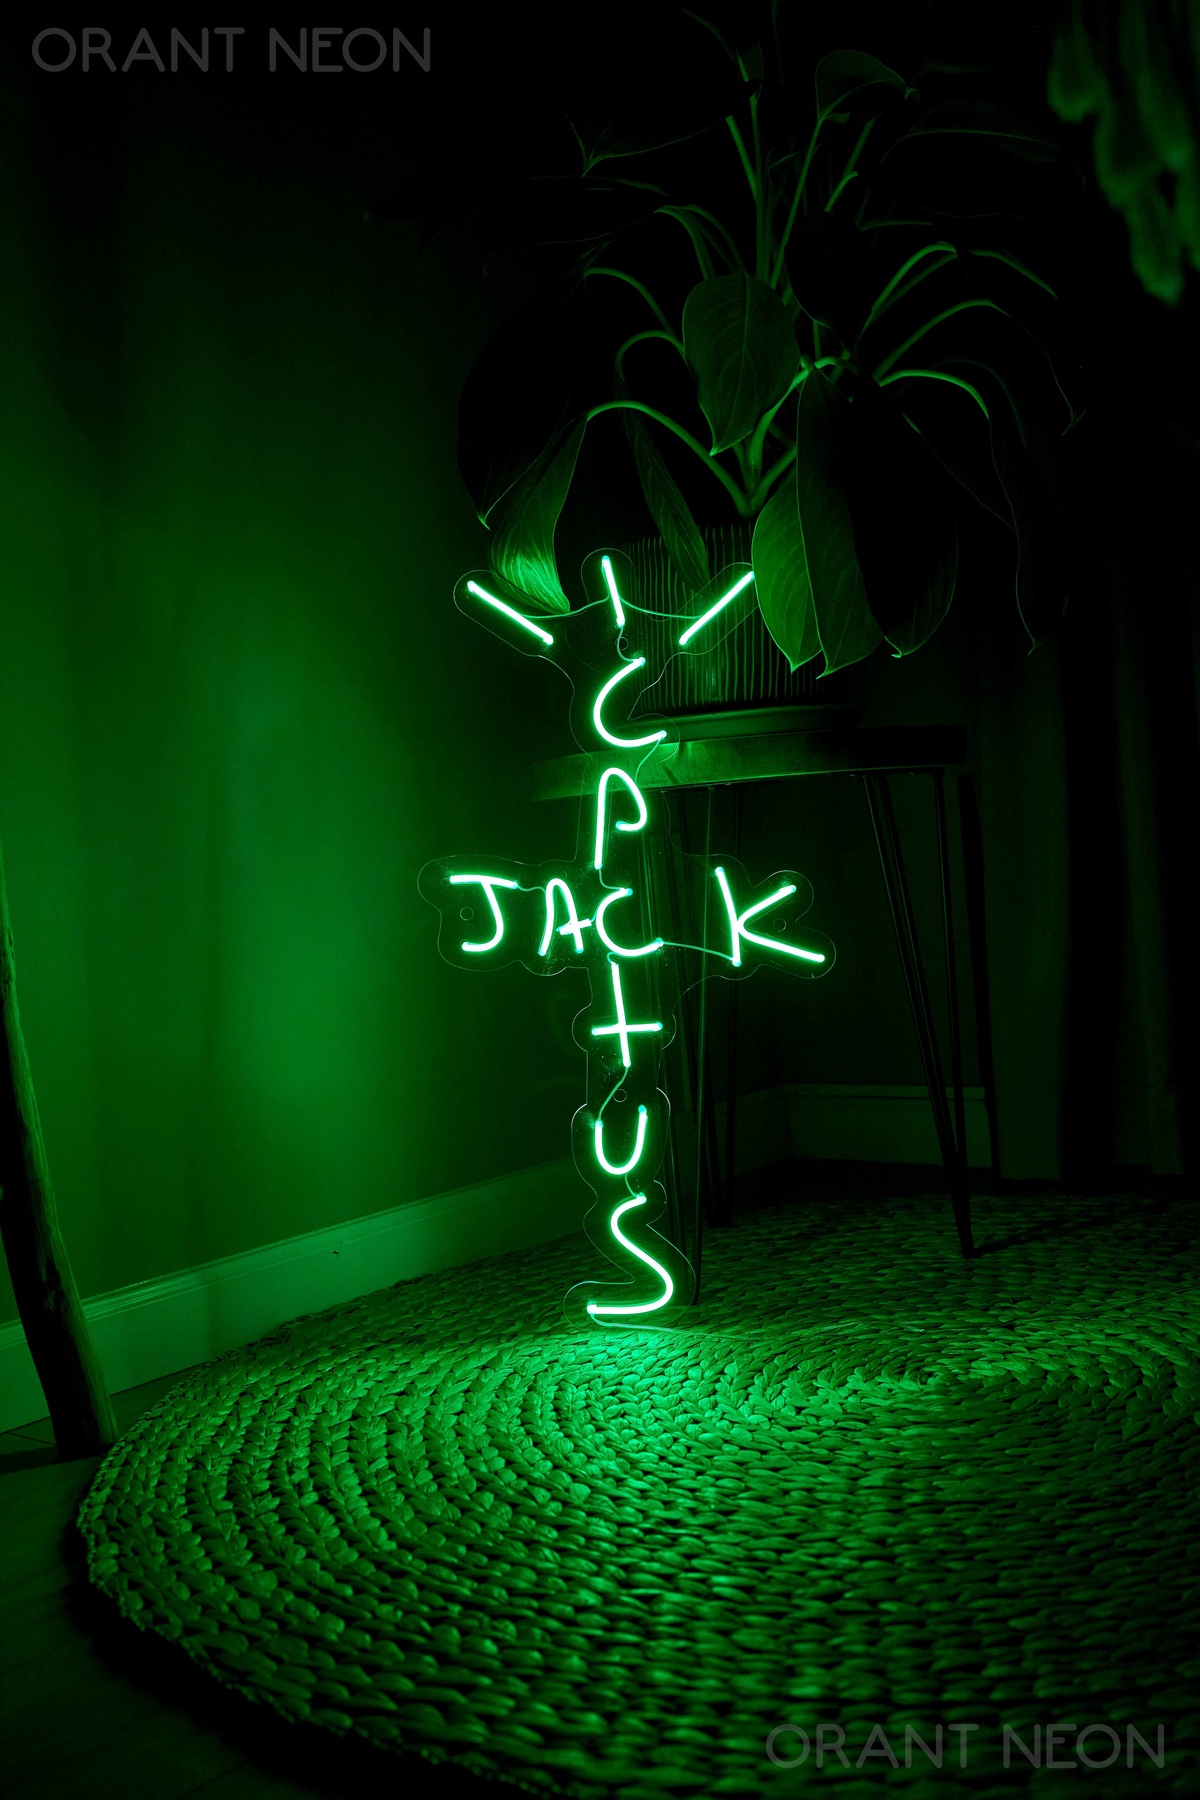
How to make an LED sign? In today's visually driven world, a well-designed LED sign can be a powerful tool to attract attention, promote your business, or add a personal touch to any space. Creating your own LED sign might seem daunting at first, but with the right guidance and materials, it can be an enjoyable and rewarding project. In this step-by-step guide, we'll walk you through the process of making an LED sign that will light up your world.
>>> Read more: Best Gaming Neon Sign Setup For Decor Game Room
1. Gather Your Materials and Tools
Before you embark on your LED sign-making journey, gather all the necessary materials and tools. You will need:
- A sturdy signboard (wood, acrylic, or foam board works well)
- LED strip lights (available in various colors and lengths)
- LED power supply (appropriate for the LED strip voltage)
- Adhesive tape or glue suitable for attaching LED strips
- A ruler, pencil, and cutting tools (depending on the signboard material)
- Wire stripper and electrical tape
- Soldering iron and solder (if customizing the LED strip length)
- Paint and brush (optional, for signboard decoration)

>>> Read more: Custom Neon Signs Reviews – Where To Get The Best Sign?
2. Plan Your Design
Start by planning the design of your LED sign. Consider the message or image you want to convey and how you want it to appear when illuminated. Outline the dimensions and placement of the LED strips on your signboard. If you're unsure about the design, create a template or draft on paper to visualize the final product.
3. Prepare the Signboard
Once you have your design ready, prepare the signboard accordingly. Cut the signboard to the desired size and shape using appropriate cutting tools. Sand down any rough edges and, if desired, paint the signboard in a color that complements your LED sign's overall aesthetic.

4. Attach the LED Strips
Carefully adhere the LED strips to the signboard following your design layout. Many LED strips come with adhesive backing, making this step relatively easy. Take your time to ensure the LED strips are straight and evenly spaced to achieve a professional look.
5. Connect the LED Strips
Next, connect the LED strips to the LED power supply. Depending on the type of LED strip you're using, you might need to solder the connections. Be sure to follow the manufacturer's guidelines and safety precautions when handling electrical components.

6. Test the LED Sign
Before securing the LED strips permanently, test the sign to ensure all the LEDs are working correctly. Plug in the power supply and check that each LED lights up as intended. If any LEDs are not working, double-check the connections and fix any issues before proceeding.
7. Secure the LED Strips and Wires
Once you've confirmed that all the LEDs are functioning, secure the LED strips and wires in place using adhesive tape or glue. Make sure the wires are neatly arranged and safely tucked away to avoid any hazards.

8. Mount Your LED Sign
Decide where you want to display your LED sign. If it's an indoor sign, you may use picture-hanging hardware or adhesive hooks to mount it on the wall. For outdoor signs, ensure it is protected from the elements and mounted securely.
Conclusion
Congratulations! You've successfully created your very own LED sign. Making an LED sign is a creative and enjoyable process that allows you to add a personal touch to your business or living space. With your newfound knowledge and skills, you can experiment with different designs, colors, and effects to craft even more captivating LED signs. Let your imagination shine bright and watch as your LED sign becomes a glowing centerpiece that leaves a lasting impression on everyone who sees it.

No comments yet