RPET polyester is a tough and durable fabric that is perfect for making bags, backpacks, and other small items. In this article, we will show you how to make a RPET polyester bag using simple steps.
Materials
Polyester resin pellets are the main component of RPET, which is a type of synthetic polymer. Polyester resin pellets can be bought online or at some fabric stores.
To make RPET polyester bag, you will need these materials:
-Polyester resin pellets
-A die cut machine
-An iron
-Tape measure
-Scissors
-Glue gun
-Stitch marker
-Piping bag (optional)
1. Plan out what your rpet polyester bag should look like so that you have your guide. Measure and cut out the desired shape of your rpet polyester bag. You can use a die cut machine to do this, or you can just use scissors to cut out a rectangle or square shape. Make sure that the shape of your RPET polyester bag is big enough to fit all of your supplies inside of it.
2. Place the polyester resin pellets inside of the rectangle or square shape that you have cut out. Make sure that the pellets are in an even layer across the entire surface of the polymer material.
3. Heat up your iron on medium heat and place the polyester resin pellets onto the hot iron, making sure to cover them completely with heat. Be careful as the iron is hot.

image source: www.pinterest.ph
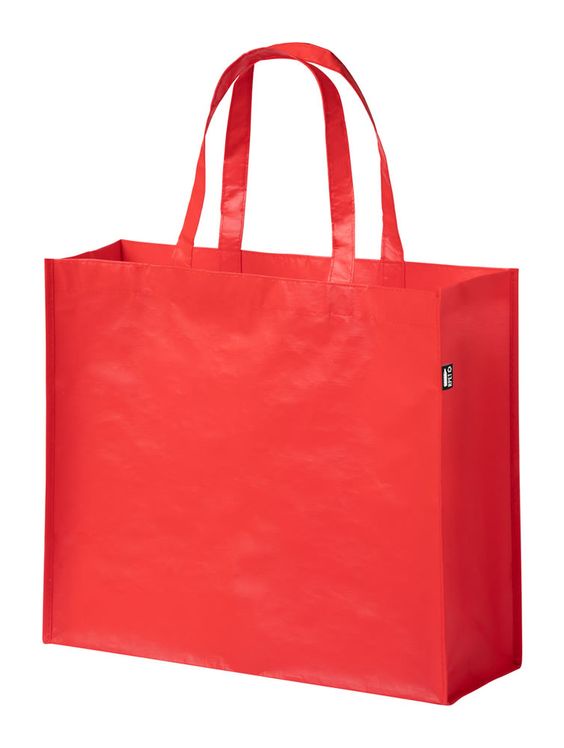
How to make RPET polyester bag
Making a RPET polyester bag is a simple process that can be completed in just a few minutes. RPET is a type of polyester that is derived from recycled plastics, so this bag is environmentally friendly as well. If this a concern for you then you do not have to worry anymore.
To make your own RPET non-woven bag and polyester bag, you will need:
-A polyester fabric bag - such as a grocery sack or garbage bag - of the correct size for your project
-A sewing machine with a zigzag stitch
-A needle with a large eye
-Scissors
-Stitching thread in various colors of your choice
-Iron or press cloth
1. Begin by cutting the polyester fabric bag into the desired shape. Try to make the sides as even as possible so that the finished product will look uniform. If necessary, use a rotary cutter to make clean cuts. Be sure to leave enough margin around the edges of the fabric so that you can accentuate them later with seam binding or hemming.
2. Next, sew the sides of the fabric together using a zigzag stitch. Be sure to backstitch at both ends of each seam to ensure durability and to seal it properly. Make sure that all seams are closed down.

image source: www.pinterest.ph
Tips for making RPET polyester bags
Polyester bags are a great way to store items and protect them from the elements. RPET polyester bags are a type of polyester bag that is made from recycled materials. Garments are a good option for environmentally friendly consumers and businesses. With all these guides you can now make your own polyester bag without worries about expenses because the materials are not expensive at all. Just follow the steps below and you are one step closer.
To make a RPET polyester bag, you will need:
-Polyester fabric
-Basting spray
-Hot glue gun and glue sticks
-Scissors
- designing software or a cutting machine
-Ironing board and iron
-Cordless drill
Start by measuring your fabric. You will need enough fabric to cover the entire surface of the bag. Cut the fabric to the desired size. Make sure that the fabric is large enough to overlap the edges of the bag by at least 2 inches. Do not cut the fabric so narrow that it cannot be sewn together.
If you plan to use a pattern, print out the pattern onto paper before cutting out the fabric. Trace the pattern onto your fabric and cut out the pieces.
Next, prepare your basting spray by mixing 1 part water with 2 parts basting spray. Now you have your own polyester shopping bag. It is indeed a piece of cake to do. Mist the entire surface of your fabric with basting spray and then press it down with iron in your ironing board. You have to press it enough for you can get the best result.

No comments yet