Embroidery, with its intricate designs and precise stitches, often relies on stabilizers to ensure the integrity of the final product. Water-soluble embroidery stabilizer topping is a common choice among embroiderers for its temporary support during the stitching process. Once the embroidery is complete, removing this stabilizer becomes crucial to unveil the true beauty of the finished piece. In this comprehensive guide, we'll explore the techniques and tips for effectively removing water-soluble embroidery stabilizer topping without compromising the quality of your embroidered masterpiece.
1. Understanding Water-Soluble Stabilizer Topping
a. Temporary Support for Embroidery
Water-soluble stabilizer topping serves as temporary support during the embroidery process. Placed on top of the fabric, it prevents stitches from sinking into textured or plush materials and ensures the crispness of the design. Unlike tear-away or cut-away stabilizers, water-soluble toppings dissolve in water, leaving behind a clean and flawless embroidery.
b. Common Applications
Water-soluble embroidery stabilizer topping finds its application in various embroidery projects, including delicate fabrics, terry cloth, and high-pile textiles. It is particularly useful for preventing stitches from getting lost in the fabric's fibers, resulting in a more defined and professional-looking embroidery.
2. Materials You'll Need for Removal
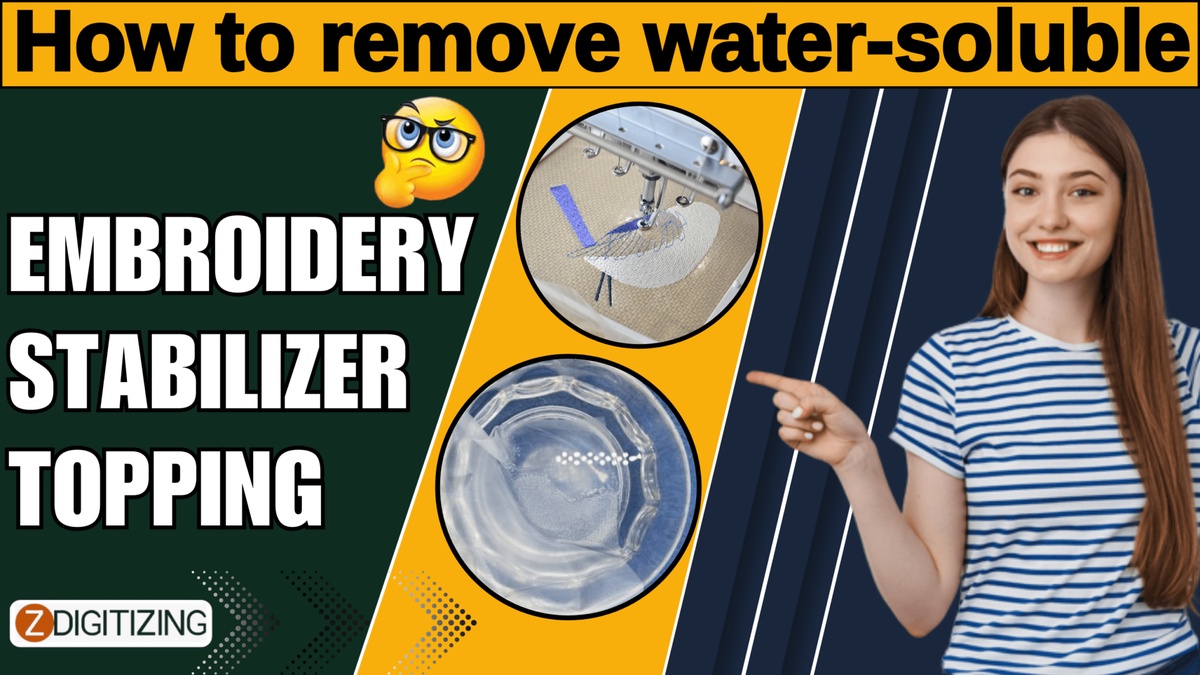
a. Clean Water
Prepare a basin or container with clean, room temperature water. The water should be free of any additives or detergents that may affect the dissolving process.
b. Soft Brush or Sponge
A soft-bristled brush or sponge is essential for gently agitating the water-soluble stabilizer and aiding in its dissolution.
c. Lint-Free Cloth or Towel
Use a lint-free cloth or towel to pat the embroidered fabric dry after the stabilizer has been removed. This prevents any lint or fibers from adhering to the damp fabric.
d. Time and Patience
Removing water-soluble stabilizer topping is a gradual process that requires time and patience. Allow the fabric to soak and the stabilizer to dissolve naturally.
3. Steps to Remove Water-Soluble Embroidery Stabilizer Topping
a. Prepare the Basin of Water
Fill a basin or container with clean, room temperature water. The water should be deep enough to fully submerge the embroidered fabric.
b. Submerge the Embroidered Fabric
Gently place the embroidered fabric with the water-soluble stabilizer topping into the basin of water. Ensure that the entire embroidered area is submerged.
c. Allow Soaking Time
Let the fabric soak in the water for an appropriate amount of time. The soaking time can vary based on the type and brand of water-soluble stabilizer. Refer to the product's instructions for recommended soaking durations.
d. Agitate Gently
After the soaking period, use a soft brush or sponge to gently agitate the water around the embroidered area. This helps in loosening the water-soluble stabilizer from the fabric.
e. Check Dissolution Progress
Check the progress of the stabilizer dissolution by lifting a small section of the fabric. If the stabilizer appears to be dissolving, continue agitating gently. If not, allow more soaking time.
f. Repeat as Needed
Repeat the soaking and agitating process as needed until the water-soluble stabilizer is completely dissolved. Be patient and avoid any aggressive scrubbing that may damage the embroidery.
g. Pat Dry with Lint-Free Cloth
Once the stabilizer has dissolved, carefully remove the fabric from the water and pat it dry with a lint-free cloth or towel. Ensure that excess water is removed without causing any friction on the embroidered surface.
h. Air Dry Completely
Allow the fabric to air dry completely before storing or using it. Avoid direct sunlight or heat sources, as they may affect the quality of the embroidery digitizing service.
4. Tips for Successful Removal
a. Test a Small Area First
Before fully submerging the embroidered fabric, test a small, inconspicuous area to ensure that the water-soluble stabilizer dissolves properly without any adverse effects on the fabric or thread colors.
b. Adjust Water Temperature
In some cases, adjusting the water temperature may influence the speed of stabilizer dissolution. However, always follow the manufacturer's recommendations to avoid potential damage to the fabric or embroidery.
c. Use Distilled Water
If your tap water contains minerals or impurities, consider using distilled water for soaking. This helps prevent any residue or discoloration on the fabric.
d. Prevent Overcrowding
Avoid overcrowding the basin with multiple embroidered pieces. Each piece requires sufficient space for the water-soluble stabilizer to dissolve effectively.
e. Monitor Dissolution Progress
Regularly check the progress of stabilizer dissolution to avoid over-soaking or extended soaking periods, which may impact the fabric or embroidery.
5. Applications of Water-Soluble Stabilizer Topping
a. Delicate Fabrics
Water-soluble stabilizer topping is particularly beneficial for delicate fabrics such as lace, organza, and chiffon. It provides support during embroidery without leaving behind any residue.
b. High-Pile Textiles
Fabrics with high pile, such as terry cloth or fleece, often benefit from the use of water-soluble stabilizer topping. It prevents stitches from getting lost in the fibers, resulting in a more defined design.
c. Intricate Designs and Lettering
Embroidery projects with intricate designs or small lettering can benefit from the use of water-soluble stabilizer. It ensures the clarity and precision of each stitch.
d. Textured Surfaces
When embroidering on textured surfaces, water-soluble stabilizer topping helps maintain the integrity of the design by preventing stitches from sinking into the uneven surface.
6. Conclusion: Unveiling the Beauty Beneath the Stabilizer
Removing water-soluble embroidery stabilizer topping is a crucial step in revealing the true beauty of your embroidered creations. With the right techniques and a gentle approach, you can ensure a clean and flawless finish without compromising the quality of the embroidery.
As you embark on your journey of embroidery, mastering the art of stabilizer removal adds another layer of skill to your repertoire. Soak, agitate, and unveil the intricate details beneath the stabilizer – a testament to the precision and craftsmanship of embroidery.
Zdigitizing
ZDigitizing is offering a wide range of digitizing solutions to meet the needs of businesses and individuals alike. With expertise in logo digitizing, 3D puff digitizing, cap digitizing, and applique digitizing, ZDigitizing ensures high-quality and precise embroidery designs.
Their team of skilled embroidery digitizer is well-versed in converting images to embroidery digitizing, making it easy to transform your logos, artwork, or designs into stitch files. Whether you have a PNG or JPG image, ZDigitizing can seamlessly convert it into embroidery-ready files, ensuring accurate reproduction of intricate details and vibrant colors.
ZDigitizing prides itself on delivering quick turnaround times without compromising on quality. They employ state-of-the-art software and machinery to create flawless embroidery designs that bring your vision to life. Their commitment to customer satisfaction, attention to detail, and competitive pricing sets them apart in the embroidery digitizing industry.

No comments yet