Remote desktop access is a feature that is becoming increasingly important in the modern, work-from-home world. It allows you to connect to a remote computer from anywhere with an internet connection. One of the most efficient and secure modes of providing remote access to computers is through Remote Desktop Gateway (RD Gateway). RD Gateway provides secure remote access to on-premises, internal networks over the internet. It is a server role in Windows Server that allows desktop applications to be run remotely and provides secure access to remote desktops.
In this blog post, we'll take a deep dive into how to set up RDP Gateway for remote access.
Understanding RD Gateway
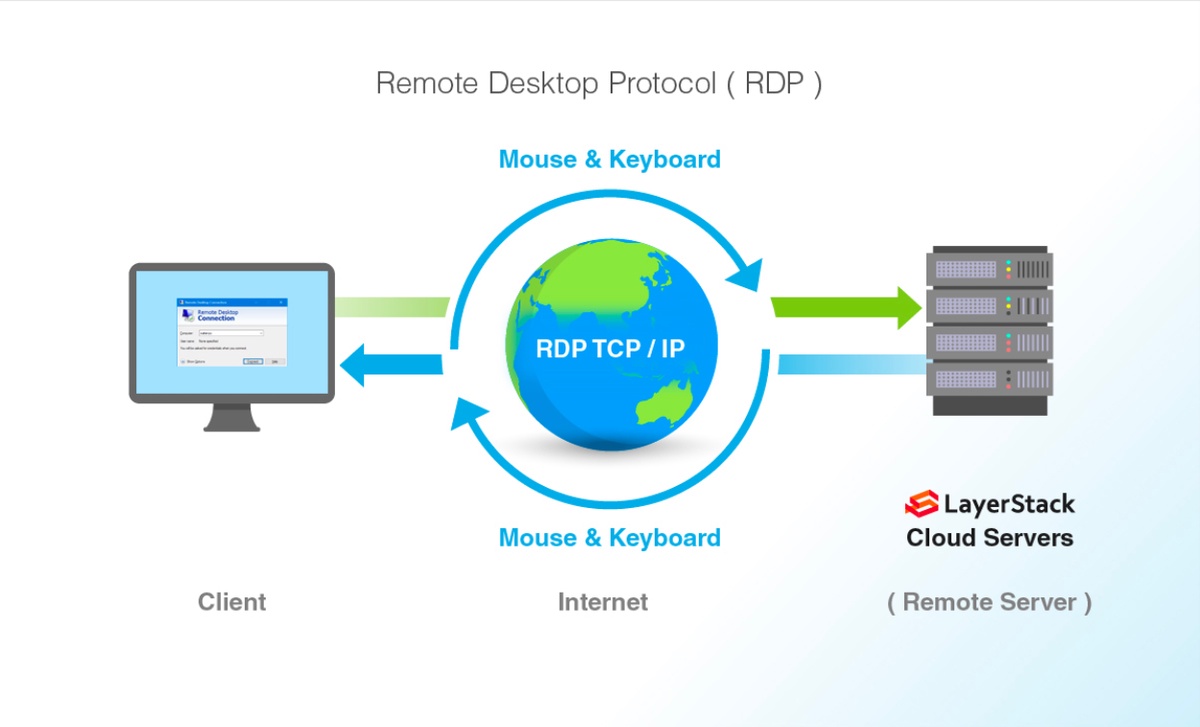
RD Gateway is essentially a middleman between your remote user and the remote desktop server. The RD Gateway server allows users to connect to internal network resources without requiring a Virtual Private Network (VPN). Instead of connecting to the local area network (LAN) via VPN, you can set up RDP Gateway to secure the remote session over the internet. RD Gateway uses the Remote Desktop Protocol (RDP) to establish a secure encrypted connection to the remote desktop.
Setting Up RD Gateway
The first step in setting up RD Gateway is to install it on your Windows Server. You can do this by going to "Server Manager," clicking on "Manage" and selecting "Add Roles and Features." From there, choose the "Remote Desktop Services Installation" option, followed by "Remote Desktop Gateway." Ensure that you select the right network interface for remote connections. In the RD Gateway Manager console, create a new RD Gateway-managed computer group. Add the server you're setting up as the gateway server to this group.
Creating RD Gateway Policies
RD Gateway servers use Remote Desktop Protocol (RDP) and HTTPS protocols to communicate. To create an HTTPS-enabled connection, you need to install a server certificate and create a Remote Desktop Gateway policy. The policy is a set of rules that dictate how connections are allowed to the RD Gateway server. In RD Gateway Manager, select "Create new RD Gateway policy" and configure the policy settings that best suit your needs.
Configuring Remote Desktop Services
Once the RD Gateway policies are set up, configure Remote Desktop Services (RDS) to work with the new gateway server. In Remote Desktop Session Host Configuration, right-click on the server name and select "Properties." Under the "RD Gateway server settings" tab, enter the server name or IP address of the RD Gateway server that you configured in the previous steps. Configure other settings such as time-out and session limits according to your requirements.
Testing the Connection
After setting up RD Gateway, it's time to test the connection. You can do this by opening up Remote Desktop Connection and entering the RD Gateway server's public IP address. The credentials for the remote session should be established via the RD Gateway server, which proxies the connection to the destination buy remote desktop.
Conclusion
Setting up RD Gateway for remote access might seem like a daunting task, but it can be worth the effort. Implementing a secure remote access infrastructure can be crucial for businesses today. Remote desktop services provide easy access for remote users and reduce the risk of data breaches. As long as you follow the steps outlined above, you can set up RD Gateway for remote access securely.

No comments yet