Maintaining the correct tire pressure is essential for the safety, performance, and longevity of your vehicle's tires.
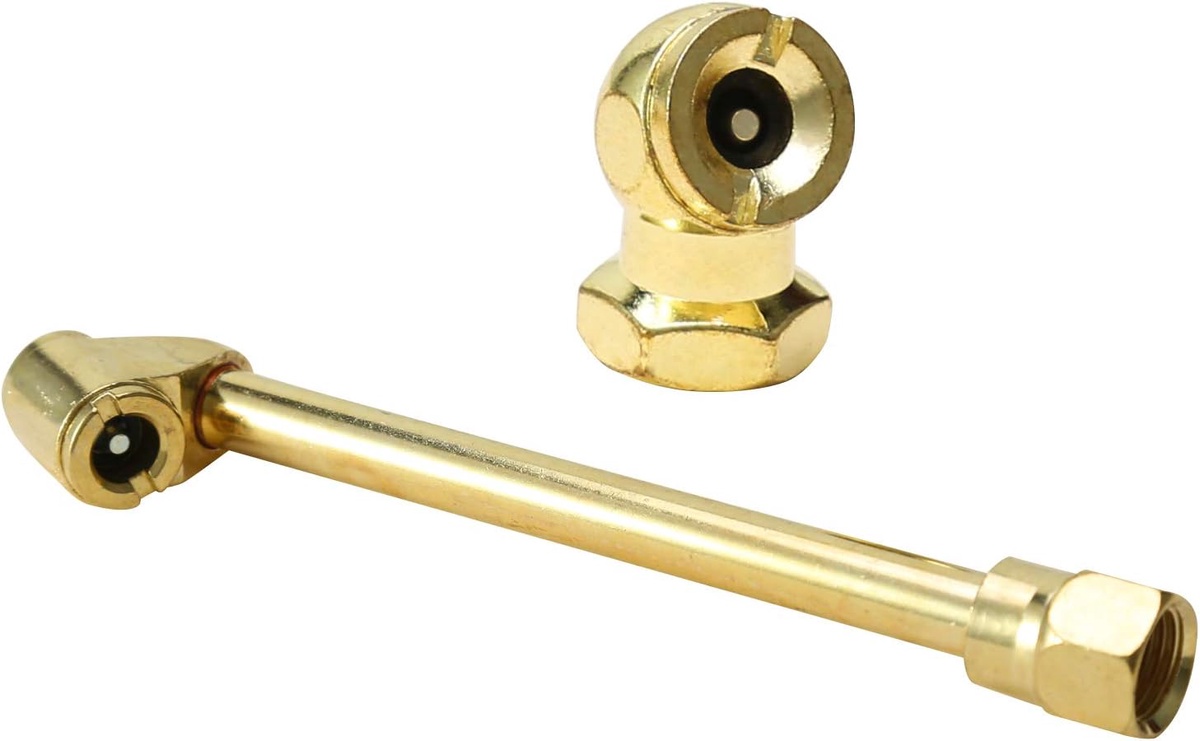
To ensure your tires are properly inflated, you'll need a tire air chuck—a simple yet effective tool that connects your tires to an air source for inflation.
Step 1: Gather Your Tools
Before you begin, make sure you have the following tools and materials:
- A tire air chuck
- An air compressor
- A pressure gauge (optional but recommended for accuracy)
Step 2: Check the Recommended Tire Pressure
Start by checking the recommended tire pressure for your specific vehicle.
You can typically find this information in the owner's manual, on a sticker inside the driver's door jamb, or on the tire sidewall. Note the recommended pressure in pounds per square inch (psi).
Step 3: Prepare the Air Compressor
Ensure that your air compressor is in good working condition and properly connected to a power source. Check the oil level and make any necessary adjustments as per the manufacturer's instructions.
Step 4: Attach the Tire Air Chuck
Attach the tire air chuck to the end of the air compressor hose. Most tire air chucks have a threaded connection that screws onto the hose. Make sure it's securely fastened to prevent air leaks during inflation.
Step 5: Remove the Valve Cap
Locate the valve stem on your tire, which is usually covered by a small plastic or metal cap. Unscrew and remove the valve cap, setting it aside for later. This step allows you to access the valve stem for inflation.
Step 6: Connect the Tire Air Chuck
Press the open end of the tire air chuck firmly onto the valve stem. It should fit snugly to create an airtight seal. Hold the chuck in place with one hand while gripping the hose with the other to prevent air leakage.
Step 7: Begin Inflation
Turn on the air compressor. Depending on the type of compressor, you may need to adjust the pressure settings. If you have a pressure gauge, you can use it to monitor the tire pressure as you inflate.
Step 8: Inflate to the Recommended Pressure
Start inflating the tire with the air compressor. Keep an eye on the pressure gauge if you're using one. Stop periodically to check the tire pressure against the recommended psi.
Be cautious not to overinflate the tire; if you do, you can release some air by pressing the small pin in the center of the valve stem.
Step 9: Check and Adjust
Once you've reached the recommended tire pressure, turn off the air compressor and remove the tire air chuck from the valve stem. Quickly replace the valve cap to prevent dirt and debris from entering the valve.
Step 10: Repeat for All Tires
If you're inflating multiple tires, repeat the process for each one. Ensure that all tires are inflated to the correct pressure as per the manufacturer's recommendations.
Using a tire air chuck to inflate your tires is a straightforward process that every vehicle owner should be familiar with.
Regularly maintaining proper tire pressure enhances safety, improves fuel efficiency, and extends tire life, making it a worthwhile and essential maintenance task for your vehicle.


No comments yet