When you think about resin, the first thing that comes to mind is a child's art project or a college party. But resin is a useful material for making all kinds of things, from home décor to furniture. Many different types of resin are available in stores today in different kits. One of the most popular of them is the epoxy resin kit. It is a clear resin kit that you can customise according to the project you want to make. If you're new to using resin but want some help getting started, this guide will walk through everything from using the resin kit to how long it takes before your project is ready for use through after-use cleaning tips.
So, let's get you started!
How to Use Resin
Epoxy resin is a liquid, polymer-based product that hardens when exposed to heat.
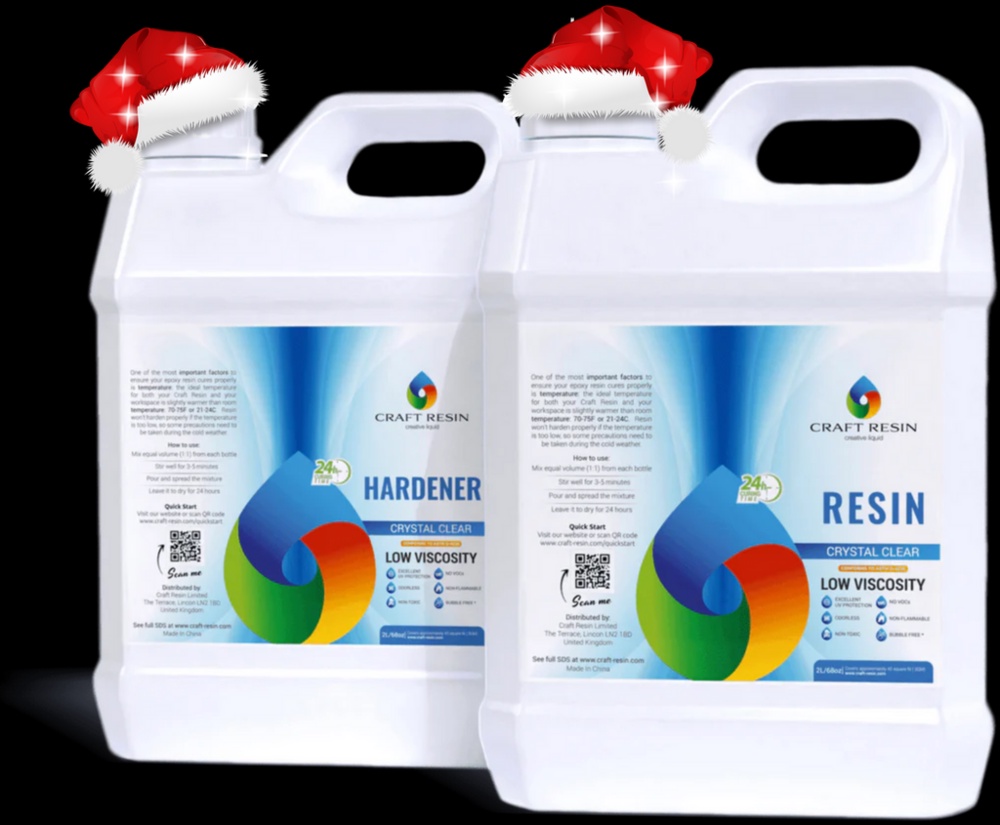
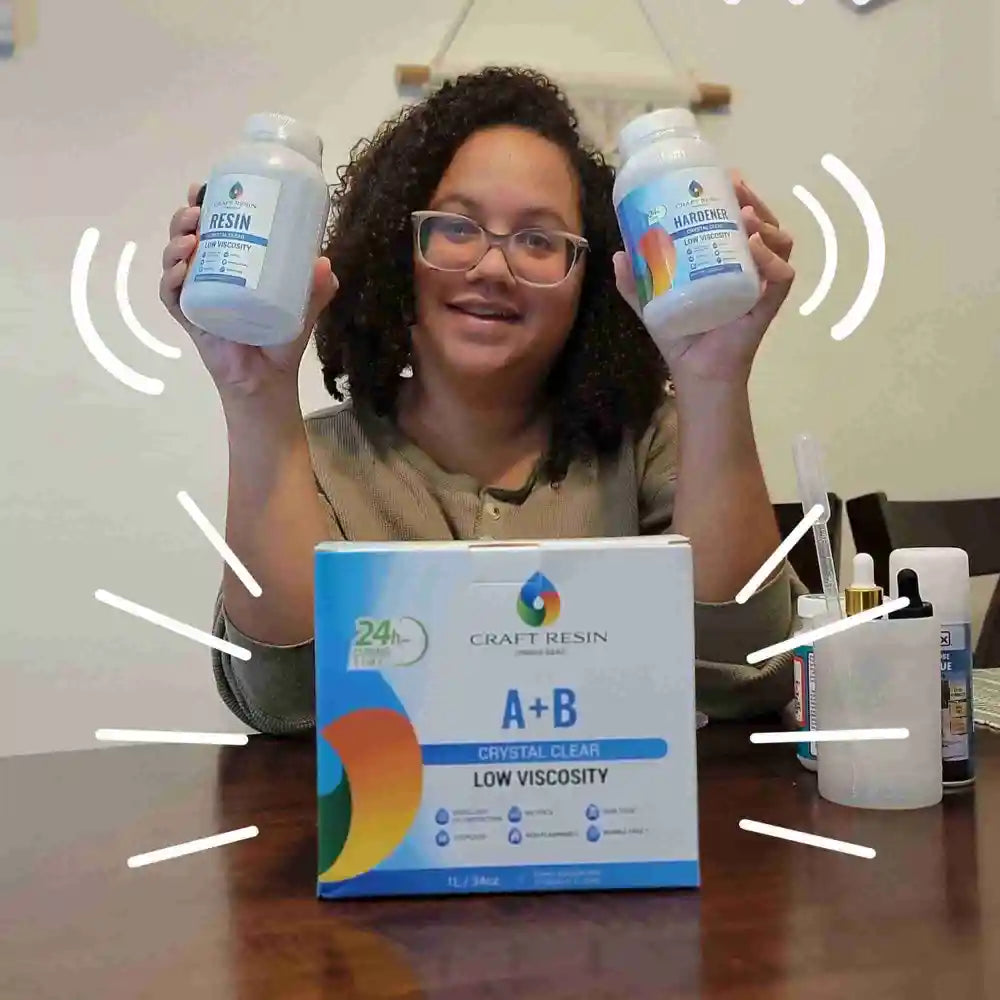
The resin itself does not cause any harm, but the chemicals used in hardeners can be toxic if ingested or inhaled. However, there are nontoxic options available that are completely safe to use. One such is the crystal clear epoxy resin kit from Craft Resin.
Epoxy resin comes in a clear colour, but if you want to add colour, you can use a resin die of the choice of your paint. You need only one type of resin for most projects. However, you may want different styles depending on what you want to make.
Prepare The Moulds
First and foremost, prepare the moulds for the model you want to work on. You can pick any mould, from earrings to key chain moulds. Make sure the surface of moulds is clean so that resin will get a clear space to settle itself.
Wear Protective Gear At All Times
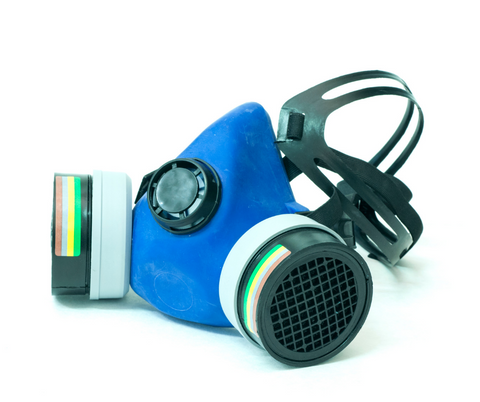
If you are going to be working with resin, it is important that you wear protective gear at all times. Epoxy resin is much safer to work with than any other resin. However, keeping your security on priority will do no harm. This includes gloves, goggles, and a respirator (or dust mask). You should also keep your work area well-ventilated and ensure there aren't any flammable materials nearby.
Prepare The Work Area
Before you start, ensure the work area is clean and dry. The first step is to prep your tools. This includes preparing a surface for glueing/tacking and cleaning up any spills from previous projects.
Stir The Resin Thoroughly
Pour the epoxy resin into a cup ( or in any other container depending on the quantity you need for your project). If you're using a stir stick or paint mixer, be sure to use one that is made of wood or plastic. Also, please do not use a metal spoon, as this can cause damage to your kit and ruin its appearance.
Slowly Add The Hardener To The Resin
Now you're ready to begin the process of adding a hardener. You'll first need to measure out your resin and then add it to a measuring cup. You'll want to mix it until all of the liquid has been absorbed into your resin mixture (about 3 minutes).
After mixing everything, carefully stir in any additional ingredients left over from when you prepared your resin kit.
Mix Carefully For Three Minutes
Mixing resin is a very important step in the process. It can take up to five minutes to fully mix the resin, and you want to ensure that you get it right.
The best way to mix your resin is using an electric or hand mixer with plenty of elbow grease! If your mixture looks like chocolate milk and has separated into layers, then that's not good—you need some more mixing time!

Mix the first part at a low speed until no lumps you see no lumps left (this should take about one minute).
Pour A Thin Layer Of Resin Onto Mould And Let It Cure For 2 Hours
Pour a thin resin layer onto the mould and let it cure for 2 hours. The resin will start to harden, so use a flat object like a ruler or straight edge to ensure that moulds stay on a flat surface. Once the resin has dried, you can add any additional layers of colour or texture that you like!
Add Décor And Mix Again For Two Minutes
Now that you've mixed the resin, it's time to add some décor. Pour it over the surface of your work and use a paintbrush to spread it evenly across your project. You can leave this alone for anywhere from 2-5 minutes—make sure not to stand too close!
Once everything has hardened (or "cured"), remove any excess with paper towels or an old dish towel by wiping gently over your project with firm pressure.
Do Not Leave Your Surface In Direct Sunlight, As Ultraviolet Rays Can Discolour It
When working with an epoxy resin kit, try not to leave your work in extreme temperatures or humidity—such as high heat or rain—because this can cause cracking of the surface and make it difficult for future steps (like applying additional coats) to adhere properly.

Clean Any Excess Resin Off Your Surface With Acetone
Clean any excess wet resin off your surface with acetone. Acetone is a solvent, so use it with caution. It has flammable and poisonous properties if inhaled or ingested, so keep away from open flames, hot surfaces, and other combustible materials when using this chemical!
Conclusion!
However you decide to use epoxy resin Europe, it's important that you take precautions. If you don't wear gloves or a mask, you could have a bad case of glue burns. Stirring the resin is also very important—if your mix isn't thoroughly stirred, it may start to harden before it cures completely on your surface. Finally, ensure that when using this type of medium, no fumes get into your lungs while working with it!

No comments yet