If you’ve ever tried to wind yarn into a cone, you know it’s not always easy. You have to be careful not to twist the yarn, and it can be frustrating trying to get it all wound up in the right direction. Wouldn’t it be great if there was a way to do this automatically? Fortunately, there is!
In this article, we’re going to show you how to wind yarn into a cone using an AI-powered tool called Yarnbot. This software helps you by tracking the position of the yarn as you wind it up, and makes sure that the cone is formed correctly every time. So if you’re ever struggling to wind yarn into a cone by hand, give Yarnbot a try!
Materials you will need
-Yarns such as Nylon DTY or Polyester DTY
-Conical Winder
-Needle
-Thread holder or bobbins (optional)
Directions:
To make a cone of yarn, start by winding the yarn onto the conical winder. You can either hold the thread holder or use bobbins to keep the yarn organized. Once you have a decent amount of yarn wound onto the cone, it's time to start knitting! Insert the needle into the first stitch on the cone and knit away! When you're finished knitting, cut off the extra yarn and neatly tuck it away inside the cone.
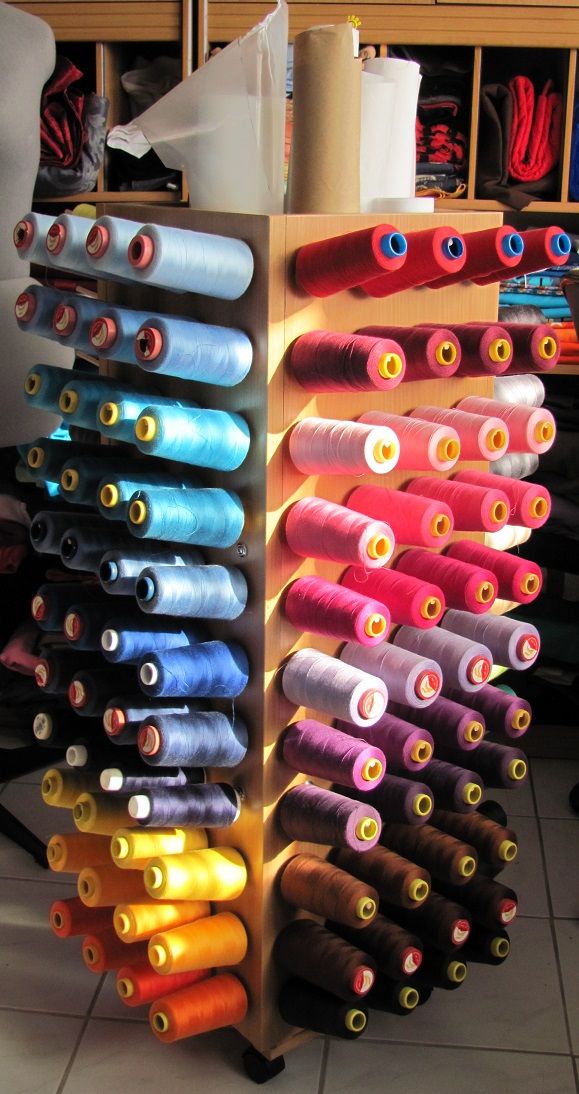
How to make a cone?
If you want to make a cone of yarn, the easiest way is to wind it into a ball and then cut it in half. If you’re new to this, start by holding the ball of yarn in your left hand and placing your right thumb over the top of it. Make a small hole with your thumbnail and insert the tip of your left index finger through the hole. Wind the yarn around your finger, pulling it tight as you go. When you reach the end, pull your finger out and twist the yarn around it once or twice to form a knot. Cut off the end of the yarn about 1 inch from the knot, leaving about a 6-inch tail.

image source: www.pinterest.ph
Tips for creating perfect cones
When winding yarn into a cone or in Twisting Machine, it is important to keep the following tips in mind:
-Start by winding the yarn around your fingers in a clockwise motion.
-Once you have a good starting point, continue winding the yarn around your fingers until the cone is approximately 1/2 inch thick.
-Now it is time to start forming the cone. Take the end of the yarn and make a small loop, or "bunny ear." This bunny ear should be made just big enough to fit over the top of the cone you created before.
-Next, take the bunny ear and insert it into the top of the cone. Now make sure that your bunny ear is pointing in a downwards direction and tuck it down behind the other end of the yarn.
-Pull on both ends of the yarn to form a tight knot.
-Repeat these steps until you reach the end of the yarn.

image source: www.pinterest.ph
Conclusion
If you're looking to learn how to wind yarn into a cone, this tutorial will show you the basics. By following these steps, you'll be able to create beautiful baskets, hats and other items from your own spun yarn. This is an easy skill to master and can be done in just a few minutes. So give it a try and see for yourself how easy it is!

No comments yet