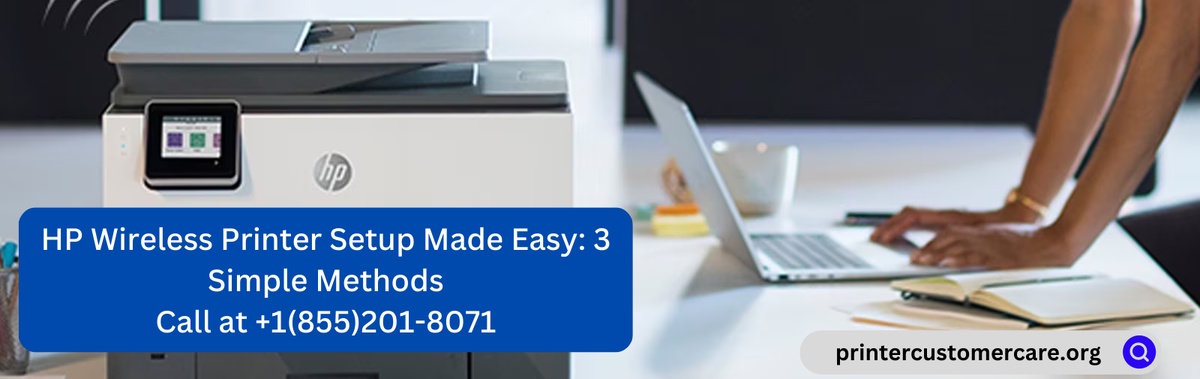
Setting up a wireless printer offers the convenience of printing from any device within the network range without the hassle of tangled cables. HP wireless printers are designed to streamline this process, making it easy for users to print wirelessly. In this blog, we will explore three straightforward methods for HP wireless printer setup, ensuring a seamless printing experience. You can also call our expert for further assistance. Dial- +1(855)201-8071 and get an easy setup today.
Method 1: HP Wireless Printer Setup using WisettingFi Protected Setup (WPS)-
WPS is one of the easiest methods to connect your HP wireless printer to the Wi-Fi network. Follow these steps for a quick setup:
-
Prepare the Printer: Power on your HP wireless printer and ensure it is in a ready state.
-
Activate WPS Mode: Locate the WPS button on your Wi-Fi router and press it for a few seconds until the WPS LED starts blinking.
-
Connect the Printer: Within 2 minutes of activating WPS on your router, press the WPS button on your HP printer. The printer will automatically connect to the Wi-Fi network.
-
Confirmation: Once connected, the WPS LED on your printer will stop blinking, indicating a successful connection.
Method 2: HP Wireless Printer Setup using HP Smart App Setup-
The HP Smart app provides a user-friendly interface for setting up and managing your HP wireless printer. Here's how to use it:
-
Download the HP Smart App: Install the HP Smart app on your smartphone or tablet from the App Store (iOS) or Google Play Store (Android).
-
Open the App: Launch the HP Smart app and tap on the "+" icon to add a new printer.
-
Allow Permissions: Follow the on-screen instructions to grant the app the necessary permissions.
-
Connect the Printer: The app will automatically detect your HP wireless printer. Select your printer from the list and follow the prompts to connect it to the Wi-Fi network.
-
Test Print: Once the connection is established, perform a test print to ensure everything is working correctly.
Method 3: HP Wireless Printer Manual Setup via Printer Display-
If your HP wireless printer has a built-in display, you can set it up manually by following these steps:
-
Access the Control Panel: Power on your printer and navigate to the control panel or display.
-
Setup Wizard: Look for the "Setup" or "Network" option and choose the "Wireless Setup Wizard."
-
Select Wi-Fi Network: The printer will scan for available Wi-Fi networks. Select your network from the list and enter the Wi-Fi password when prompted.
-
Complete the Setup: Follow the on-screen instructions to complete the setup process. Once the printer is connected to the network, it will print a confirmation page.
Conclusion: Setting up your HP wireless printer doesn't have to be a complex task. With these three easy methods - WPS, HP Smart App, and manual setup via printer display - you can quickly establish a wireless connection for hassle-free printing. Choose the method that best suits your preferences and enjoy the convenience of wireless printing from any device within your network. Whether it's for home or office use, HP's user-friendly wireless printer setup ensures a seamless and efficient printing experience.
Source Link: https://printercustomercare.org/hp-wireless-printer-setup/

No comments yet