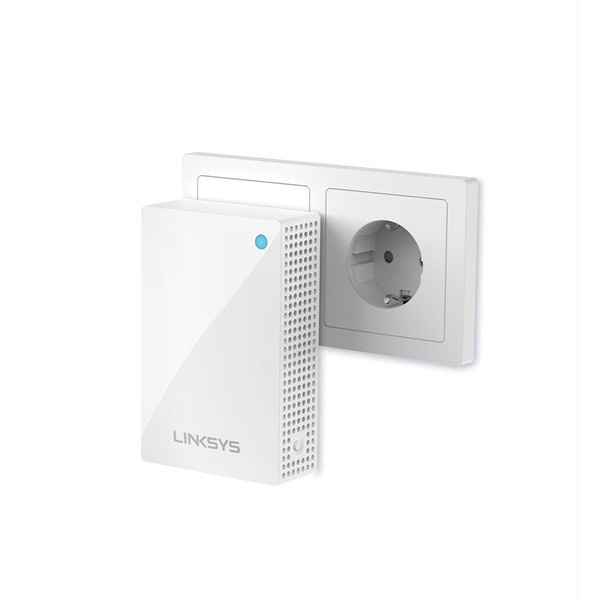
A Linksys Velop setup can greatly enhance the coverage of your home network. To get started, make sure you have the extender, an Ethernet wire, and a computer or mobile device with a web browser. The extender should first be connected to a power source, then you should wait for the LED indicator to turn solid blue. Then, join your device to the Velop extender's Wi-Fi network or create a wired connection using the Ethernet cable. After that, launch a web browser and type "extender.linksys.com" or the standard IP address listed in the user manual. To finish the configuration procedure, choose your current Wi-Fi network and input the network password as directed on the screen.
How do I setup the Linksys Velop extender manually?
Here are simple step-by-step instructions for the Linksys Velop setup manually:
- Start by placing the extender in a central location within range of your existing Wi-Fi router. Make sure the extender is powered on and the LED indicator is solid blue.
- On your device (laptop, smartphone, or tablet), go to the Wi-Fi settings and connect to the "Linksys Extender Setup" network. This network should be visible in the list of available networks.
- Once connected to the extender's network, open a web browser and enter "extender.linksys.com" in the address bar. If that doesn't work, you can try entering the default IP address, which is usually "192.168.1.1" or "192.168.0.1".
- You will be directed to the Linksys Velop extender setup page. Click on "Start Setup" or a similar button to begin the setup process.
- Select your preferred language and click "Next" to proceed.
- The extender will search for available Wi-Fi networks. Select your existing Wi-Fi network from the list and click "Next".
- Enter the password for your Wi-Fi network and click "Next" to continue.
- You will have the option to create a new network name (SSID) and password for the extender's network. If you prefer, you can keep the same network name and password as your existing Wi-Fi network. Make your selection and click "Next".
- The extender will apply the settings and connect to your existing Wi-Fi network. This process may take a few minutes.
- Once the setup is complete, you will see a confirmation message. You can now disconnect from the extender's network and connect back to your regular Wi-Fi network.
Note:- If you need any help regarding your Linksys velop extender so contact our technician or visit the official website that is 192.168.1.1.
Linksys WiFi Mesh Setup via Linksys App
During the unboxing process, you receive a few products that must be purchased for the Linksys Velop setup. The Velop setup, an instruction book, some ethernet cables, and a power cable are included. As soon as you have an Ethernet cable and the Velop setup, continue with the remaining instructions below.
- Place the Linksys Velop next to the main router.
- Put one end of the ethernet cable into the router's port and the other end into the ethernet port on the Velop to complete the connection.
- The Velop setup should then be connected to the power connector by inserting the power line.
- When hooked into a power outlet, the LED indicator turns blue to show that everything is ready.
- Don't create the connection until the main router has finished booting.
- After a few minutes, the Velop's LED will turn solid purple, signaling that it is ready for use.
- Installing and utilizing the Linksys app on your device will then allow you to launch the Linksys Velop Setup.
- Make sure the app is using the most recent release. Update your device's version if it is out of date.
- Enter your email address and password after marking the terms as accepted.
- Then a website will appear on your computer screen asking you where the internet comes from.
- After choosing your internet connection, launch the Linksys app and pick the WiFi list.
- The network name for Velop Setup will appear in the list.
Firmware Upgrade Linksys Velop extender
Updates to the Linksys Velop firmware are simple to do and solve many performance problems. Therefore, always enable the auto-update firmware feature in the Linksys app. You mostly have two options if you choose to do it manually. The first one entails going to a certain URL, whereas the second one requires signing into CA. Take these two actions independently.
- Before utilizing this method, ensure that your node is setup or set to its factory default settings. The node's IP address is 192.168.1.1, so note it down. Read the printed instructions for further details.
- Download your product's firmware file first onto a computer or laptop.
- If the node has been setup, launch any web browser and type IP addressfupdate.html into the search bar. use the IP address of the node.
- If the node is still using its factory default settings, look for IPaddressfupdate.html.
- The screen will then display a sign-in page. To sign in, enter your username and password and then click "Sign In."
- After viewing the firmware upgrade page, choose and upload the firmware file, then click Update.
- Wait till the upgrade is finished.
- Following the update, the designated node will power on and show a solid blue light.
- However, when the factory default settings node is ready for setup, it will show a solid purple light.
- The Linksys Velop Setup process should be repeated.

No comments yet