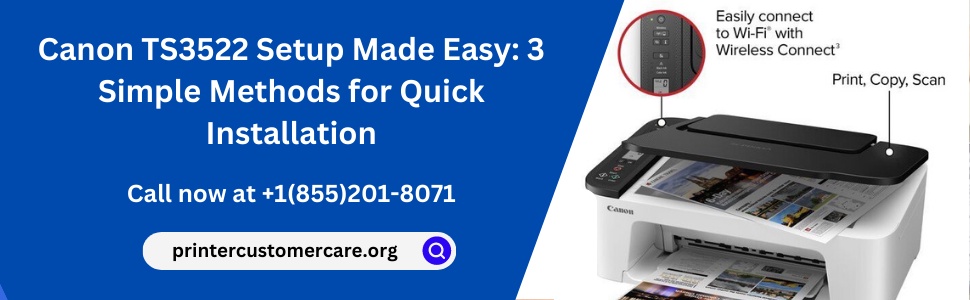
The Canon PIXMA TS3522 is a versatile all-in-one printer that provides seamless printing, scanning, and copying capabilities. Setting up this printer shouldn’t be a source of stress. In this blog, we’ll walk you through three easy and straightforward methods to get your Canon TS3522 up and running in no time. Whether you’re a tech-savvy individual or a beginner, follow our step-by-step guide for a smooth and successful setup process. Having trouble with Canon TS3522 setup? Dial our toll-free number +1(855)201–8071 or get in touch with our expert support team for immediate assistance and get your printer up and running in no time!
Method 1: Canon TS3522 Setup Using Canon PRINT App

Step 1: Download Canon PRINT App
Start by downloading the Canon PRINT app from the App Store (iOS) or Google Play Store (Android) on your smartphone or tablet.
Step 2: Power on the Printer
Turn on your Canon TS3522 printer and wait for it to complete the startup process.
Step 3: Connect to Printer’s Wi-Fi
On your mobile device, go to Wi-Fi settings and connect to the wireless network named “Canon_ij_Setup.” This network allows your device to communicate directly with the printer.
Step 4: Launch Canon PRINT App
Open the Canon PRINT app and follow the on-screen instructions to detect and set up your Canon TS3522 printer. The app will guide you through the process, including connecting the printer to your home Wi-Fi network.
Step 5: Print a Test Page
Once the setup is complete, print a test page from your device to ensure the connection is successful.
Method 2: Canon TS3522 Wireless Setup Using WPS (Wi-Fi Protected Setup)

Step 1: Prepare the Printer
Turn on your Canon TS3522 printer and ensure it’s in a ready state.
Step 2: Press WPS Button
Locate the WPS button on your home Wi-Fi router. Press and hold the WPS button for a few seconds.
Step 3: Activate WPS on the Printer
Within two minutes of activating WPS on the router, press the WPS button on your Canon TS3522 printer. The blue Wi-Fi indicator light will start flashing, indicating it is searching for the network.
Step 4: Connection Established
Once the printer connects to your home Wi-Fi network, the Wi-Fi indicator light will stop flashing and remain solid. You are now ready to print wirelessly.
Method 3: Canon TS3522 Setup Using USB

Step 1: Unbox and Connect
Unbox your Canon TS3522 printer and connect it to a power source. Turn it on and complete the initial setup process.
Step 2: Install Drivers
Insert the printer’s installation CD or visit Canon’s official website to download the latest drivers and software for your operating system.
Step 3: Connect Printer to the PC
Connect one end of the USB cable to the printer and the other end to your computer. The computer will automatically detect the printer.
Step 4: Install Printer Software
Follow the on-screen instructions to install the printer software. This will ensure your computer communicates effectively with the Canon TS3522.
Step 5: Print a Test Page
After the installation is complete, print a test page to confirm that your Canon TS3522 is set up correctly and ready for use.
Conclusion:
With these three simple methods, you can easily set up your Canon PIXMA TS3522 printer and start enjoying its impressive printing, scanning, and copying capabilities. Choose the method that suits your preference and follow our step-by-step guide for a hassle-free installation process. Say hello to effortless printing with the Canon TS3522!
Source Link: https://printercustomercare.org/canon-ts3522-setup/

No comments yet