In today's fast-paced digital world, a stable and reliable internet connection is essential. However, dead zones and weak signals can be a frustrating reality, especially in larger homes or offices. Fortunately, a Netgear WiFi extender can help boost your WiFi signal and eliminate those pesky dead spots. In this guide, we'll walk you through the step-by-step process of Set up wifi extender netgear to ensure optimal coverage throughout your space.
Understanding the Basics
Before diving into the setup process, it's important to understand how a WiFi extender works. Essentially, a WiFi extender, also known as a range extender or repeater, amplifies your existing WiFi signal, extending its coverage area. This allows you to enjoy a strong and reliable connection in areas that were previously out of reach.
Choosing the Right Location
The first step in setting up your Netgear WiFi extender is to find the optimal location for it. Ideally, you'll want to place the extender halfway between your router and the area where you need better coverage. This ensures that the extender can receive a strong signal from your router while also extending its range to the desired area.
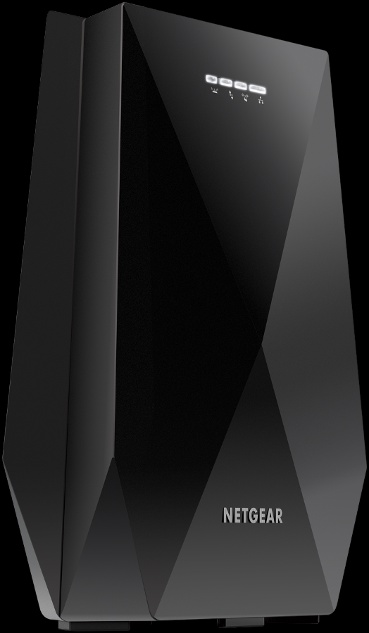
Powering Up the Extender
Once you've found the perfect spot for your extender, it's time to power it up. Simply plug the extender into an electrical outlet and wait for it to boot up. You'll know it's ready when the power LED indicator lights up.
Connecting to the Extender
Next, you'll need to connect your computer or mobile device to the extender's WiFi network. This network will typically have a name that includes "NETGEAR_EXT" followed by a series of letters and numbers. Simply locate this network in your device's WiFi settings and connect to it using the provided password.
Accessing the Setup Page
Once connected to the extender's network, open a web browser on your device and type "mywifiext.net" into the address bar. This will take you to the Netgear Genie setup page, where you can configure your extender settings.
Configuring the Extender Settings
Follow the on-screen instructions to set up your extender. You may be prompted to create a new admin password and select your WiFi network to extend. Once you've completed the setup process, the extender will reboot and apply your changes.
Testing the Connection
After the extender has finished rebooting, it's time to test the connection. Take your device to the area where you previously experienced poor WiFi coverage and check for signal strength. Ideally, you should now have a strong and stable connection, indicating that the extender is working as intended.
Fine-Tuning Your Setup
If you're still experiencing weak signal in certain areas, you may need to adjust the placement of your extender or experiment with different settings. Additionally, Netgear offers advanced features such as beamforming and FastLane technology, which can further enhance your WiFi performance.
Conclusion
Setting up a Netgear WiFi extender is a straightforward process that can greatly improve your WiFi coverage and eliminate dead zones in your home or office. By following the steps outlined in this guide and fine-tuning your setup as needed, you can enjoy a strong and reliable internet connection wherever you go. Say goodbye to WiFi woes and hello to seamless connectivity with your Netgear WiFi extender!
Read Also:
Default IP Address 192.168.1.250
Netgear WiFi Extender EX6100 Setup
Netgear EX2700 as an Access Point
Netgear Extender Red Light Issue
Netgear Genie Continues to Appear
Netgear Extender Not Accepting Password
Netgear Extender WiFi Connectivity Issues
Netgear Extender Installation Using 192.168.1.250
Netgear EX2700 Extender via WPS
Fix the Internet Connection Issues
Netgear Extender Not Connecting to Router
Netgear AC1200 WiFi Range Extender
Extender Not Working After Netgear Firmware Update
How to Secure WiFi Network of Netgear Extender
Netgear WiFi Extender Setup WPS
Netgear Wi-Fi Mesh Range Extender EX7000

No comments yet