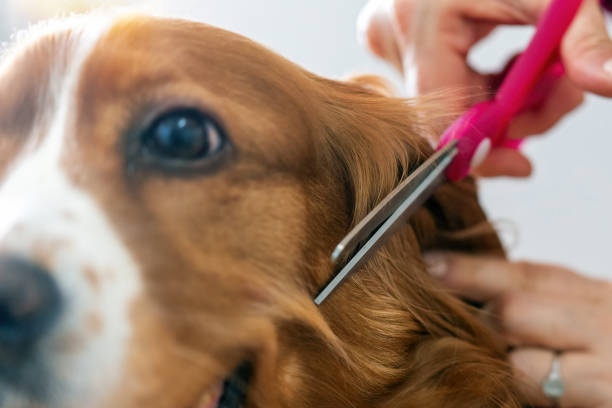
When it comes to grooming your beloved furry friend, maintaining your dog grooming shears is as important as choosing the right shampoo or brush. Dull shears not only make the grooming process less efficient but can also be uncomfortable for your pet. In this guide, we will explore the art of sharpening your dog grooming shears, ensuring that they stay in top condition for many grooming sessions to come.
Understanding the Basics
Before we dive into the tools and techniques for sharpening dog grooming shears, it's crucial to understand the basics of the shears themselves. Dog grooming shears, also known as scissors, come in various shapes and sizes, each designed for specific tasks, such as cutting fur, trimming nails, or shaping fur in delicate areas. The two main types of shears are straight shears and curved shears, with each serving a unique purpose.
Straight shears are primarily used for precision trimming and straight-line cutting. Curved shears, on the other hand, are designed to follow the contours of your pet's body, making them ideal for shaping and blending fur. Regardless of the type, regular maintenance and sharpening are essential to ensure they perform their best.
Tools You'll Need
To sharpen your dog grooming shears effectively, you'll need a few essential tools:
1. Sharpening Stone
A sharpening stone is a must-have tool for maintaining the sharpness of your shears. There are various types of sharpening stones, including oil stones, water stones, and diamond stones. Choose one that suits your preference and experience level.
2. Lubricating Oil
Lubricating oil is used to ensure smooth sharpening and protect the stone's surface. It also prevents metal particles from clogging the stone.
3. Honing Guide
A honing guide helps maintain the correct angle while sharpening your shears. This is especially useful for beginners to achieve consistent results.
4. Cleaning Brush
A cleaning brush will help remove any metal shavings or debris from the sharpening process.
5. Cloth or Towel
You'll need a cloth or towel to wipe your shears clean after sharpening.
Sharpening Process
Now that you have the necessary tools, let's walk through the sharpening process:
Step 1: Clean Your Shears
Before sharpening, make sure your shears are clean and free from any hair or dirt. Use the cleaning brush to remove any debris from the blades.
Step 2: Lubricate the Sharpening Stone
Apply a few drops of lubricating oil to the sharpening stone's surface to ensure smooth sharpening.
Step 3: Set the Correct Angle
If you're using a honing guide, follow the manufacturer's instructions to set the correct angle for your shears. If you're experienced, you can sharpen them by hand, but it's easier to use a guide, especially for beginners.
Step 4: Begin Sharpening
Hold the shears against the stone at the chosen angle and start sharpening. Move the shears in a smooth, sweeping motion across the stone, maintaining a consistent angle. Repeat this process several times, checking the sharpness as you go.
Step 5: Test the Sharpness
Carefully test the sharpness of the shears by cutting a piece of paper or a thin cloth. They should cut effortlessly without snagging or tearing the material.
Step 6: Clean and Store
Once your shears are sharp, wipe off any oil residue, and store them in a dry, safe place to prevent rusting.
Conclusion
Properly sharpened dog grooming shears are essential for a successful grooming session and the comfort of your pet. By investing in the right tools and mastering the sharpening process, you can ensure that your shears remain in excellent condition, allowing you to groom your furry companion with precision and care. Remember to maintain a regular sharpening schedule to keep your shears in top-notch shape, ensuring a happy and well-groomed pet.


No comments yet