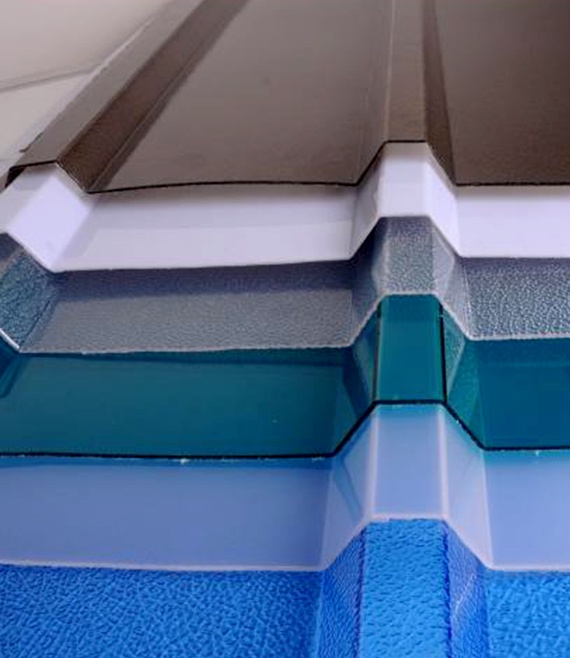
Polycarbonate roofing sheets have become increasingly popular in recent years, thanks to their durability, versatility, and aesthetic appeal. Whether you're looking to install a new roof or replace an existing one, polycarbonate sheets offer a cost-effective and long-lasting solution. However, proper installation is crucial to ensure the durability and effectiveness of your roofing system. In this step-by-step guide, we'll walk you through the process of installing these roofing sheets.
Here are the steps to install polycarbonate sheets:
Gather Your Materials: Before you begin, make sure you have all the necessary materials and tools. This includes polycarbonate roofing sheets, screws, a drill with a screwdriver bit, a tape measure, a saw for cutting the sheets to size, and safety equipment such as gloves and goggles.
Prepare the Surface: Ensure that the surface where you'll be installing the polycarbonate sheets is clean, dry, and free of any debris. If you're installing the sheets on a roof, make sure the roof is structurally sound and free of any damage.
Measure and Cut the Sheets: Measure the dimensions of the area where you'll be installing these sheets and mark the cutting lines on the sheets accordingly. Use a saw to cut the sheets to the appropriate size, making sure to wear safety goggles and gloves during this step to protect yourself from any sharp edges.
Pre-Drill Holes: Before securing the sheets in place, pre-drill holes along the edges of each sheet. This will prevent the sheets from cracking or splitting when you drive in the screws.
Start Installation: Begin by installing the first sheet at one corner of the area, making sure it's aligned properly with the edge. Use screws to secure the sheet in place, placing them at regular intervals along the edges and ensuring they're tightened securely.
Overlap Sheets: If you're installing multiple sheets, overlap each sheet by at least one corrugation to ensure proper water drainage and prevent leaks. Secure the overlapping sheets with screws, making sure to place them along the overlapping edge as well as the edges of the sheet.
Seal Joints: Once all the sheets are installed, use a polycarbonate-compatible sealant to seal any joints or gaps between the sheets. This will help prevent water infiltration and ensure a watertight seal.
Finish the Edges: Finally, finish off the edges of the polycarbonate sheets with flashing or trim pieces to provide a clean and finished look. This will also help protect the edges from damage and prevent water from seeping underneath the sheets.
Inspect and Maintain: Once the installation is complete, thoroughly inspect the entire roofing system to ensure everything is properly installed and sealed. Regular maintenance, such as cleaning the sheets and checking for any signs of damage or wear, will help prolong the lifespan of your polycarbonate roofing sheet.
Enjoy Your New Roof: With proper installation and maintenance, your roofing sheet should provide years of reliable performance, protecting your home or building from the elements while enhancing its aesthetic appeal.
Conclusion
Installing polycarbonate roofing sheets is a relatively straightforward process that can be completed with basic tools and materials. By following these step-by-step instructions and taking the necessary precautions, you can enjoy the many benefits of polycarbonate roofing, including durability, versatility, and long-term cost savings. Whether you're installing a new roof or replacing an existing one, polycarbonate sheets are an excellent choice for any residential or commercial property.

No comments yet