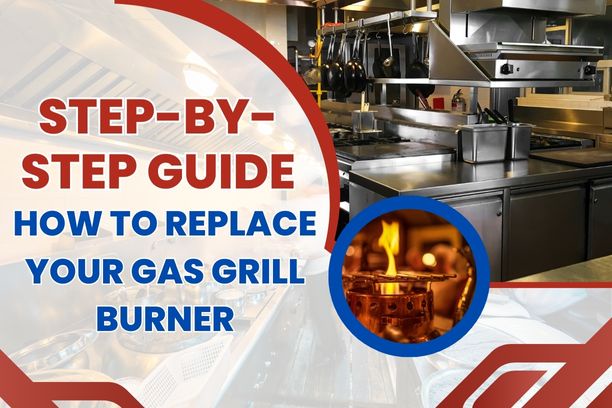
Maintaining the functionality of your gas grill is essential for enjoying delicious barbecues and outdoor cooking. One crucial component that often requires attention is the gas grill burners. Over time, burners can become worn out or develop faults that affect their performance, leading to uneven heat distribution and diminished cooking results.
In this step-by-step guide, we will walk you through the guide for replacing gas grill burners, ensuring that your grill operates at its best. By understanding the importance of timely replacement grill burners and following the outlined steps, you can restore your grill's efficiency and continue grilling mouthwatering meals for your family and friends. Let's dive into the details and get your grill back in top shape!
|
Table Of Contents: |
What tools are required for replacing your gas grill burner?
If you own a gas grill and notice that your burner is worn out or malfunctioning, replacing it is a relatively simple task that you can do yourself. To ensure a smooth and successful gas grill burner replacement process, it is important to have the right tools and materials at hand.
When it comes to finding high-quality cooking equipment parts, such as grill grate replacement or burners, igniters, heat plates, cooking grids, and knobs, look no further than PartFe. With our extensive selection of replacement parts and accessories from well-known manufacturers, you can trust us to provide the perfect fit for your grill.
Here are the essential tools required for replacing gas grill burners:
New Gas Grill Burner: The first and most crucial item you will need is a replacement grill burner. Ensure that you purchase a burner that is compatible with your grill's make and model. The burner is responsible for generating heat, so a new one is required to restore proper grilling performance.
Screwdriver: A screwdriver allows you to safely detach the old burner from the grill body.
Adjustable Wrench: An adjustable wrench is needed to detach the gas supply line from the burner or to secure the new burner in place.
Pliers: Pliers, preferably long-nose pliers, can be helpful for gripping and maneuvering small parts or wires during the replacement process.
Safety Gloves: Wearing a pair of sturdy safety gloves will protect your hands from potential burns or cuts during the removal and installation of the gas grill burner.
Safety Glasses: To protect your eyes from any debris or particles that may dislodge during the replacement process, wear a pair of safety glasses.
Cleaning Brush: Before installing the new burner, it's a good idea to clean the grill thoroughly to remove any grease, dirt, or debris with a cleaning brush.
Lubricant: Depending on the condition of your grill and the components you are working with, a lubricant such as cooking oil.
Turn Off and Disconnect the Gas Supply to the Grill
Before you start replacing gas grill burners, turn off the gas supply to the grill. This can be done by turning off the valve on the propane tank or by shutting off the gas supply line if your grill is connected to a natural gas line. After turning off the gas supply, disconnect the gas line from the grill to ensure that no gas is flowing into the grill during the replacement process.
Remove the Old Burner from the Gas Grill
To remove the old burners for a gas grill, follow these steps:
- Open the grill lid and locate the burner assembly. The burner is typically located beneath the cooking grates and above the gas supply line.
- Carefully disconnect any wires or ignition components connected to the burner, if applicable. Take note of their positions or take a photo for reference during reassembly.
- Next, look for the mounting screws or brackets that secure the burner to the grill. Depending on the grill model, there may be one or more screws holding the burner in place. Use a screwdriver or wrench to loosen and remove these screws.
- With the screws removed, gently lift the burner assembly from its position. Be cautious as it may be hot or greasy. If necessary, clean the area around the burner to remove any debris or buildup.
- Once the old burners for the gas grill are removed, inspect them for any signs of damage or wear. If it is worn out or corroded, it's best to replace it with a new burner.
Install the New Burner into the Gas Grill
To install the new burners for a gas grill, follow these steps:
- Position the new burner in the grill, aligning it with the mounting holes or brackets.
- Secure the burner in place by tightening the mounting screws or reattaching the brackets.
- Reconnect any wires or ignition components to their respective connectors.
- Double-check all connections for tightness and stability.
- Reconnect the gas supply line and ensure a tight seal.
- Turn on the gas supply and perform a test ignition to verify proper functioning.
Reconnect the Gas Supply and Test the Grill
After installing the new burner in your gas grill, follow these steps to reconnect the gas supply and test the grill:
- Ensure that all burner knobs and control valves on the grill are in the "Off" position.
- If you disconnected the gas supply line, carefully reconnect it to the grill, ensuring a secure and tight connection. For propane tanks, make sure the valve is fully opened.
- Check for any gas leaks by applying a mixture of soap and water to the gas connections. If bubbles form, there is a leak. In such cases, tighten the connections or replace faulty parts before proceeding.
- Once the gas supply is reconnected, open the grill lid and turn on the burner control knobs to their highest settings.
- Ignite the burners using the grill's ignition system or a long-handled lighter. Ensure that all burners ignite properly and that the flames are even and stable.
- Allow the grill to run for a few minutes to ensure that the burners are functioning correctly and reaching the desired temperature.
- During the initial use, observe the grill for any unusual smells, sounds, or signs of malfunction. If you notice anything abnormal, turn off the grill and inspect for potential issues or consult a professional if needed.
Replacement grill burners may seem like a daunting task, but with the right tools and approach, it can be a simple and straightforward process. Following the step-by-step guide outlined in the article will ensure that you are able to replace your grill burner safely and efficiently, allowing you to get back to grilling your favorite foods in no time. Remember to always prioritize safety and follow the manufacturer's instructions when working with gas grills.

No comments yet