Introduction
In the pursuit of cleaner and safer drinking water at home, many individuals turn to reverse osmosis (RO) systems. These plants are highly effective in removing contaminants, providing households with a reliable source of purified water. This ultimate guide will walk you through the process of installing a reverse osmosis plant for home use, ensuring that you can enjoy the benefits of clean water.
Step 1: Selecting the Right RO System: Before diving into installation, choose an RO system that suits your household needs. Consider factors such as water usage, the level of contamination in your water, and the space available for installation.
Step 2: Find a Suitable Location: Identify a location for your RO system that is easily accessible and allows for proper water flow. It's usually installed under the kitchen sink, but ensure that there is enough space for the system and future maintenance.
Step 3: Shut Off Water Supply: Turn off the main water supply to your home. This step is crucial for ensuring a safe installation process without water leakage.
Step 4: Install the Faucet: Most RO systems come with a separate faucet for purified water. Drill a hole in the sink or countertop for the faucet and mount it securely.
Step 5: Connect to the Cold Water Supply: Using the saddle valve provided with the RO system, connect the system to the cold water supply line. Ensure a secure connection to prevent leaks.
Step 6: Connect the Drain Line: Connect the drain line from the RO system to the sink's drain. This line is responsible for carrying away the wastewater produced during the purification process.
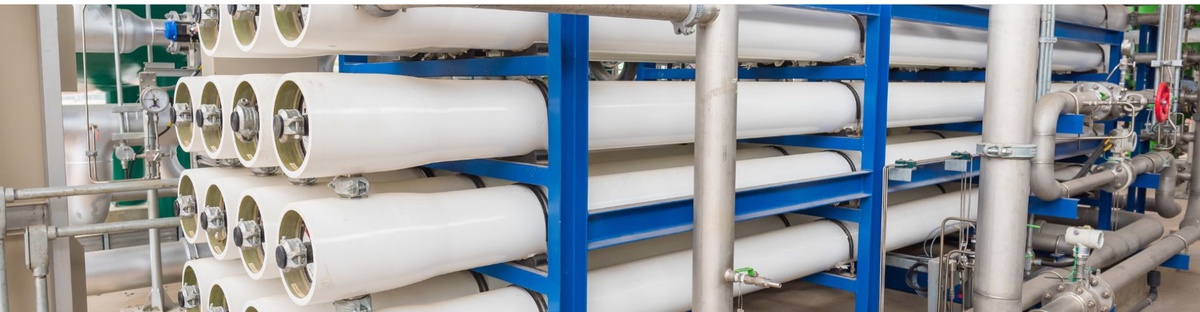
Step 7: Install the RO Membrane: Place the RO membrane into the membrane housing, ensuring a proper fit. This membrane is a critical component responsible for filtering out contaminants from the water.
Step 8: Connect the Tubing: Connect the tubing according to the manufacturer's instructions. This typically involves connecting colored tubes to matching ports on the system. Make sure the connections are secure to prevent leaks.
Step 9: Start the System: Turn on the main water supply and allow the system to fill up. Check for any leaks and fix them immediately. Once filled, turn on the RO system and let it run for a few minutes to flush out any initial impurities.
Step 10: Test the Water: Collect a sample of water from the RO faucet and test it for purity. Most RO systems come with a TDS (Total Dissolved Solids) meter to measure water quality. This step ensures that your system is effectively removing contaminants.
Step 11: Regular Maintenance: Regular maintenance is crucial for the longevity and efficiency of your RO system. Follow the manufacturer's guidelines for filter replacement, typically every 6-12 months, and clean or replace the membrane as needed.
Conclusion
Setting up a reverse osmosis (RO) plant for home use is a straightforward process that doesn't need to be overwhelming. By pursuit simple steps and seeking expert translating from Mentor Water Experts at 91 7351002123, you can wits the advantages of having wipe and pure drinking water at home. The investment in a properly installed RO system pays off with every refreshing sip, guaranteeing that your household enjoys wangle to high-quality water for years to come. As experts in water treatment, Mentor Water, who are moreover effluent treatment plant manufacturers, not only provide products reliable plants but moreover offer comprehensive plant maintenance services.

No comments yet