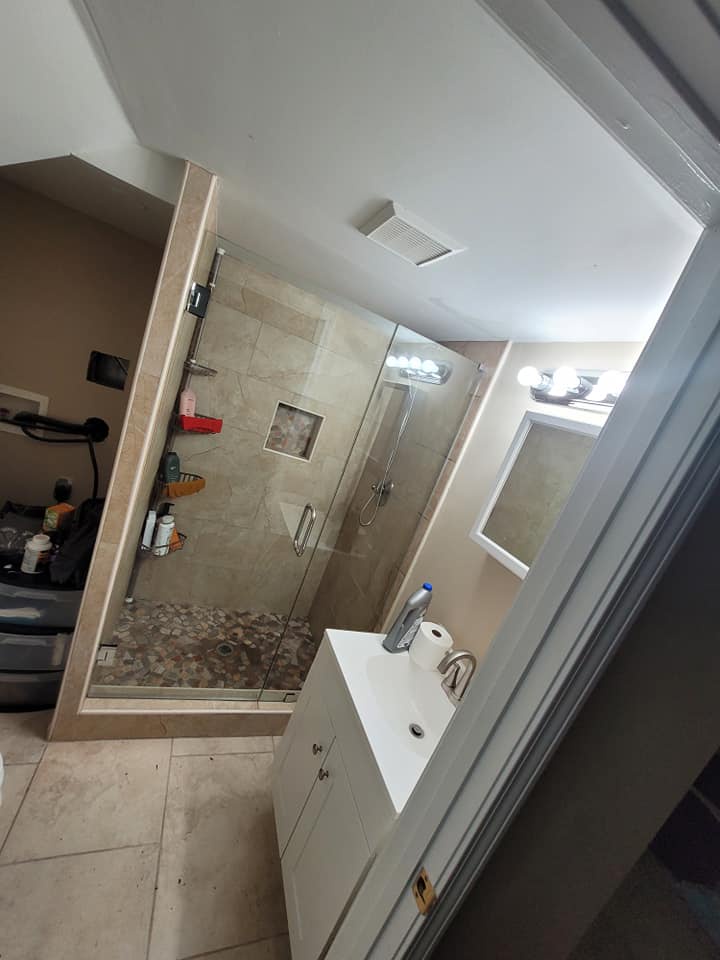
Are you tired of a weak stream and outdated design? Say goodbye to your old shower head and hello to a rejuvenating shower experience!
In this article, we'll guide you through the process of installing a new shower head. You'll gather the necessary tools and materials, remove the old shower head, and prepare the shower arm.
With our step-by-step instructions, you'll have your new shower head up and running in no time.
Get ready to transform your showering routine!
Gathering the Necessary Tools and Materials
Before you begin, make sure you have all the necessary tools and materials for installing a new shower head.
To successfully complete this project, you will need a few items. First, make sure you have a new shower head that fits your existing shower fixture. This is important to ensure a proper installation.
You will also need an adjustable wrench or pliers to loosen and remove the old shower head. Additionally, have some plumber's tape on hand to create a watertight seal when attaching the new shower head.
Finally, it's a good idea to have a clean cloth or towel nearby to wipe away any excess water or debris during the installation process.
Gathering these tools and materials beforehand will make the installation process smoother and more efficient.
Removing the Old Shower Head
To start, you'll need to gather a pair of pliers and loosen the connection between the old shower head and the shower arm.
Grab the pliers and position them around the collar nut that connects the shower head to the shower arm. Apply gentle pressure and turn counterclockwise to loosen the nut. Once it's loose enough, you can use your hands to unscrew it the rest of the way. Be careful not to damage the shower arm or any surrounding fixtures while removing the old shower head.
Once the connection is completely loosened, set aside the old shower head and prepare the shower arm for the installation of the new one.
Preparing the Shower Arm
Once you've removed the old shower head, it's time to prepare the shower arm for the new one.
Start by cleaning the threads of the shower arm with a cloth to remove any debris or old tape.
Next, apply a layer of plumber's tape clockwise around the threads. This will help create a watertight seal when you install the new shower head. Make sure to wrap the tape tightly and evenly.
Once the tape is in place, you can now attach the new shower head onto the shower arm. Hold the shower head firmly and twist it onto the shower arm in a clockwise direction until it is securely tightened.
Be careful not to overtighten, as this can cause damage to the shower arm or the new shower head.
With the shower arm prepared, you are now ready to enjoy your new shower head.
Installing the New Shower Head
Now that you've finished preparing the shower arm, it's time to attach the new shower head securely. Follow these steps to ensure a proper installation:
- Take the new shower head and remove any protective covers or packaging.
- Apply plumber's tape to the threads of the shower arm to create a watertight seal.
- Gently screw the new shower head onto the shower arm, making sure it is tight but not over-tightened.
By following these simple steps, you can easily install your new shower head and enjoy a refreshing shower experience.
Remember to check for any leaks once the installation is complete. If you notice any leaks, try tightening the shower head a little more or applying more plumber's tape.
Enjoy your new shower head!

Frequently Asked Questions
How Do I Choose the Right Shower Head for My Bathroom?
First, determine your water pressure and preferences for spray pattern and water conservation. Then, consider factors like budget and style. Look for a shower head that meets your criteria and is compatible with your existing plumbing.
Can I Install a New Shower Head Without Turning off the Water Supply?
Sure, you can install a new shower head without turning off the water supply. Just make sure to use a wrench to loosen and remove the old one, then tightly screw on the new one.
What Should I Do if the Shower Arm Is Stuck and Difficult to Remove?
If the shower arm is stuck and difficult to remove, you should try using a wrench or pliers for extra leverage. Apply steady pressure while turning counterclockwise to loosen it. Be careful not to damage the plumbing.
How Often Should I Replace My Shower Head?
When should you replace your shower head? Well, it depends on how often you use it and the condition of the head. Generally, it's a good idea to replace it every 1-2 years for optimal performance.
Are There Any Additional Steps Required for Installing a Handheld Shower Head?
Yes, there are additional steps required for installing a handheld shower head. First, you need to remove the old shower head. Then, attach the handheld shower head bracket to the wall. Finally, connect the hose and secure it tightly.
Conclusion
So there you have it, you've successfully installed your new shower head!
It may have seemed like a daunting task at first, but with the right tools and materials, and following the steps we've outlined, you were able to get the job done.
Now, you can enjoy the refreshing sensation of a brand new shower head, and take your showers to a whole new level.
Remember, when it comes to general contractor plumber, the sky's the limit. So don't let anything rain on your parade, go out there and tackle your next home improvement project with confidence!


No comments yet