Embroidering on fleece can be a rewarding and enjoyable experience, but it also comes with its own set of challenges. From choosing the right stabilizer to adjusting machine settings, there are several factors to consider to achieve beautiful and professional-looking results. In this comprehensive guide, we'll walk you through everything you need to know about embroidering on fleece, including tips, techniques, and the role of online embroidery digitizing in the process.
Understanding Fleece Fabric
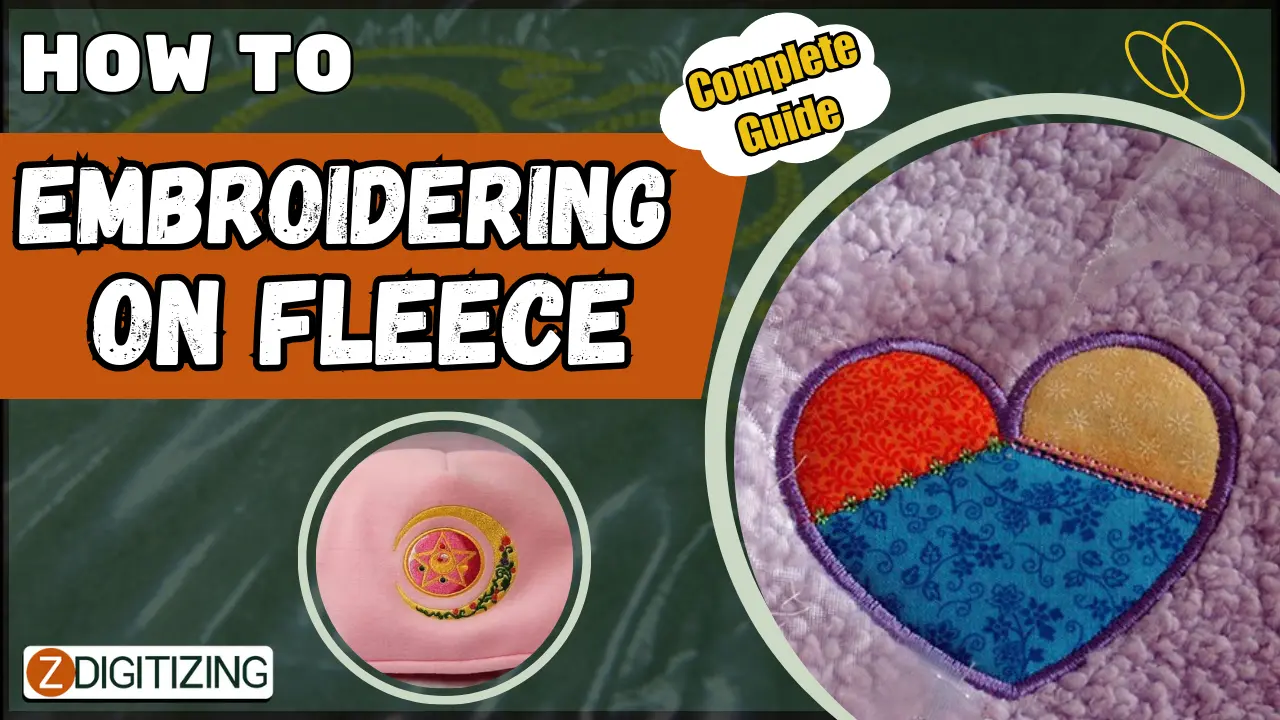
Fleece is a soft, warm, and cozy fabric commonly used in blankets, jackets, hats, and other cold-weather apparel. It is typically made from synthetic fibers such as polyester or a blend of polyester and other materials. Fleece has a thick, plush texture with a slight stretch, making it an ideal choice for digitizing embroidery projects that require both warmth and flexibility.
Preparing Your Fleece Fabric
Before embroidering on fleece, it's important to prepare the fabric properly to ensure optimal results. Here are some steps to follow:
-
Wash and Dry: Pre-wash your fleece fabric to remove any dirt, chemicals, or sizing agents that may be present. Machine wash the fabric in cold water with a mild detergent, then tumble dry on low heat or air dry.
-
Press: Press the fleece fabric with a steam iron on the wrong side to remove any wrinkles or creases. Be careful not to apply too much heat, as fleece can melt or distort under high temperatures.
-
Stabilize: Use a stabilizer to support the fleece fabric during embroidery and prevent puckering or stretching. Choose a cut-away or tear-away stabilizer depending on the density and complexity of your design.
Choosing the Right Needle and Thread
When embroidering on fleece, it's essential to use the correct needle and thread to ensure smooth stitching and prevent damage to the fabric. Here are some recommendations:
-
Needle: Use a sharp or ballpoint needle with a size appropriate for the weight and thickness of your fleece fabric. A size 75/11 or 80/12 needle is typically suitable for most fleece projects.
-
Thread: Select high-quality embroidery thread that complements the color and texture of your fleece fabric. Polyester or rayon threads are popular choices for embroidering on fleece due to their sheen, durability, and colorfastness.
Adjusting Machine Settings
Properly adjusting your embroidery machine settings is crucial for achieving optimal results when embroidering on fleece. Here are some settings to consider:
-
Tension: Adjust the tension settings on your embroidery machine to ensure smooth and even stitching. Test your tension settings on scrap fleece fabric before starting your project to achieve the desired results.
-
Stitch Density: Increase the stitch density slightly when embroidering on fleece to ensure full coverage and prevent the fabric from showing through the stitches. Experiment with different stitch densities to achieve the best results for your design.
-
Stitch Length: Use a slightly longer stitch length when embroidering on fleece to prevent the stitches from sinking into the fabric. A stitch length of 2.5 to 3.0 millimeters is generally suitable for fleece fabric.
Embroidering Techniques for Fleece
Embroidering on fleece requires some special techniques to ensure that the stitches lay smoothly and evenly on the fabric. Here are some tips to keep in mind:
-
Use a Topper: Place a water-soluble or heat-away topper on top of the fleece fabric to prevent the stitches from sinking into the plush pile. This helps the stitches lay flat and prevents them from getting lost in the fabric.
-
Slow Down: Reduce the speed of your embroidery machine when embroidering on fleece to allow the stitches to form properly and prevent distortion or puckering. Slower stitching speeds also give you more control over the embroidery process.
-
Secure the Fabric: Use basting stitches or temporary adhesive spray to secure the fleece fabric to the stabilizer before embroidering. This helps prevent the fabric from shifting or stretching during stitching and ensures accurate placement of the design.
Finishing Touches
Once you've completed embroidering on fleece, it's time to give your project the finishing touches. Here are some steps to follow:
-
Remove the Stabilizer: Carefully remove the stabilizer from the back of the embroidered fabric, taking care not to damage the stitches.
-
Trim Threads: Trim any loose threads from the front and back of the embroidery using sharp embroidery scissors. Be careful not to cut into the fabric or the stitches.
-
Press Again: Press the embroidered fabric with a steam iron on the wrong side to remove any remaining wrinkles and give the embroidery a crisp, professional finish.
The Role of Online Embroidery Digitizing
Online embroidery digitizing services play a crucial role in the embroidering on fleece process by converting designs into digital files that can be read by embroidery machines. ZDigitizing offers high-quality and precise embroidery digitizing services, ensuring that your designs are accurately translated onto fleece fabric with ease. Simply upload your designs online and receive digital files quickly and accurately, allowing you to focus on the embroidery process without worrying about digitizing.
In conclusion, embroidering on fleece requires careful preparation, proper technique, and attention to detail to achieve beautiful and professional-looking results. By following the tips and techniques outlined in this guide and leveraging the services of online embroidery digitizing like ZDigitizing, you can create stunning embroidered projects on fleece fabric with ease and confidence.

No comments yet