Netgear extenders play a crucial role in boosting your Wi-Fi network's range and performance. Sometimes, users may encounter issues with accessing the default IP address 192.168.1.250 of their Netgear extender. In this guide, we'll walk you through the steps to troubleshoot and fix this issue, ensuring seamless connectivity and optimal performance.
Follow the given step:
Step 1: Verify Physical Connections
Before diving into technical troubleshooting, ensure that your Netgear extender is properly connected. Check the power supply, Ethernet cables, and any other physical connections. If everything is in order, proceed to the next steps.
Step 2: Confirm Network Connectivity
Ensure that your computer or device is connected to the Netgear extender's network. Open your device's Wi-Fi settings and connect to the Wi-Fi network broadcasted by the extender. If you're unable to connect, check for any Wi-Fi interference or move closer to the extender.
Step 3: Clear Browser Cache
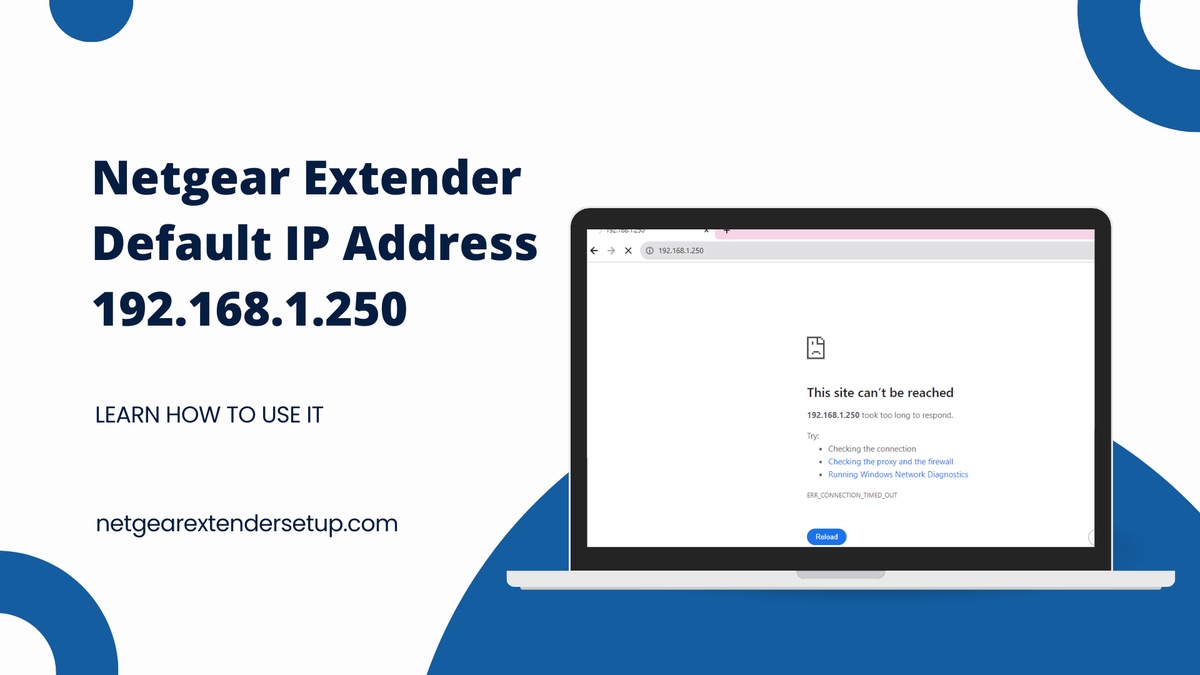
Sometimes, browser cache issues can prevent you from accessing the extender's default IP address. Clear your browser's cache and try accessing the address again. If the problem persists, try using a different web browser.
Step 4: Disable Firewall and Antivirus
Firewall or antivirus software may sometimes block access to certain IP addresses. Temporarily disable your firewall and antivirus software, and then try accessing 192.168.1.250. Remember to re-enable your security software after troubleshooting.
Step 5: Use a Different Device
If the issue persists, try accessing the default IP address from a different device. This helps determine if the problem is specific to your computer or device.
Step 6: Reset Netgear Extender
If none of the above steps resolve the issue, consider performing a factory reset on your Netgear extender. Use a paperclip or a small object to press and hold the reset button on the extender for about 10 seconds. This will reset the extender to its default settings, including the IP address.
Step 7: Reconfigure Netgear Extender
After resetting the extender, reconfigure it by following the setup instructions provided by Netgear. This typically involves connecting to the extender's default Wi-Fi network and accessing its web-based setup page using the default IP address 192.168.1.250. Follow the on-screen instructions to complete the setup.
Conclusion:
By following these troubleshooting steps, you should be able to fix issues related to the default IP address (192.168.1.250) on your Netgear extender. If problems persist, it may be worthwhile to contact Netgear's customer support for further assistance. Remember to document any changes made during troubleshooting for future reference.

No comments yet