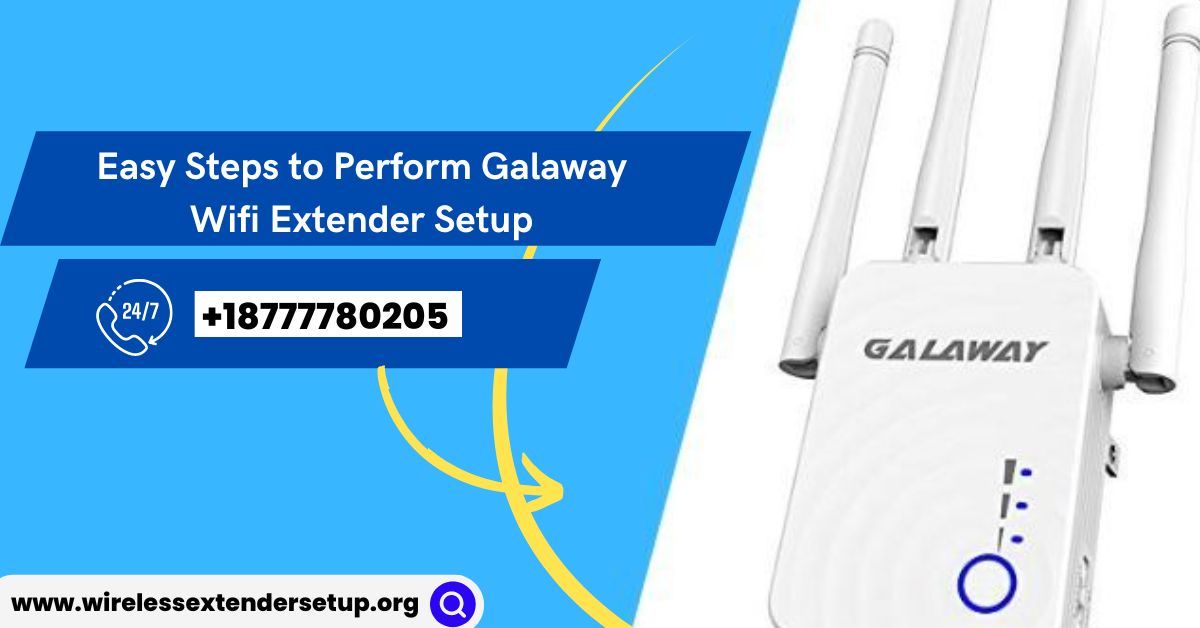
However, after reading this blog, you will realize how simple it is to perform Galaway Wifi Extender Setup. After we've discussed the physical placement, let's take a look at how you set it up so that it works as intended. There are three methods to this.
Galaway Wifi Extender Setup through the WPS button option-
This is primarily determined by whether or not your router has a WPS button. WPS stands for WiFi Protected Setup. This feature is available on the majority of modern routers. It's an arrow-labeled button that resembles a yin and yang symbol. When compared to the other options, it allows for a faster and more direct process.
The WPS button on both the router and the extender must be pressed. The extender will display a solid green light to indicate that it has connected to the router.
Installing an Ethernet Cable-
- This necessitates the use of an Ethernet cable.
- Begin by connecting one end of the Ethernet cable to the extender and the other to a laptop that is on the same network as the router.
- Then, launch a browser and enter the IP address of the extender device you're configuring. The IP address will be available in the device's instruction manual. It is also available from the manufacturer's website.
- Fill in the login information and follow the instructions to configure the network name and security.
When the distance between the router and the wifi dead spot is great, for example, if you want Wi-Fi in your garden, you should consider using the Ethernet cable after setup. The cable links the router and the extender, allowing the extender to broadcast wifi signals in the new location.
Galaway Wifi Extender Wireless Setup-
The majority of people prefer this method. The procedure is as follows.
- Take your device out of the box and plug it in. Make sure you do it in the same room as your router.
- Turn on the power button and wait for the green power LED light to turn on and solid green. If it is still blinking, do not proceed.
- Go to your laptop or phone and turn on Wi-Fi. The name of your new Galaway extender will appear on the Wi-Fi list. Join this Wi-Fi network.
- Open a browser window on your phone or laptop and enter the IP address listed in the user manual. In most cases, enter 192.168.10.1 or type http://ap.setup.
- A login screen will appear. Log in using the credentials listed in the manual. The username and password for Galway devices will be admin. Please check the instruction manual to confirm this.
- After you've logged in, go to the repeater wizard, which will walk you through the rest of the process.
- You will enter your router's name and password before clicking Apply.
- At this point, your extender will disconnect from the default Wi-Fi network and log you out. It will use the router's new Wi-Fi settings.
Your Galaway Wifi Extender Setup is now ready to use. Consider the factors discussed earlier in this post and move it to the intended location. You can also get in touch with our experts in case you need additional support for your Galaway setup today.


No comments yet