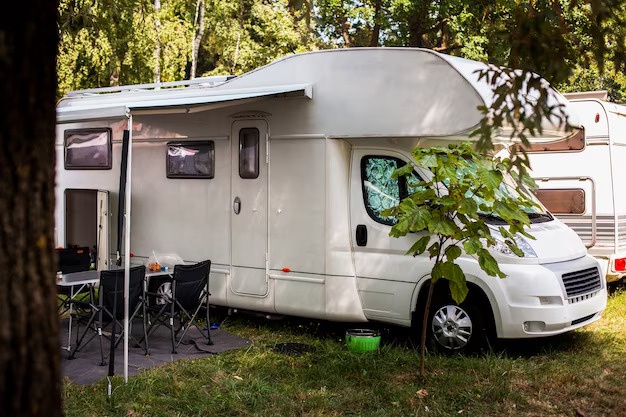
RV adventures are incredibly fascinating and provide a unique way to explore the world, especially in and across the areas of Sacramento. However, before hitting the road, it must for RVers to prepare and maintain their RV, considering unpredictable weather conditions. Doing so may help you detect potential issues like leaks and repair them before they escalate into significant issues and ruin your outdoor journey. Thus, if roof leaks hinder your adventure, considering professional Sacramento RV repair is pivotal to ensure a soothing voyage, saving you unexpected hassles and repairs.
Leaks are a regular part of troubles for RV owners. Thus, they need an inspection and maintenance every 3 to 4 months to avoid future consequences. If you encounter any cracks, leaks, or any sort of problems concerning your RV roofs, walk through our step-by-step guide, ensuring trouble-free repair.
Tools Needed
- Protective Gears
- Roof Tape
- Cleaning Supplies
- Sealant
Guideline To Repair RV Roof Leaks
-
Identify the Leaks
Firstly, inspect the RV roofs thoroughly and identify the real source of leak and its condition. Check for the leaks around spots like vents, seams, skylights, edges, and more openings which are likelier to damage. Seek professional assistance from Sacramento trailer repair experts for comprehensive inspection if you aren’t able to locate the leaks.
-
Clean Roof Surface
Gently clean the roof surface with cleanser and brush and thoroughly wash off all the dirt, debris, or any other contaminants. Go for a temporary solution to ensure the blockage of further water exposure. Leave it to dry to prepare the surface before applying sealant to the leaks.
-
Apply Roof Sealant
- Make sure the affected area is completely dry and blocked from any water exposure.
- Use Patch Tapes to cover holes, cracks, or any affected area as a temporary solution to keep the problem from worsening before applying sealant.
- Determine your roof material type and choose the appropriate sealant. Choose the best quality at an affordable price, be it Material-specific sealants or sealants used for multiple materials.
- Apply the sealant all around the affected area in minor cases, but if the condition of the leaks is severe, it is preferred to call a professional for repair or replacement. Consider replacements in case of rubber, vinyl, wood, or canvas roof-type materials.
-
Inspect and Test
Let the sealant dry thoroughly for a while and inspect it by running a test to check for any failures or imperfections. If the leak persists, it’s best to contact professionals to meticulously inspect your RV and repair the issues causing your RV to leak.
Conclusion
It is significant to opt for regular inspections periodically to prevent future emergency leaks, since a leaky roof can cause severe damage and ruin your RV experience. Waterproof traps are one of the best ways to prevent your RV roofs from leaking. It is advised to seek professional help for seamless and hassle-free maintenance and repairs for the longevity of your RV roofs.

No comments yet