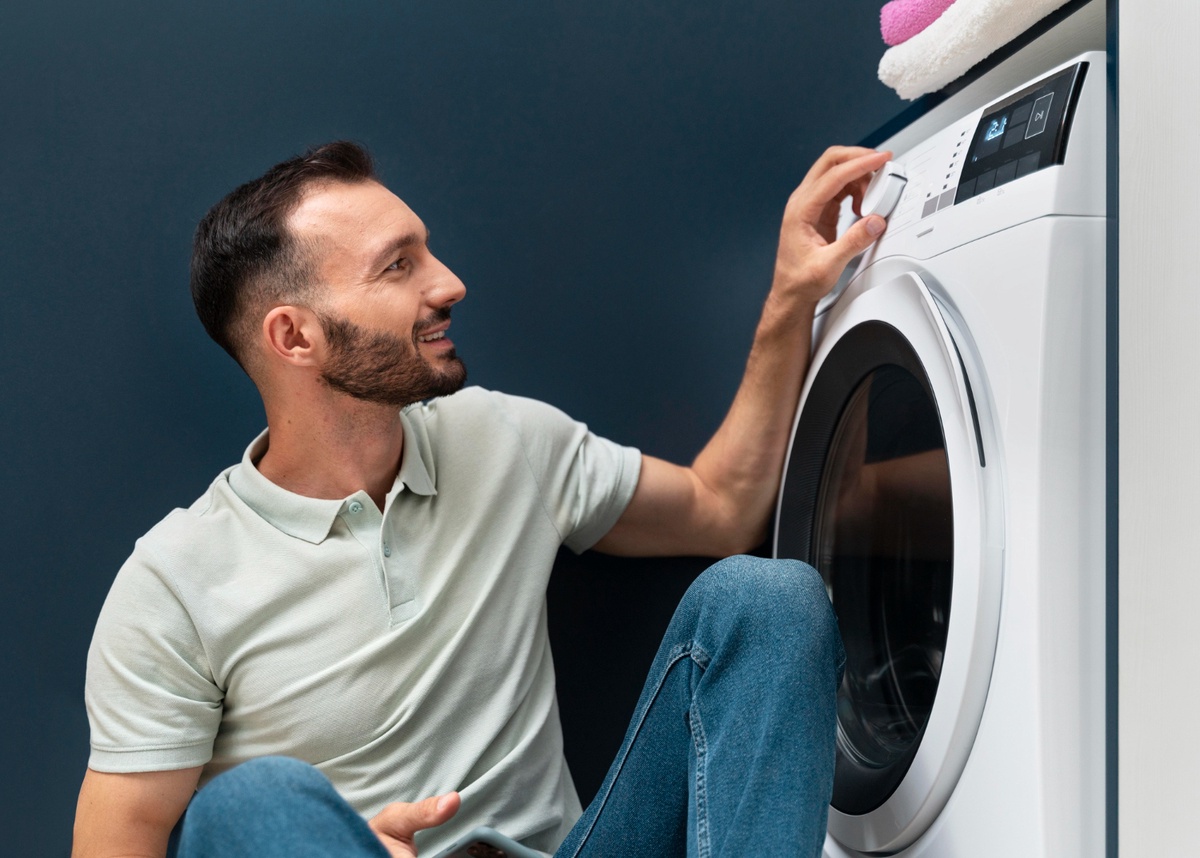
Installing a washing machine might seem like a daunting task, but with the right guidance and a bit of preparation, it can be a smooth process. In this comprehensive guide, we'll take you through the steps of installing a Washing Machine in 2023. As major appliances continue to evolve, online resources have become invaluable for understanding installation processes. Whether you're replacing an old machine or installing a new one, this step-by-step guide will help you get your washing machine up and running efficiently.
Step 1: Pre-Installation Preparation
Before you dive into the installation process, there are a few important steps to take:
Read the Manual: Familiarize yourself with the washing machine's user manual. This is a valuable resource that will provide specific instructions for your machine's installation.
Choose a Location: Select a suitable location for your washing machine near a water supply, drainage, and electrical outlet. Make sure the floor is level to prevent excessive vibrations during operation.
Gather Tools and Supplies: Ensure you have the necessary tools, including a wrench, pliers, and a level, along with hoses and connectors that come with the machine or might be needed based on your setup.
Step 2: Connect the Water Supply
Turn Off Water: Locate the water shut-off valves and turn them off before beginning. These are usually found behind the washing machine.
Attach Hoses: Connect the hot and cold water hoses to the respective water supply valves. Hand-tighten the connections, then use pliers to give them an extra quarter turn.
Connect to the Washer: Attach the other ends of the hoses to the back of the washing machine. The hot water hose connects to the hot water inlet, and the cold water hose connects to the cold water inlet.
Step 3: Connect the Drain Hose
Position the Drain Hose: Place the drain hose into a standpipe or utility sink. Ensure that the hose is secure and properly positioned to prevent water leakage.
Secure with Clamp: Use a clamp to secure the drain hose to the standpipe or sink. This prevents the hose from slipping out during the draining process.
Step 4: Level the Machine
Use a Level: Place a level on top of the washing machine to ensure it's perfectly level. To achieve equilibrium, adjust the machine's feet as needed. A level machine helps prevent excessive vibrations during operation.
Step 5: Plug In and Power On
Plug In: Insert the washing machine's power cord into a nearby electrical outlet. Check that the outlet meets the power needs of the equipment.
Turn On: Power on the washing machine and navigate through the initial setup according to the user manual.
Step 6: Test the Machine
First Test Run: Run a test cycle without any clothes to ensure that the machine is functioning correctly. Look for any leaks, strange noises, or vibrations.
Final Adjustments: If needed, make minor adjustments to the machine's position to eliminate vibrations or level issues.
Installing a washing machine might feel overwhelming at first, but by following this comprehensive guide, you'll be able to set up your appliance efficiently and correctly. Major appliances, such as washing machines, have become increasingly user-friendly, and with the help of online resources and user manuals, the installation process has become more accessible than ever. Remember that safety, accuracy, and proper preparation are key to a successful installation. By adhering to these six steps, you'll have your washing machine ready to tackle laundry in no time, making your household chores that much easier.


No comments yet