Sand casting is a versatile and cost-effective method for producing metal parts of various shapes and sizes. From intricate components to robust industrial pieces, sand casting offers a wide range of possibilities. This guide will walk you through the process of sand casting parts, from preparing the mold to finishing the final product, ensuring that you can create high-quality parts with confidence.
-
Design and Pattern Making: Before diving into sand casting parts, it's essential to have a clear design for the part you want to create. Start by creating a pattern, which is a replica of the final part made from wood, metal, or plastic. The pattern should include allowances for shrinkage and draft angles to facilitate the removal of the part from the mold.
-
Preparing the Mold: The mold consists of two halves, the cope, and the drag. Begin by placing the pattern in the drag and filling it with molding sand, a mixture of sand and a binding agent such as clay. Pack the sand firmly around the pattern to create an impression. Repeat the process with the cope, ensuring that both halves align properly when closed.
-
Creating the Pouring Basin and Channels: To facilitate the flow of molten metal into the mold cavity, create a pouring basin at the top of the cope and channels, known as runners and gates, leading to the mold cavity. These channels should be carefully designed to prevent turbulence and ensure even distribution of the metal.
-
Melting and Pouring the Metal: Select the appropriate metal alloy for your part and melt it in a furnace at the recommended temperature. Once molten, carefully pour the metal into the pouring basin, allowing it to flow smoothly through the channels and fill the mold cavity. Exercise caution during this step to avoid splashing or spilling molten metal.
-
Cooling and Solidification: Allow the metal to cool and solidify within the mold. The cooling time will vary depending on the size and complexity of the part as well as the type of metal used. Avoid disturbing the mold during this process to prevent defects in the final part.
-
Removing the Casting: Once the metal has cooled completely, open the mold and carefully remove the casting. Use tools such as hammers, brushes, and air blasts to clean any residual sand from the casting surface. Be mindful of any delicate features that may require extra care during cleaning.
-
Finishing and Machining: Depending on the desired finish and dimensional accuracy, the casting may require additional machining or finishing processes such as grinding, sanding, or polishing. This step ensures that the part meets the required specifications and surface quality standards.
-
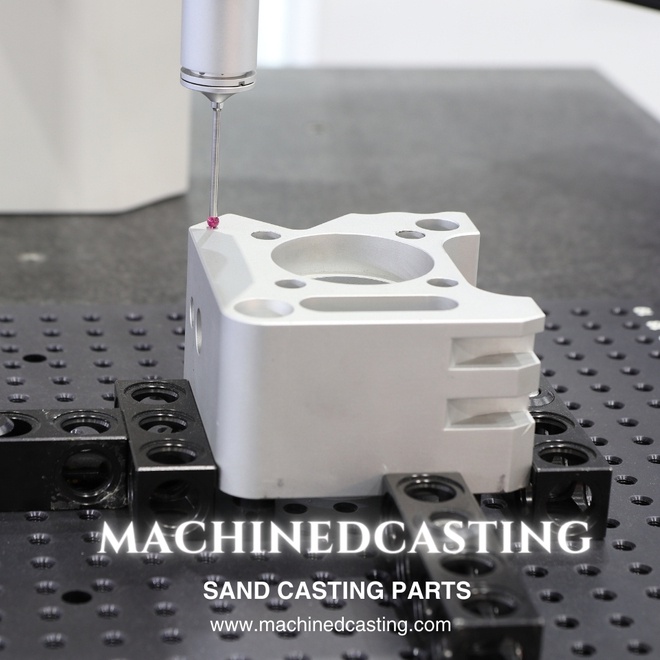
Inspection and Quality Control: Finally, inspect the sand casting parts for any defects or imperfections that may affect its functionality or appearance. Perform dimensional checks and non-destructive testing as necessary to verify the quality of the part.
By following these steps carefully and paying attention to detail, you can master the art of sand casting parts and create high-quality parts for a wide range of applications. Experiment with different alloys, mold designs, and finishing techniques to unlock the full potential of this versatile manufacturing process.

No comments yet